Pixpro Cloud Processing - Layer Settings Explained
 Lukas
Zmejevskis
In the latest version of Pixpro, we have more cloud processing options. We can choose which layers to process and some settings for them. I will go through the entire cloud computing workflow in this article, including layer selection and settings. I will discuss use cases, when and which layers we need to process, and some adjacent details.
Pixpro Cloud Workflow
First, let me go through the cloud computing workflow step by step. From start to finish:
-
Open Pixpro photogrammetry software, and you will be greeted with two large buttons: local and cloud computing. The respective recent project lists are below.
-
To start a cloud project, we click on Cloud Computing. The next window prompts us to give our project a name and select the coordinate system if necessary.
-
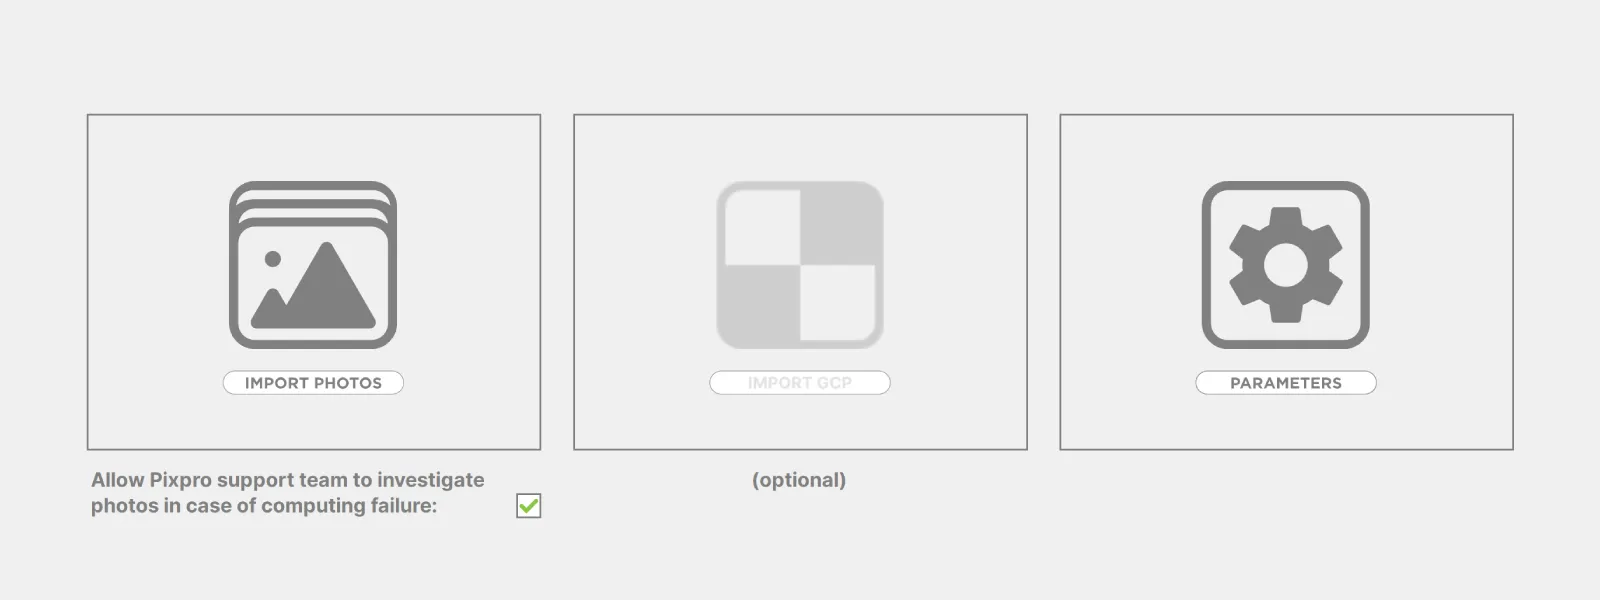
The next screen has three buttons. First, we click on import photos and choose the photos from the scan. A photo manager will open, and you can inspect the photos here before uploading them.
-
If we need to use GCPs, we can click on import GCPs. An article on how we use GCPs in cloud processing:
-
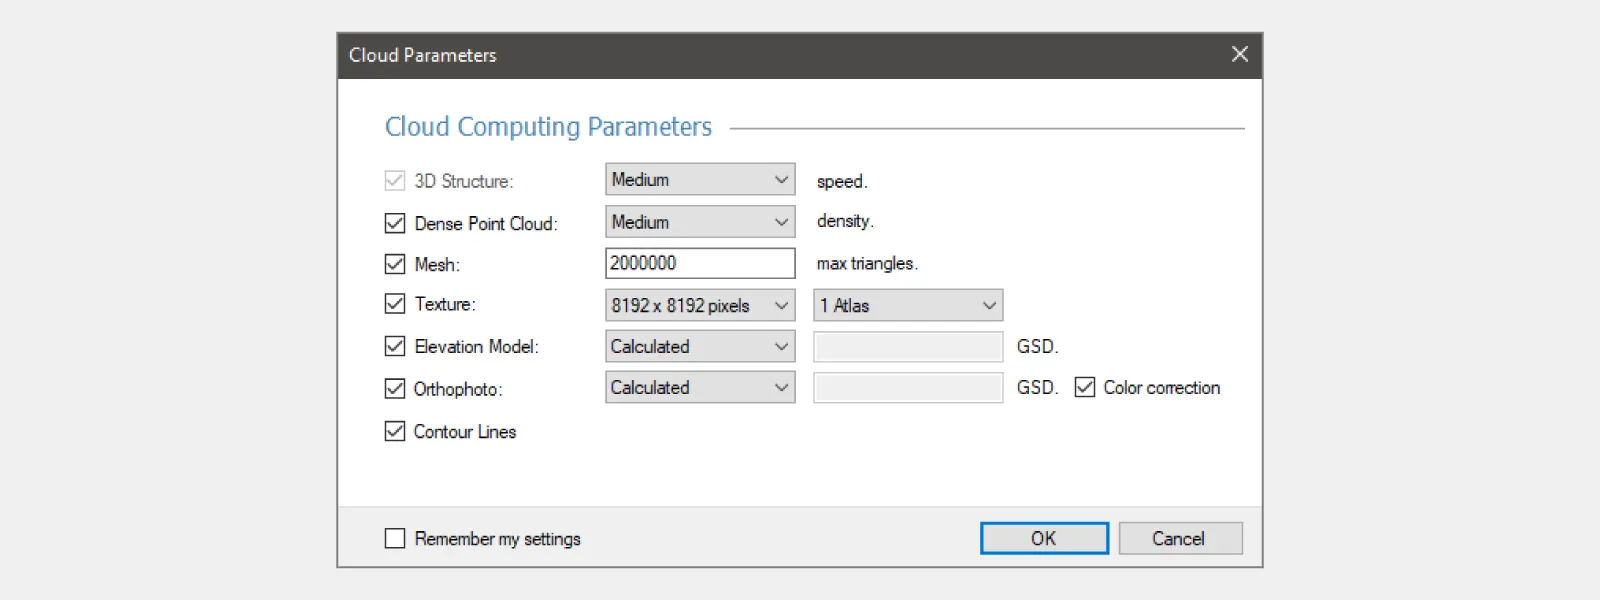
There is also the parameters button. Here, we can choose which layers will be generated and some settings; this is also optional. After everything is done, click Upload in the bottom right corner.
-
Wait for the upload to finish.
-
Once the upload is finished - close the software and wait for processing to finish.
-
You will get an email notification that the processing is complete, and you can reopen the software.
-
With Pixpro open and on the home screen, click your project name in the cloud projects list.
-
Now click on download, confirm the name, and select the location for your project.
-
Wait for the download and unpacking to complete and click open.
-
Now, you have a project that has been processed on our computers but is now a fully working local project on your machine.
You have taken all the steps you need to. Now, let me explore the details a bit more.
Layer Settings
 You can choose which layers you want Pixpro to generate. I will list all layers, with reasons to process or skip this layer and available settings.
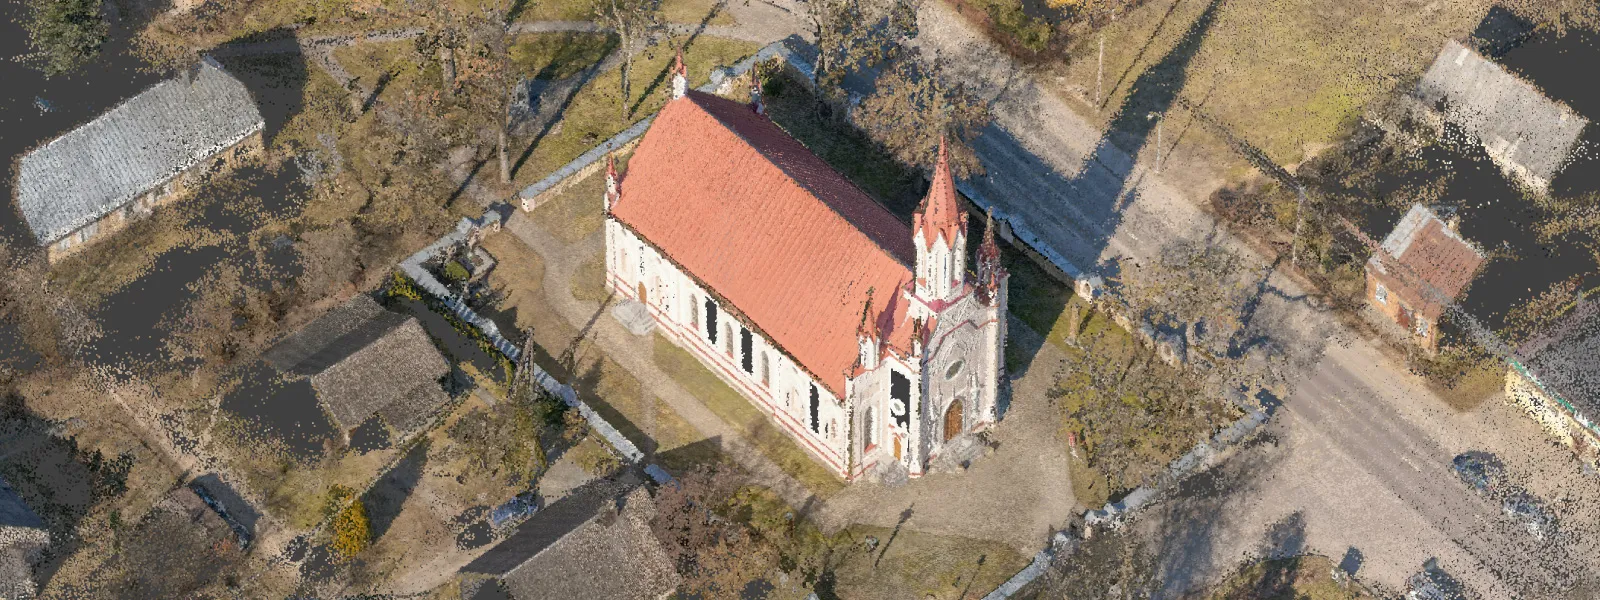
3D reconstruction - the first step in photogrammetry. This layer is mandatory to process (while all other layers are technically optional) and only provides a sparse point cloud. You can select the speed of the 3D reconstruction, fast being a more aggressive and quick option, while medium is the default. If you are an experienced photogrammetrist and confident in your photos and their overlap - you can choose fast, and you will get virtually the same result quicker. If you are not 100 percent sure, go with the default medium setting.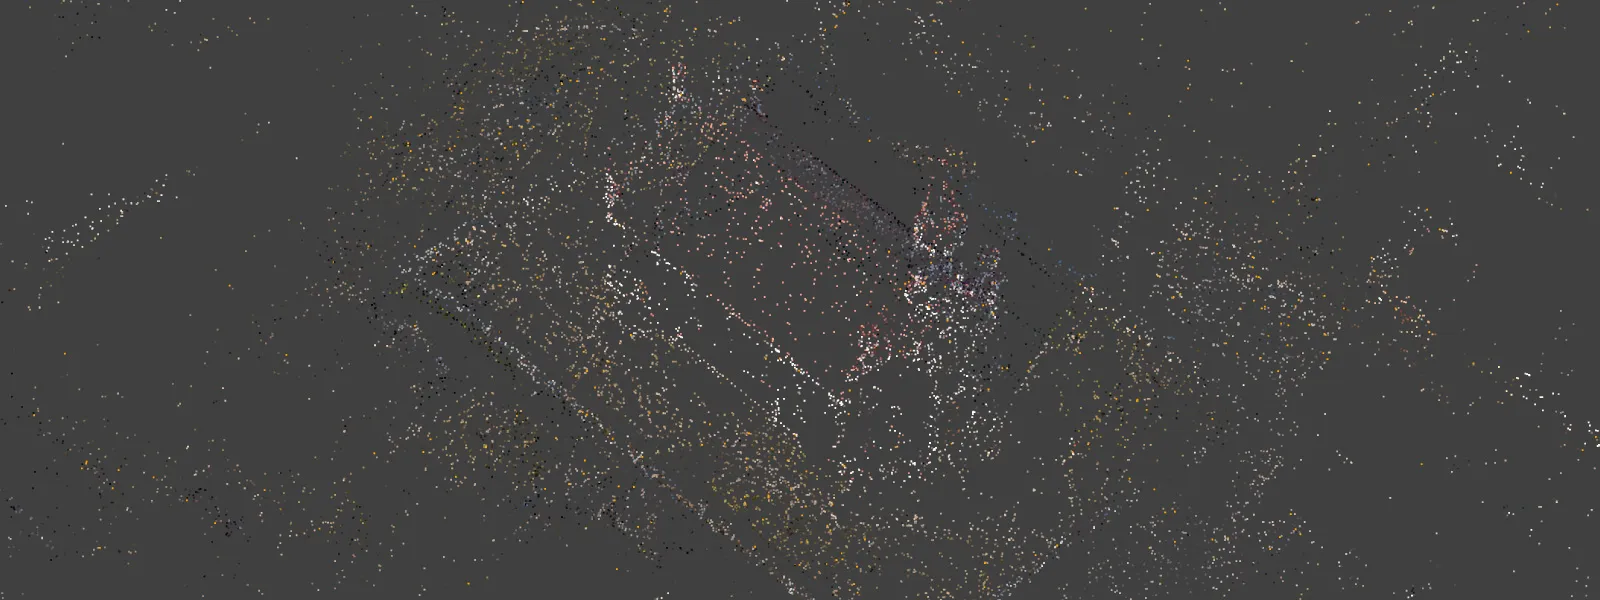 Dense Point Cloud - With medium, low, light, and ultra-light density settings, you may choose a quicker result over the point cloud, which is a bit thinner. This will depend on the requirements of your project. Leave the default medium option if you want to get a 3D model with as much detail as possible. However, if time is of the essence and your project is relatively simple, like a stockpile for measurements, a lower setting will do just fine. Lower detail and density do not mean lower accuracy, so if you are looking for quick terrain measurements or something when aesthetics are irrelevant, or your project is large, you can get meaningful speed improvement. I always chose a "low" setting for projects with good overlap and 500+ photos to get things done quicker.
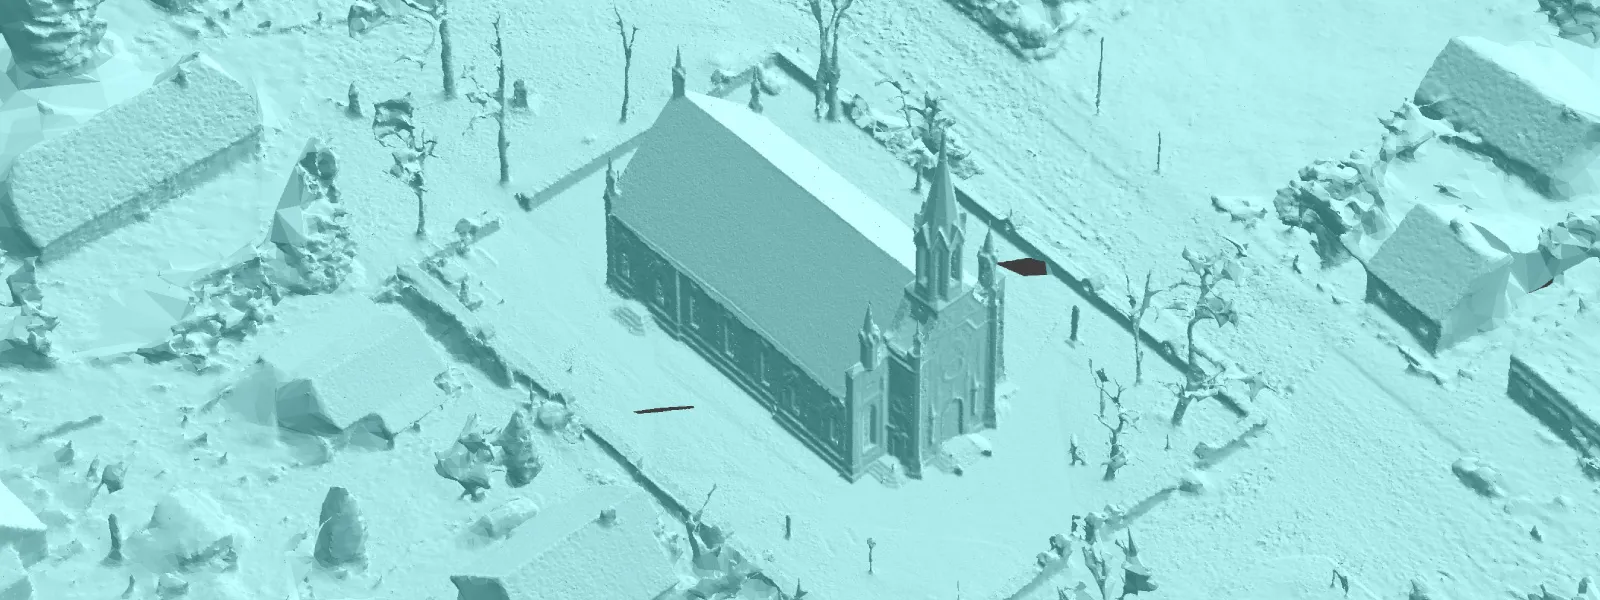
 Mesh - mesh is the 3D model that the software will generate from the dense point cloud. Here we can choose the maximum triangle amount, which, in essence, represents the size and resolution of the 3D surface. The most common use case for limiting the size of the model is that there is a third-party requirement. For example, suppose you plan to export the mesh to software that can only handle 100k triangles. In that case, you can limit your model to that size right here, so the downloaded project will contain a 100k-sized mesh, which you can export immediately.
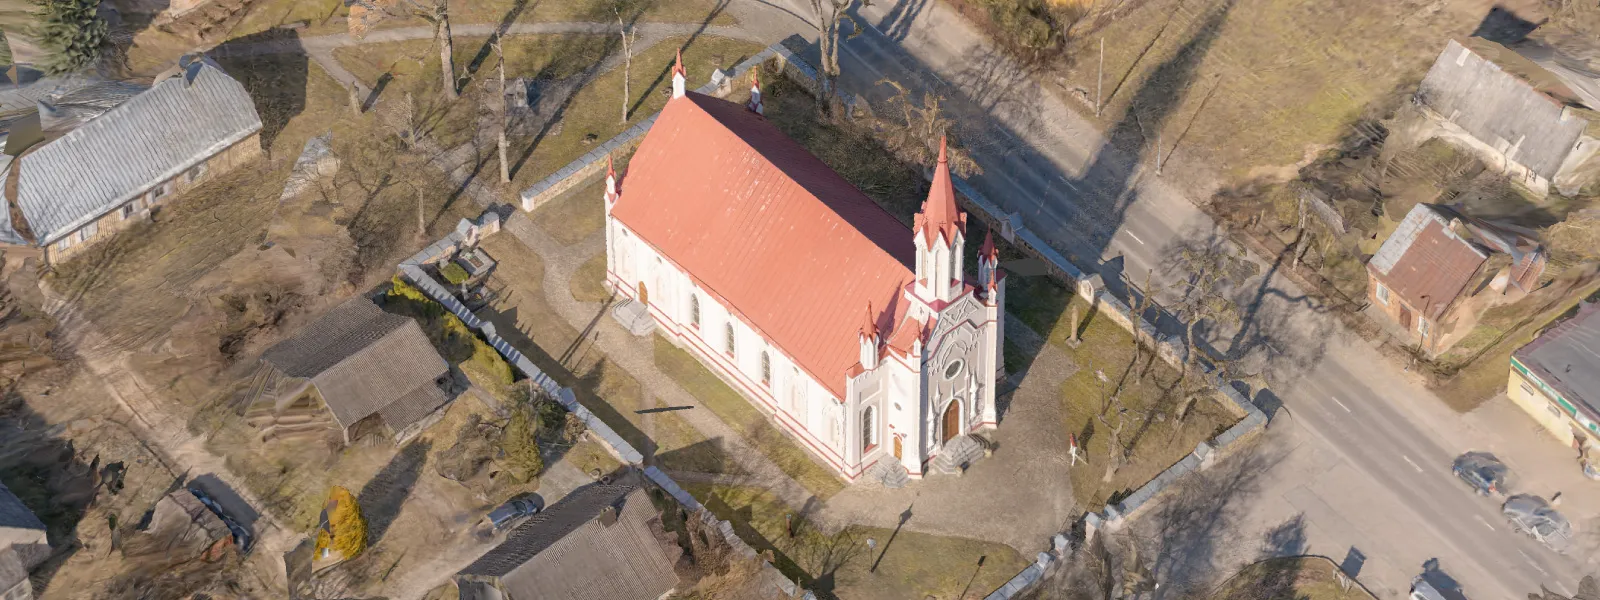
 Texture - texture for the 3D model is a separate layer with its own settings. Again, we are talking about size and resolution. Each texture can have any number of atlases - image files used to render the 3D model with texture. If you want maximum quality, choose the highest resolution atlas and a high up-to option, i.e., up to 10 atlases. If you want a realistic model for display, leave the default single atlas option at the highest resolution. Any lower than that is unnecessary unless we have a specific limitation from some third-party software we are exporting to.
 Elevation Model - this will generate a DEM surface, which is a raster image with height values for each pixel, so technically, it is a 2.5D model. We use DEMs for terrains, stockpiles, mines, and other such scenes where there is no overhanging detail, and we do not need an actual 3D model. DEM is also mainly used for volume measurements and generates much faster than an actual mesh. Here, we have a GSD setting, which allows us to enter the GSD - ground sampling distance of the DEM, which is its resolution. The smaller the GSD, the more detail you can expect. I would change this setting only if you have a specific requirement for the GSD.
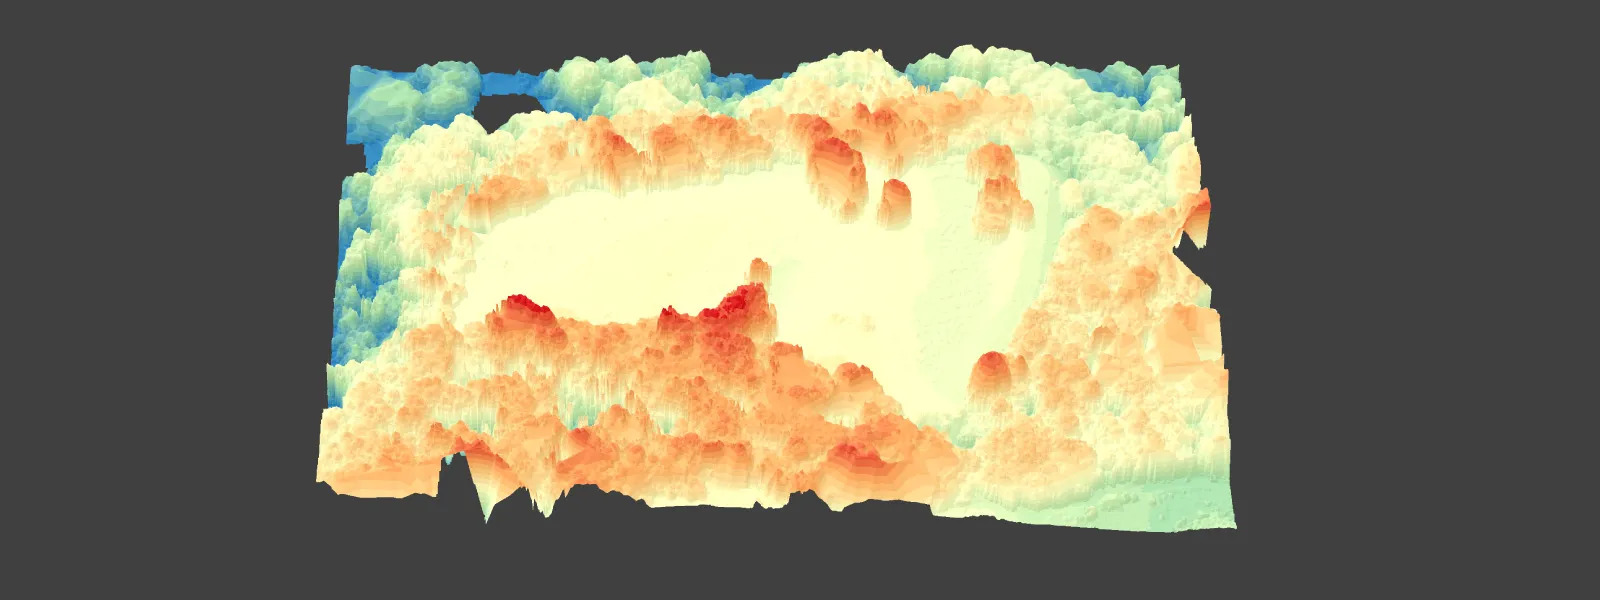 Orthophoto - orthorectified imagery projected on the DEM surface. An orthophoto makes the DEM look realistic and is an essential layer on its own. All maps and plans are based on orthorectified mosaics; many use cases require such data. We have a GSD setting here as well. Remember that orthophoto GSD cannot exceed the nominal photo GSD of your capture.
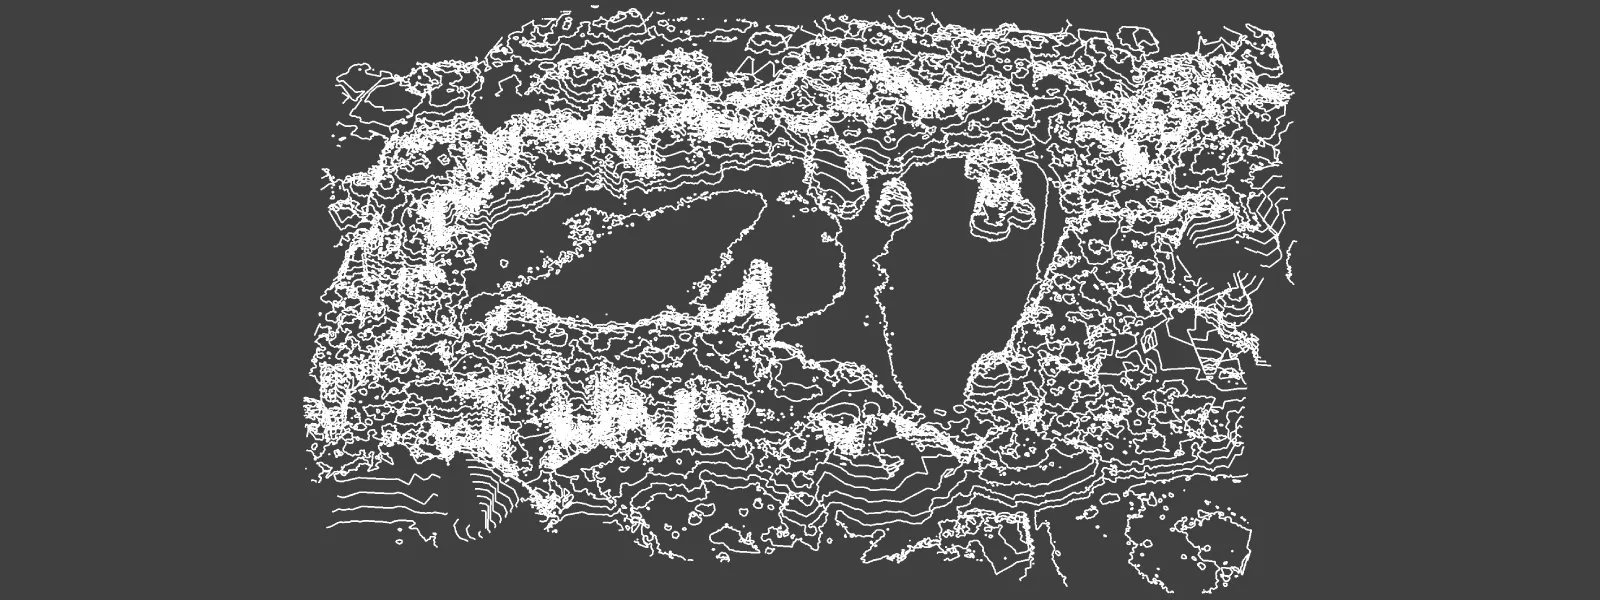
 Contour lines - the last option will create a contour line map based on the DEM. There are no settings to change here at the moment.
Mini FAQ about Pixpro Cloud Computing
We have a few questions that we receive quite often regarding the cloud computing service specifically:
-
What do you use for processing? We use our own machines in our office; no data processing is offloaded to third parties. We use the same Pixpro software you have installed. Sorry if the "Cloud computing" name is a bit deceiving; clouds are not involved in the process whatsoever.
-
What are the differences between local projects and those I get from the cloud service? None. You would get remarkably similar results on any machine with the same settings.
-
Are there any limitations with cloud projects? No. Any and all limitations we have reflect on our license tiers.
-
What can I do/not do with a project originating from the cloud service? There are no limitations. You can reprocess everything, use any post-processing tools on any layer, and export everything.
-
Can you see my photos? Only if you explicitly consent when uploading each project individually and a problem needs troubleshooting. Checking pictures and troubleshooting is the best way to support each project, but it is incredibly time-consuming.
-
I have already made a local project. Can I change my mind and process it on the cloud? Yes. After selecting the photos, go to workflow and click on Cloud processing. This will bring up the same cloud service wizard.
-
What PC do I need to work with cloud projects? Anything remotely modern. If it is a laptop or a desktop with components made in the last five years, even a modest setup should work just fine, depending on the size of the project, of course. When comparing what hardware you need for local processing, you can get by with a lot less power just viewing and working with the project.
-
How long will my projects stay available for download? 14 days. After that, they will be automatically permanently deleted.
Conclusion
This article has everything you need to know to use Pixpro's cloud computing service. It is conceptually very simple—you just do the same processing using our computers. There are no different web interfaces, no additional charges, and no different results. In my biased opinion, such a service is the best. I have not seen a better, more straightforward implementation from our peers. You can try our cloud service with all licenses for free for 14 days.

Photographer - Drone Pilot - Photogrammetrist. Years of experience in gathering data for photogrammetry projects, client support and consultations, software testing, and working with development and marketing teams. Feel free to contact me via Pixpro Discord or email (l.zmejevskis@pix-pro.com) if you have any questions about our blog.
Related Blog Posts
Our Related Posts
All of our tools and technologies are designed, modified and updated keeping your needs in mind
Pixpro 1.7.11 - Seamless Model Sharing
We are keeping the development cycle relatively short these days, so here is a new update to our photogrammetry software. Update 1.7.11 brings improvements related to our cloud service.

Pixpro Version 1.7.10 - New Feature - Inspections
Another new Pixpro version is here, and it brings a singular new feature - an inspection module. Inspections are a large part of photogrammetric scanning because it is the most convenient and long-lasting way of visual remote sensing.

Most Asked Photogrammetry Questions Part 4 - Pixpro Support Picks
I help my team support Pixpro photogrammetry software users on a daily basis and often get forwarded more technical or specific questions. This gives me a good idea of what people ask the most, so I am writing these blog posts to get ahead of many questions.
Ready to get started with your project?
You can choose from our three different plans or ask for a custom solution where you can process as many photos as you like!
Free 14-day trial. Cancel any time.
.svg@webp)
