Not Spooky - Photogrammetry is Easy
 Lukas
Zmejevskis
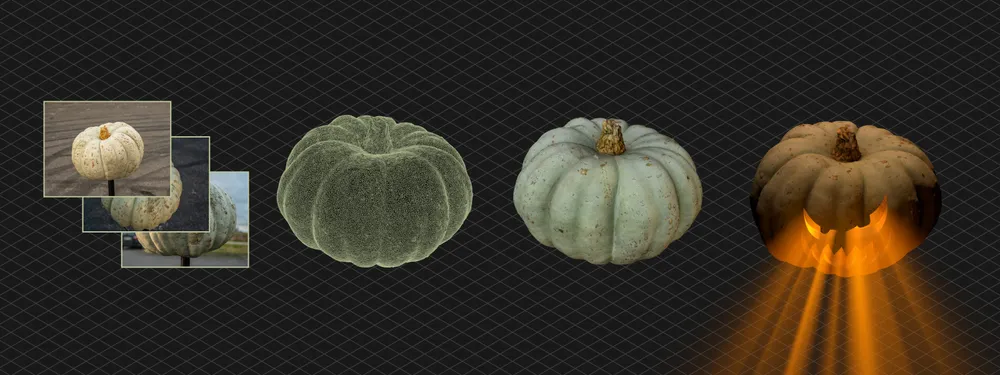
If you have a camera - any camera - you can do photogrammetry. You need to follow a few rules to capture a scene from the real world and put it into virtual 3D space. You will also need a tool that will do 90 percent of the work for you - Pixpro photogrammetry software. In this blog post, we will describe a spontaneous whim of wanting to scan a pumpkin and a car in detail to highlight how easy photogrammetry has become.
What do you need for photogrammetry?
You need two things - a camera and a computer. The camera can be a DSLR, Mirrorless, compact, or phone. Basically - it is anything that can take decent photos. Photogrammetry is not relegated to those who have professional gear. Although having good equipment helps - photogrammetry is all about the technique.
If you use Pixpro - you need a Windows computer. But as we offer cloud processing, it does not necessarily have to be powerful. You can choose local or cloud processing if you have a reasonably powerful Windows machine. Local processing will have some workflow advantages, but both options are OK for starting out.
How to take photos for photogrammetry?
Photogrammetry relies on having a “view” of your subject from many different perspectives. This means to get a 3D model of an object - you need to take many photos of it - in different spots. The best and most intuitive way - is just “going” around your subject and taking pictures. The most important things are - keeping the photo quality and not making two photos in the same exact spot.
To keep photo quality great - you need a lot of light. Doing scans outside during the day is the safest way to get started. Inspect the pictures on your computer before processing to ensure no photos are from the same spot. A step that many people forego and regret afterward.
Photogrammetry Scan Examples
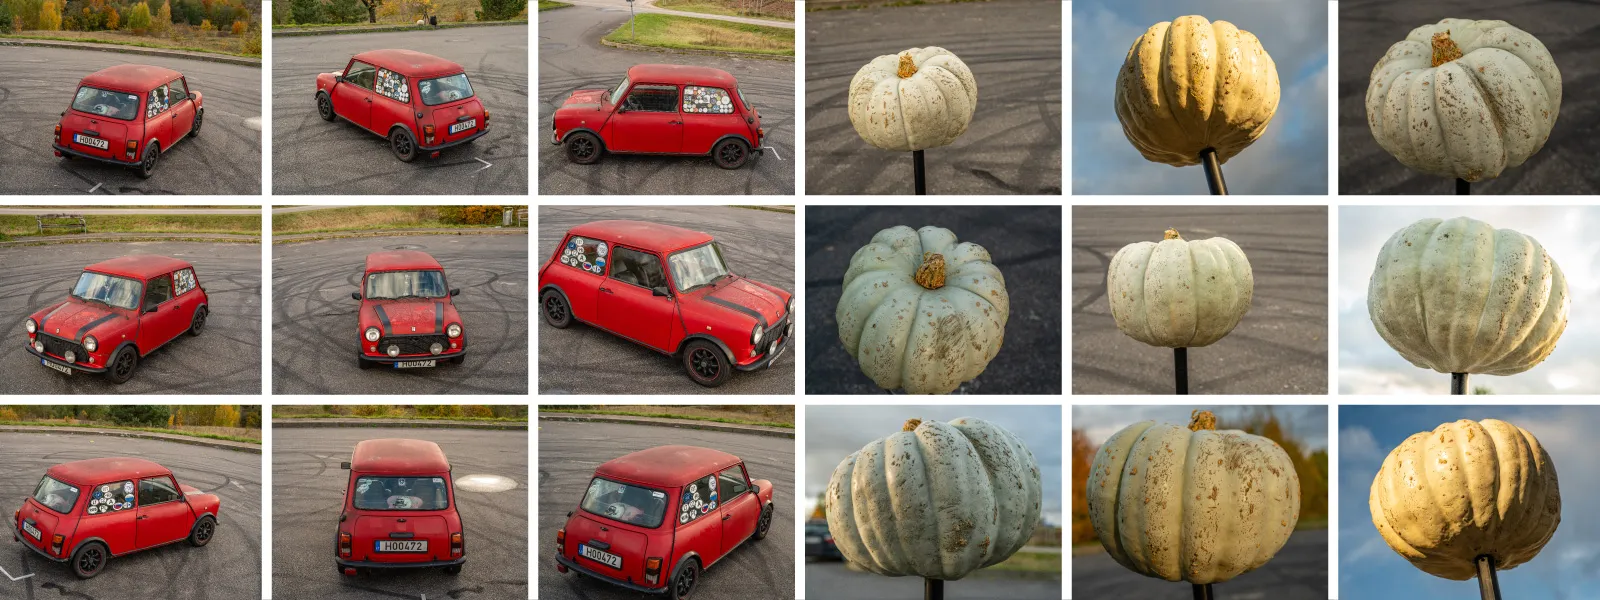
It was an excellent Autumn day, so we made a few spontaneous scan examples using a camera. We have a small decorative pumpkin, an edible, delicious pumpkin, and a car at our disposal.
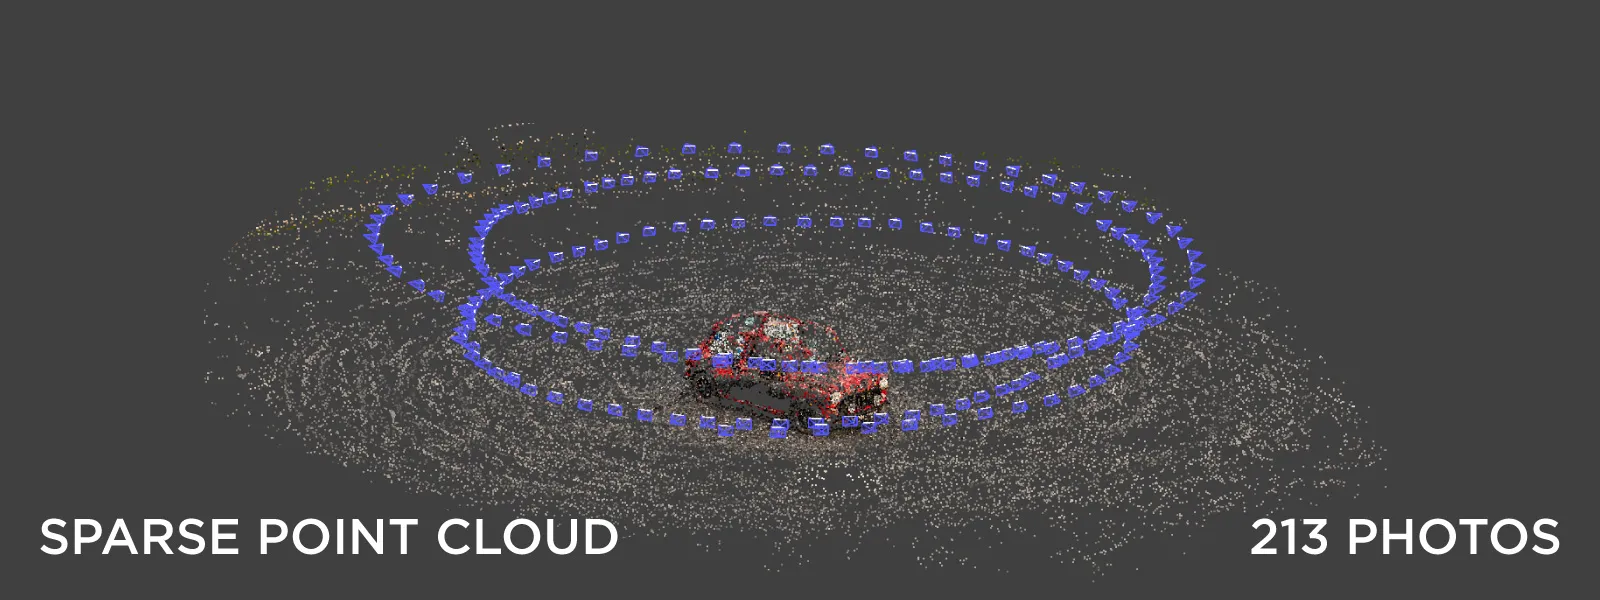
We chose a small parking lot that is not in the shade for a location, so there was plenty of light. With or without cloud cover, you will have enough light during the day, even in Autumn. First, we scanned the car - a small, classic Mini Cooper. We did what we mentioned earlier - went around the car, taking plenty of photos in different spots. We took waist-level shots and raised the camera as high as possible for a couple of orbits around the vehicle.
Because the software can not determine the scale of the scene from photos, we placed a ruler near the car to add scale later during data processing. The scale bar or an object with known dimensions must be visible in a reasonable amount of photos. Then, you can add scale using Pixpro manual referencing tools.
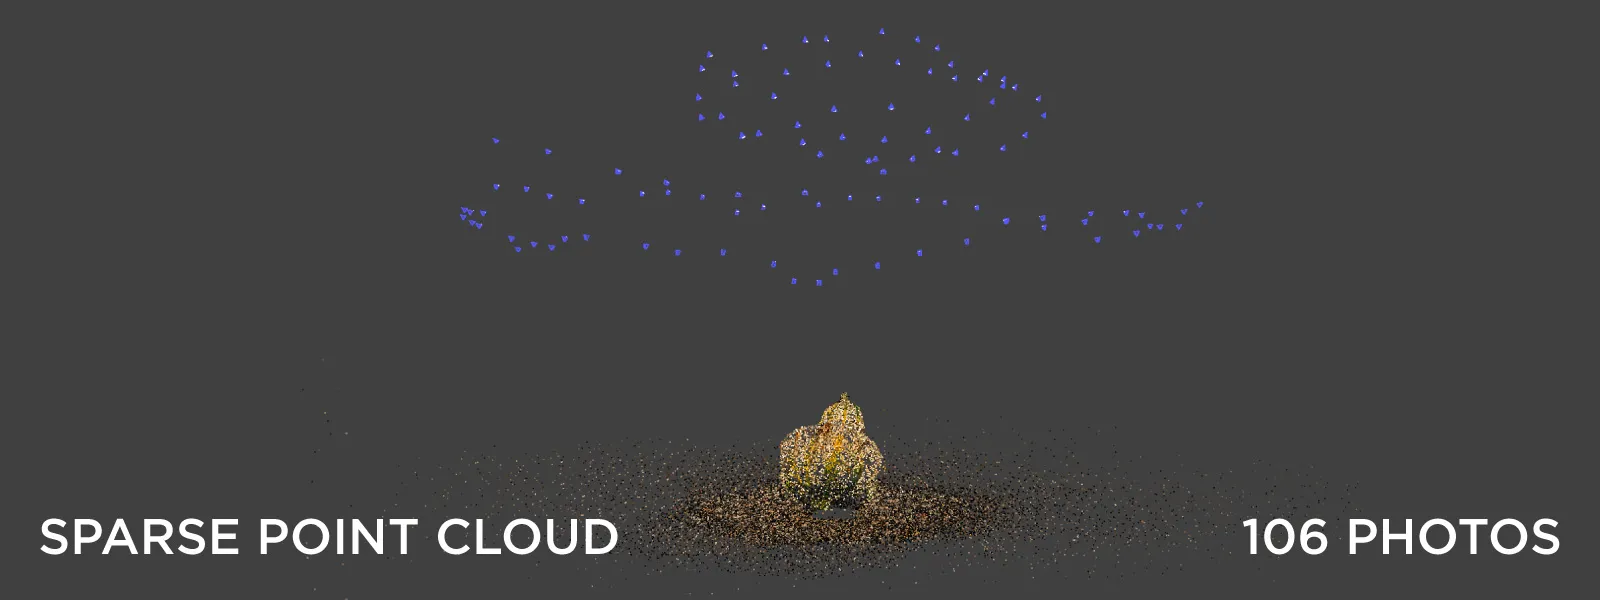
Next, we took photos of the larger pumpkin. We placed it on a tripod and again - walked around it, taking pictures from the top, bottom, and mid-level. The algorithm, which will later process the photos, can only create data where it is captured. It means that if you did not take enough photos of some part of the subject - it will not show up in the 3D reconstruction.
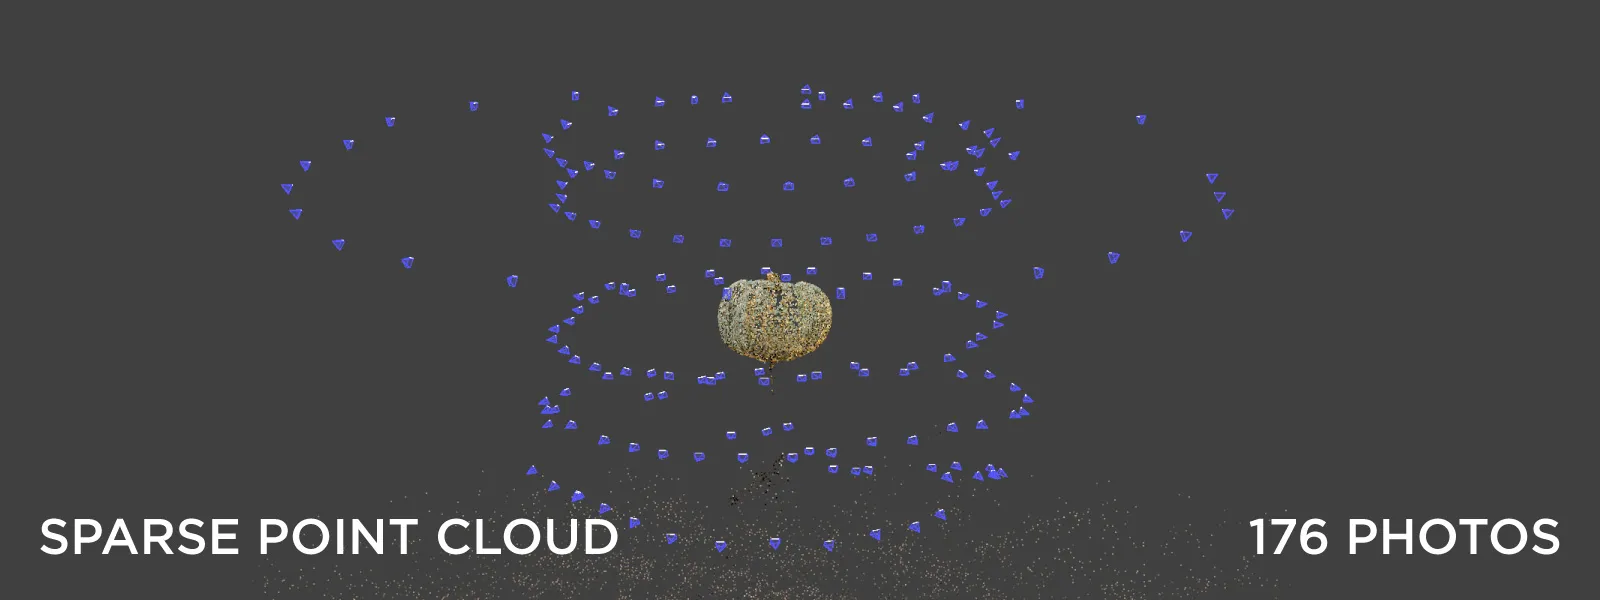
Finally, for the small decorative pumpkin, we placed it on the ground to make a little “scene” and took a few photos of it. The screenshots above and below are from Pixpro software taken after the first reconstruction step. The sparse point clouds do not look great yet, but the blue pyramids represent each photo taken during the scan, so you can get an idea of how many photos we took and in what spots exactly.
Photo Processing In Pixpro
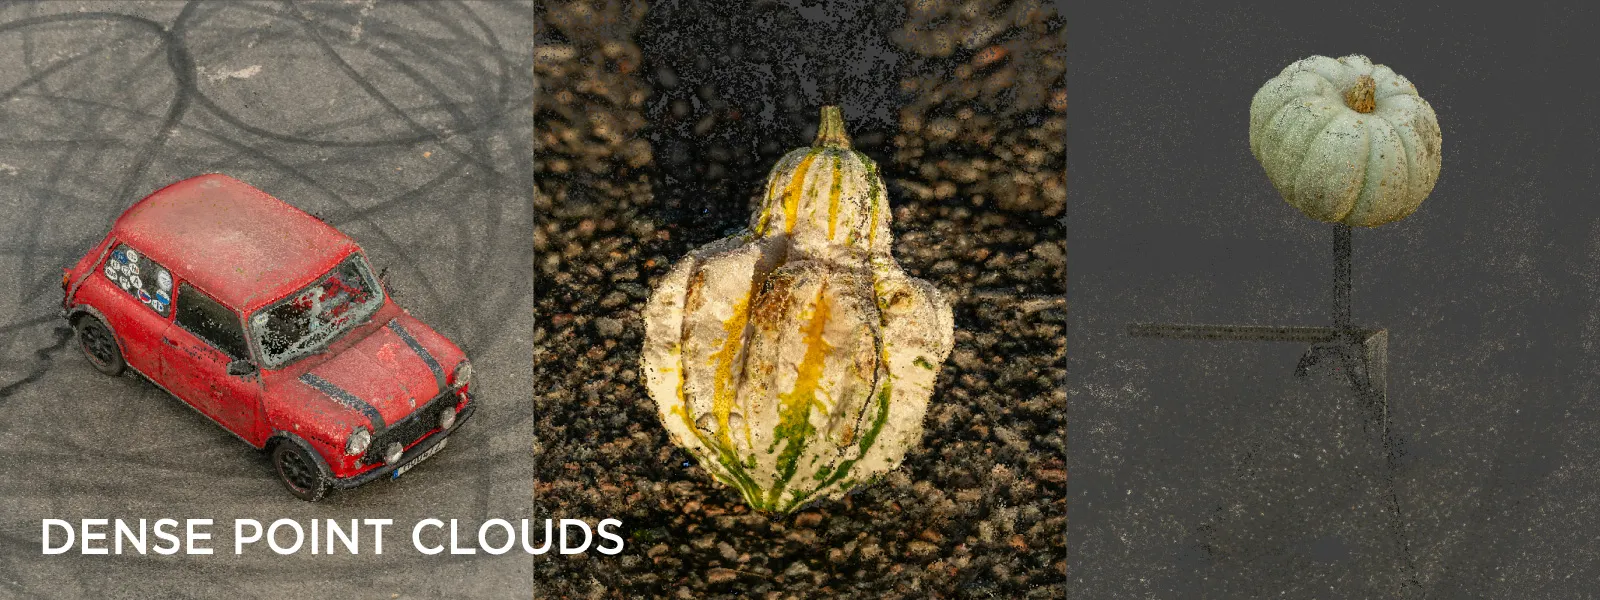
We need to process the photos in Pixpro to get our 3D model. After image upload, the first two steps take the most time to finish - 3D reconstruction and dense point cloud generation. After we make these two layers, we need to do some manual work before generating actual 3D surfaces and textures.
Firstly - if we want our project to have scale, we must add it using Pixpro manual referencing tools. Because our simple handheld camera has no GPS or any other way to add scale to a photogrammetric project - we utilize the capture scale bar in the scene - which is just a ruler. The same is valid for orientation. Using our manual referencing tools, first, we orient the 3D scene correctly and then add scale to it. You can watch the simple process below.
Secondly, we must delete unnecessary dense point cloud points using our clipping box and dense cutting tools. The ground, the surrounding areas, the tripod from the pumpkin scan - everything else we do not want - must go. Watch a short video below of using the clipping box and the cutting tool in Pixpro.
Now that the dense point cloud is clean from all the unnecessary points - we can make a 3D model. This is just another automatic step in Pixpro. And after we are done - we can export those models, share them, or have fun with them.
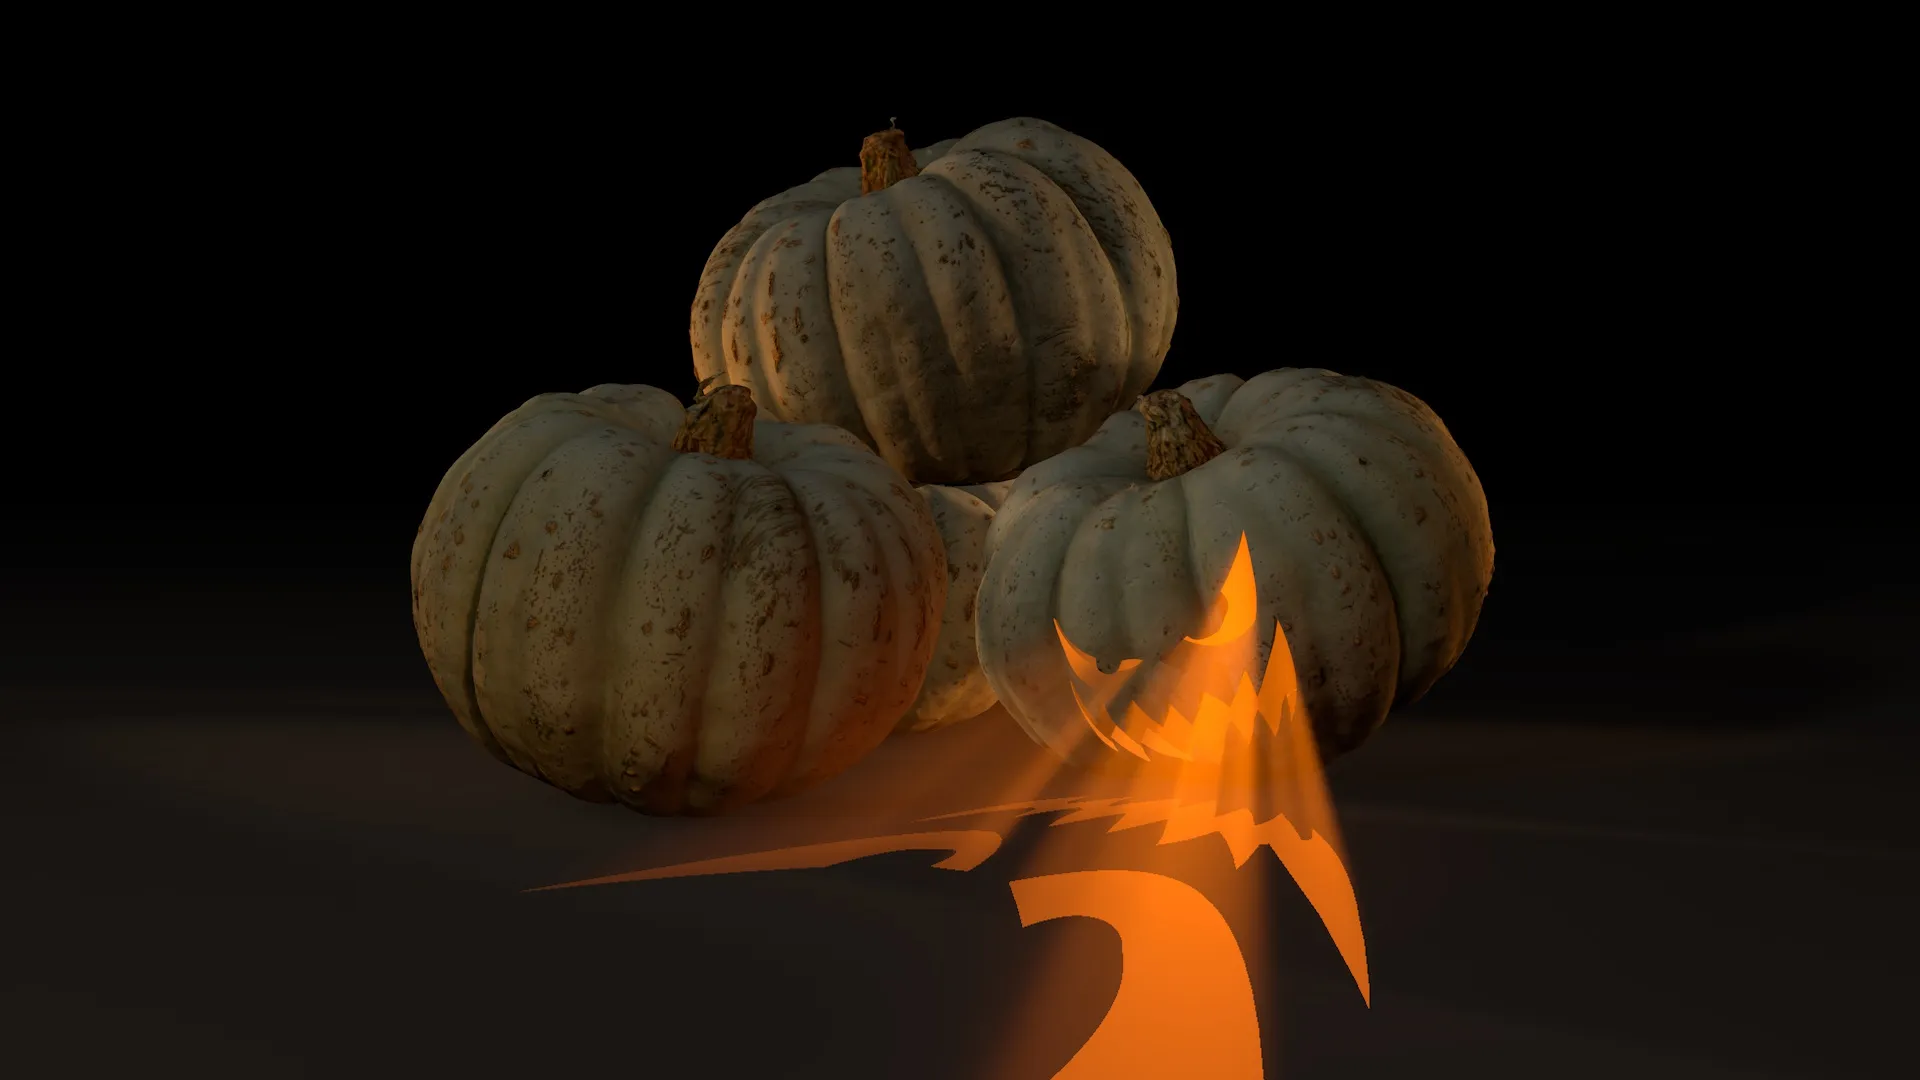
We uploaded the models to Sketchfab for everyone else to see, and we did some fun renders with the pumpkin in Cinema 4D. What you do with the 3D models - is entirely up to you, but the possibilities are endless.
Conclusion
Digital 3D photogrammetry is a revolution in 3D modeling. If you know the technique, you can quickly scan almost anything with a simple camera. With the proper post-processing, photogrammetric models make their way to games or are used for professional surveying purposes and measurements, reference for further 3D modeling, VFX for movies and TV, etc. In this article, we created a few basic examples. If you follow along - you can break through the initial barrier of entry into the world of photogrammetry. And whether for fun or work use in your area - you now have a basic understanding of a soon-to-be ubiquitous technology.

Photographer - Drone Pilot - Photogrammetrist. Years of experience in gathering data for photogrammetry projects, client support and consultations, software testing, and working with development and marketing teams. Feel free to contact me via Pixpro Discord or email (l.zmejevskis@pix-pro.com) if you have any questions about our blog.
Related Blog Posts
Our Related Posts
All of our tools and technologies are designed, modified and updated keeping your needs in mind
No. 1 Mistake You Are Making in Photogrammetry Right Now
As photogrammetry software developers, we need to troubleshoot multiple projects from our clients every week. The number one mistake, especially when making measuring projects, is using redundant photos. These photos can appear for a few reasons, which I will describe, and they can be quickly dealt
Classic Photogrammetry with an iPhone
Photogrammetric 3D scanning can turn a bunch of regular photos into a 3D model or a scene. So, we only need a camera and some knowledge of how to take photos. In the previous article, we tested the latest iPhone camera with a few different apps.
Manual Photography with iPhone 16 Pro Max - Android/Windows User Perspective
Adage as old as touchscreens on portable devices tells us that the best camera is the one you have. We have the luxury of having cameras everywhere we go because we are dependent and addicted to smartphones.
Ready to get started with your project?
You can choose from our three different plans or ask for a custom solution where you can process as many photos as you like!
Free 14-day trial. Cancel any time.
.svg@webp)
