Noise Reduction in Photogrammetry
 Lukas Zmejevskis
Noise reduction is a core part of any imaging pipeline. Just like any other electrical signal - in digital photography, noise is random fluctuations visible in any image. In our last article, we tried a few different software for noise reduction to see how we could improve high-ISO photos in post-production. In this article, we are investigating noise reduction effects on photogrammetric 3D reconstruction. The biggest questions are how much noise we could have and still get decent 3D models, and can we leverage the latest AI algorithms to get better results?
Noise Reduction in Photogrammetry
Noise reduction is a core part of any imaging pipeline. Just like any other electrical signal - in digital photography, noise is random fluctuations visible in any image. In our last article, we tried a few different software for noise reduction to see how we could improve high-ISO photos in post-production. In this article, we are investigating noise reduction effects on photogrammetric 3D reconstruction. The biggest questions are how much noise we could have and still get decent 3D models, and can we leverage the latest AI algorithms to get better results?
Ai vs. Traditional Noise Reduction
AI noise reduction in photography works by using deep learning to distinguish between authentic image detail and noise. After analyzing millions of images, the AI learns to accurately differentiate between the two, allowing it to denoise images while recovering important detail.
We may consider AI noise reduction superior to traditional approaches because it is generative. In contrast, conventional noise reduction methods are exclusively subtractive. But here, we encounter a potential problem. Generative means some of the detail in the photo is recreated, which introduces fluctuations between consecutive images containing the same subject - a typical photogrammetric image set.
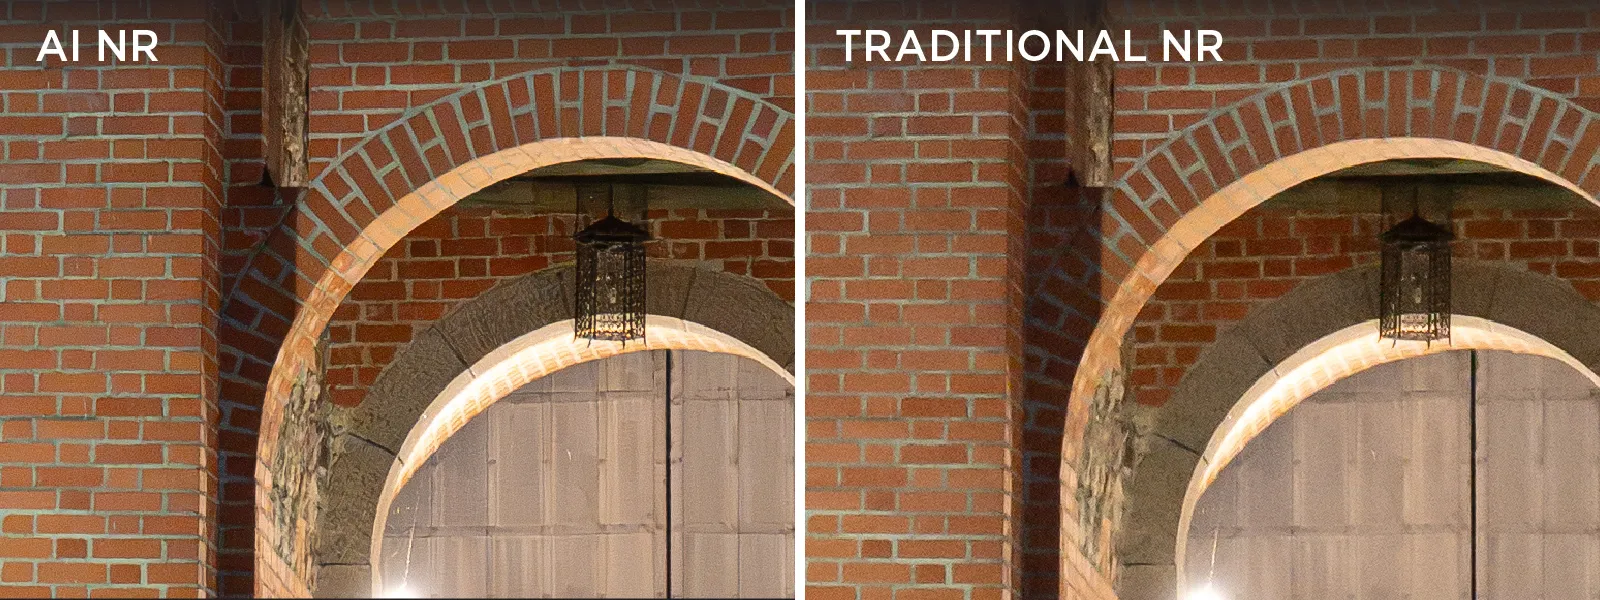
These fluctuations mean inconsistencies between photos and, in turn, different features. A fundamental photogrammetry principle is finding and matching the same features in all images. We need to do practical testing to find out if it is the case.
Test Scenario
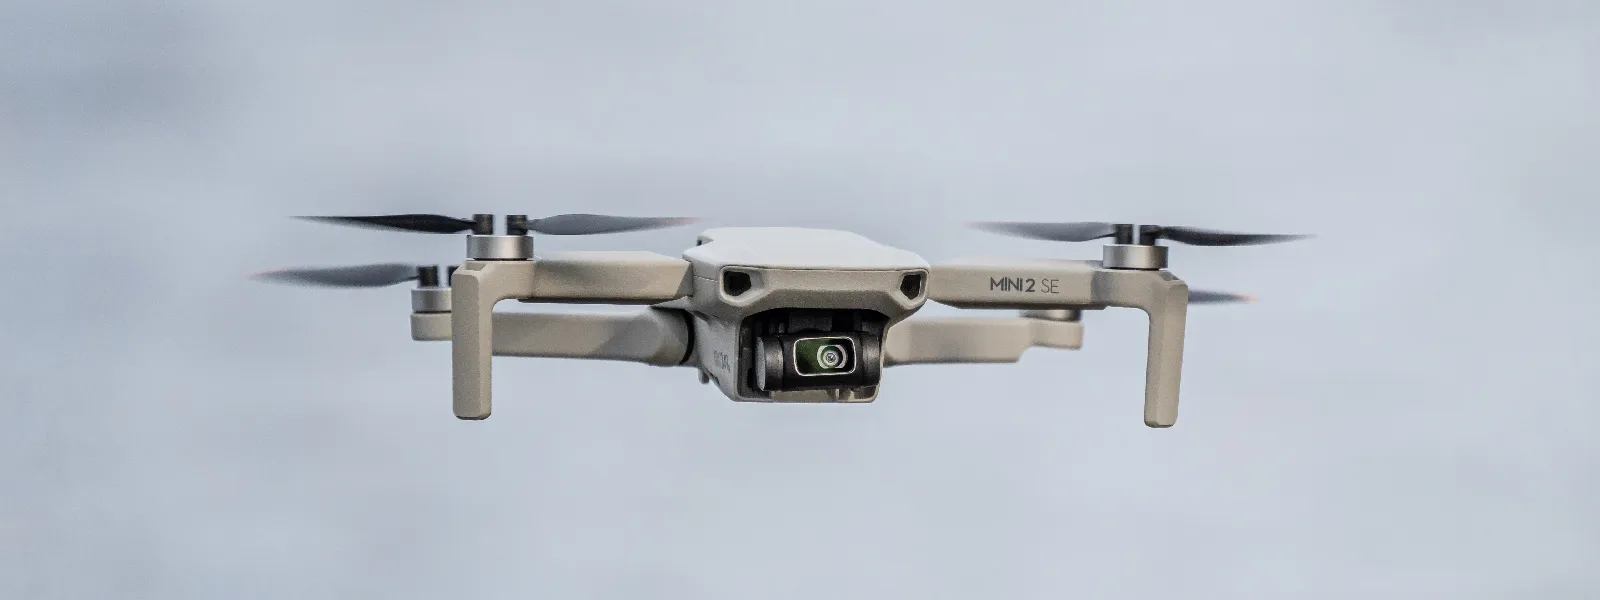
Using the results obtained from our last article, we chose software that provided the best results and came up with a real-world use case scenario. Imagine your work day as a drone pilot getting too long, and you still have one last job to do. Sun is already down, and you have the cheapest and simplest drone on the market - DJI Mini 2. This drone does not provide good photo quality in dimly lit conditions - but the job is at hand.
To maximize quality, you choose the raw+jpeg image format setting and reduce the shutter speed to the lowest possible value, which will not risk introducing motion blur. Because the lighting is so scarce, you opt to go for 1/50th of a second and stop to take each photo. It leaves you with the highest ISO value of 3200, and the images are too dark.
Your subject is the roof of a building needed for measurements. You take off and do a manual orbital scan flying around the building; once an orbit is complete, you land and head back home.
Post-processing and Noise Reduction
Now our simulated scenario diverges to 5 possible branches. You can:
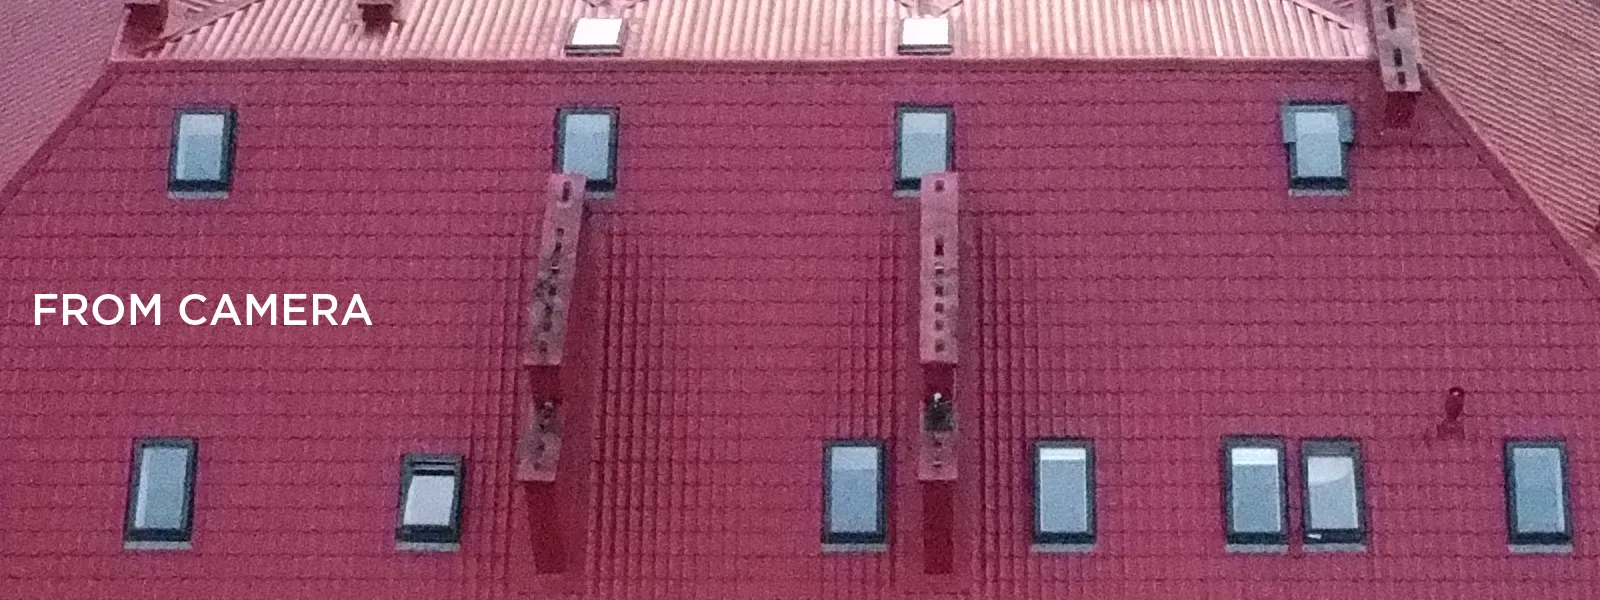
1. Just use the out-of-camera JPEGs.
2. Develop RAW files, add some adjustments to taste but leave noise reduction at the default setting. (default setting in Lightroom Classic only reduces the color noise).
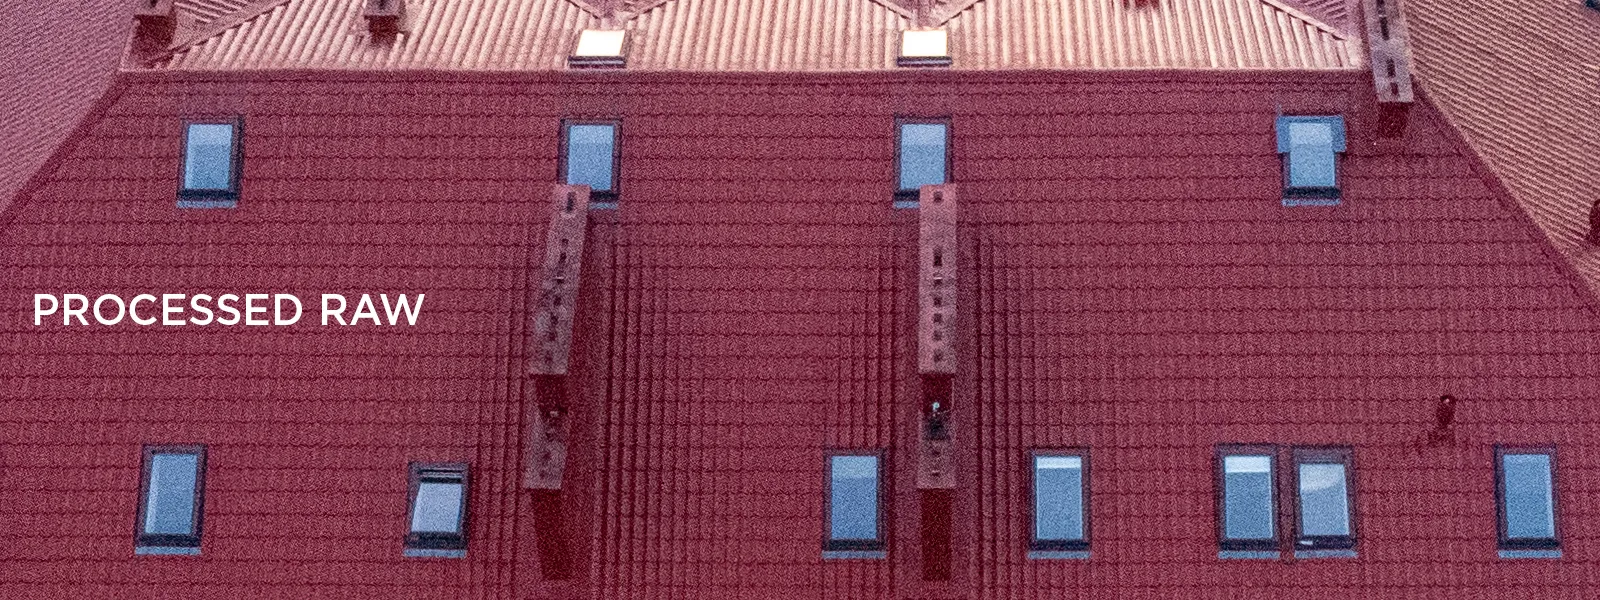
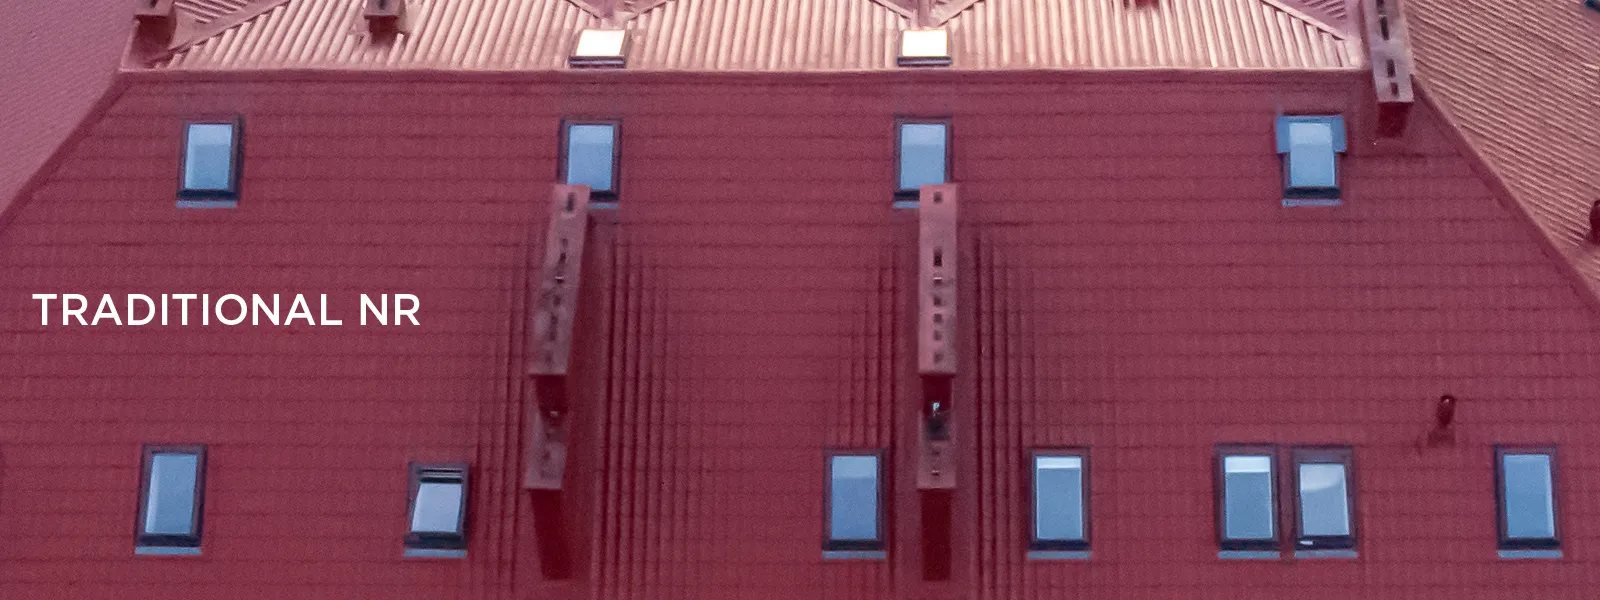
3. Apply some noise traditional noise reduction in Lightroom Classic.
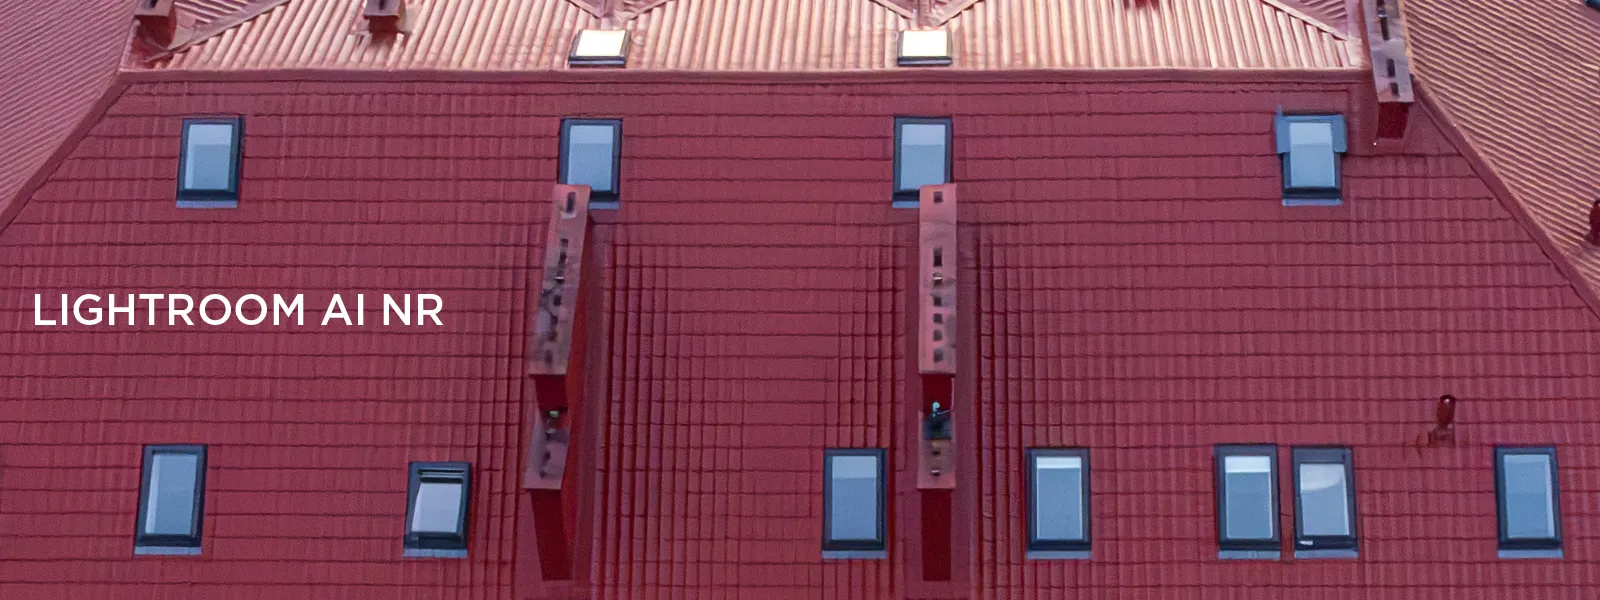
4. Apply AI Denoise in Lightroom Classic.
5. Put all raw files into Topaz Photo AI and reduce noise there.
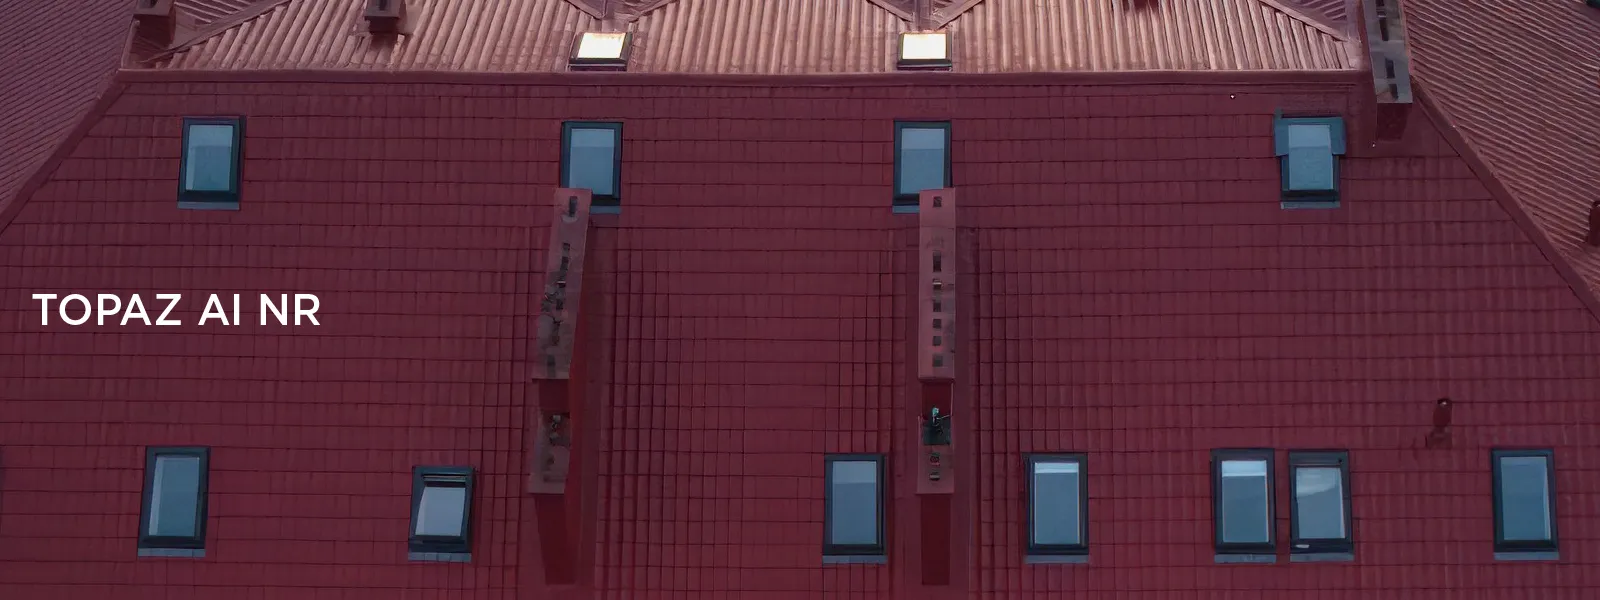
Naturally, we tested all these methods and got five different photo sets for further processing in photogrammetry software.
Test Results
We processed all photos in Pixpro photogrammetry software and obtained dense point clouds alongside 3D meshes with texture. To highlight possible issues, we even disabled mesh hole filling to see if there were any apparent differences. We kept all other settings at default medium values.
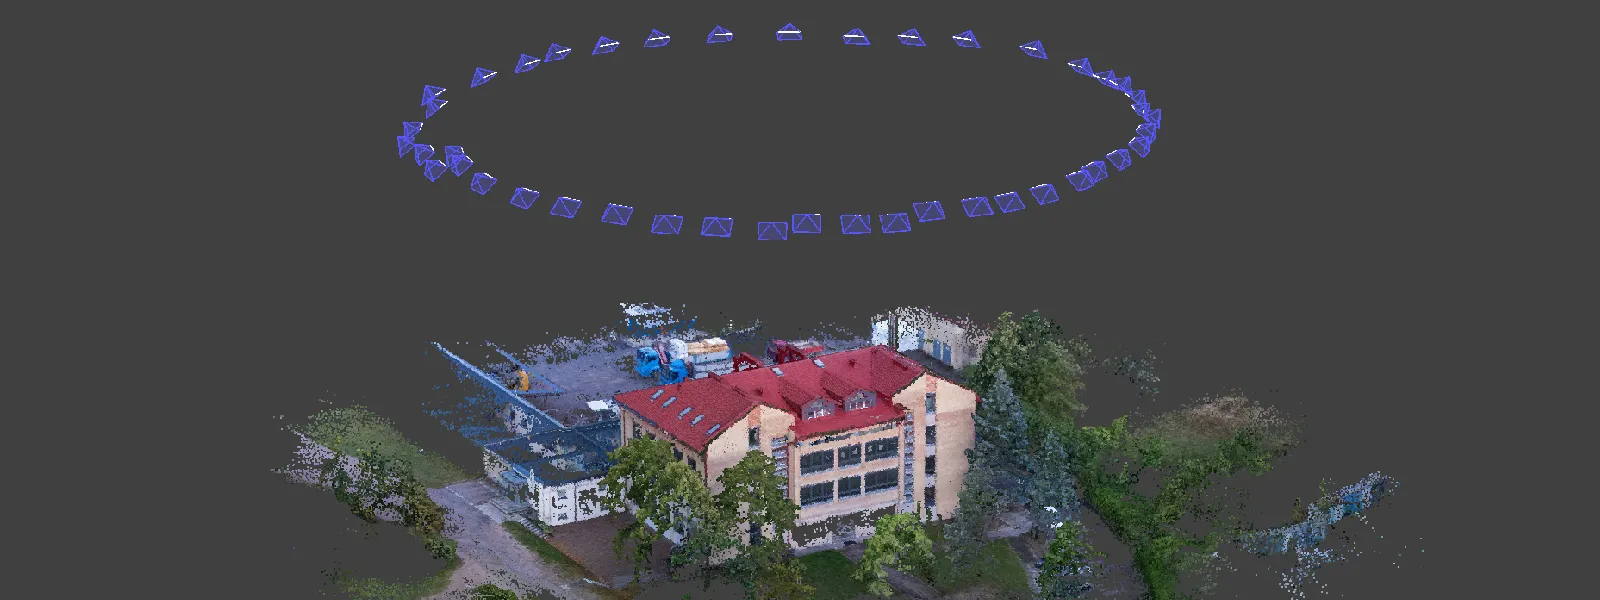
The good news is that even in this worst-case scenario - you will have no problem obtaining roof measurements. All 3D reconstructions were successful. There are no critical issues with the 3D structure of the scene, scale, or excessive point cloud noise with any of the examples.
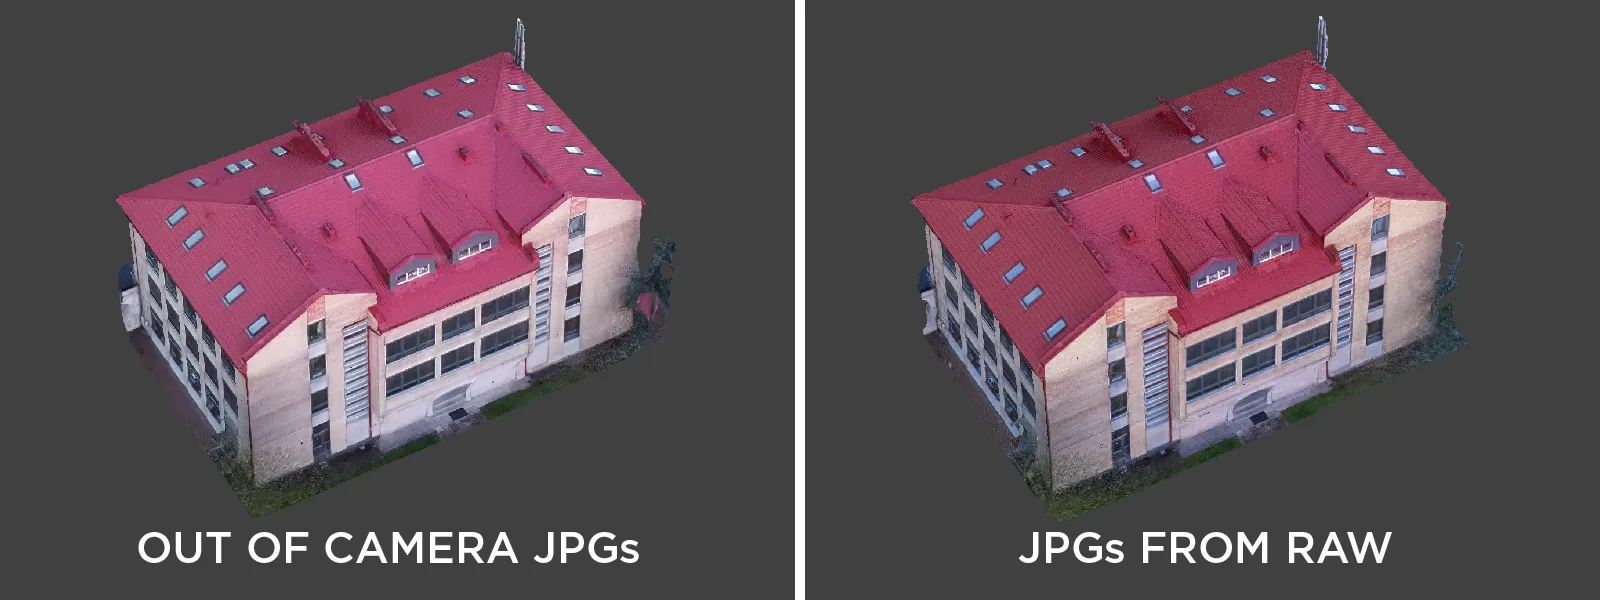
We obtain the best results from photos converted from the raw format in Lightroom Classic without any additional noise reduction. The result is noisy, but all of the detail is still there, and the overall 3D structure of the scene is the most sound.
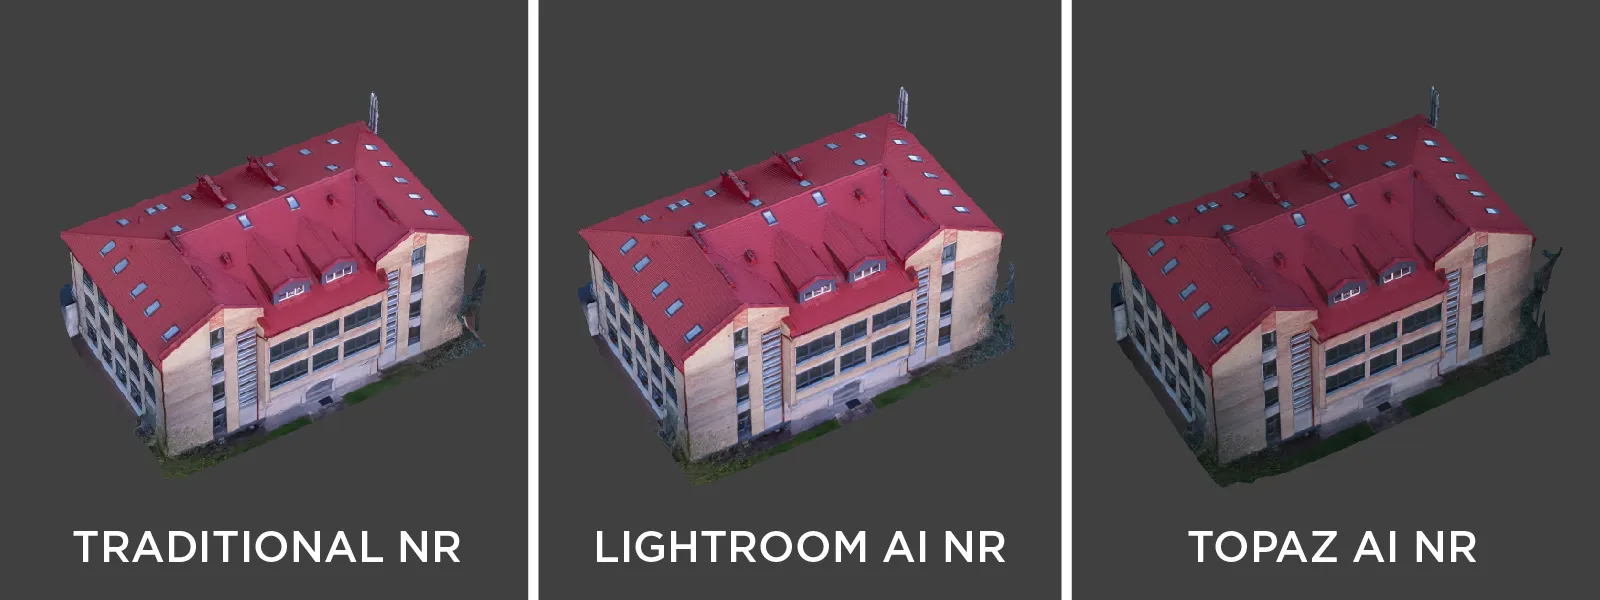
Results with AI or other noise reduction are good too. Although detail is suffering even in the surface department, there are no deal-breaking issues. Suppose you need to show the results to the client. In that case, you can display 3D meshes without noise while making your measurements on the project created with photos without noise reduction. There is also an alternative route.
Texture Map Noise Reduction
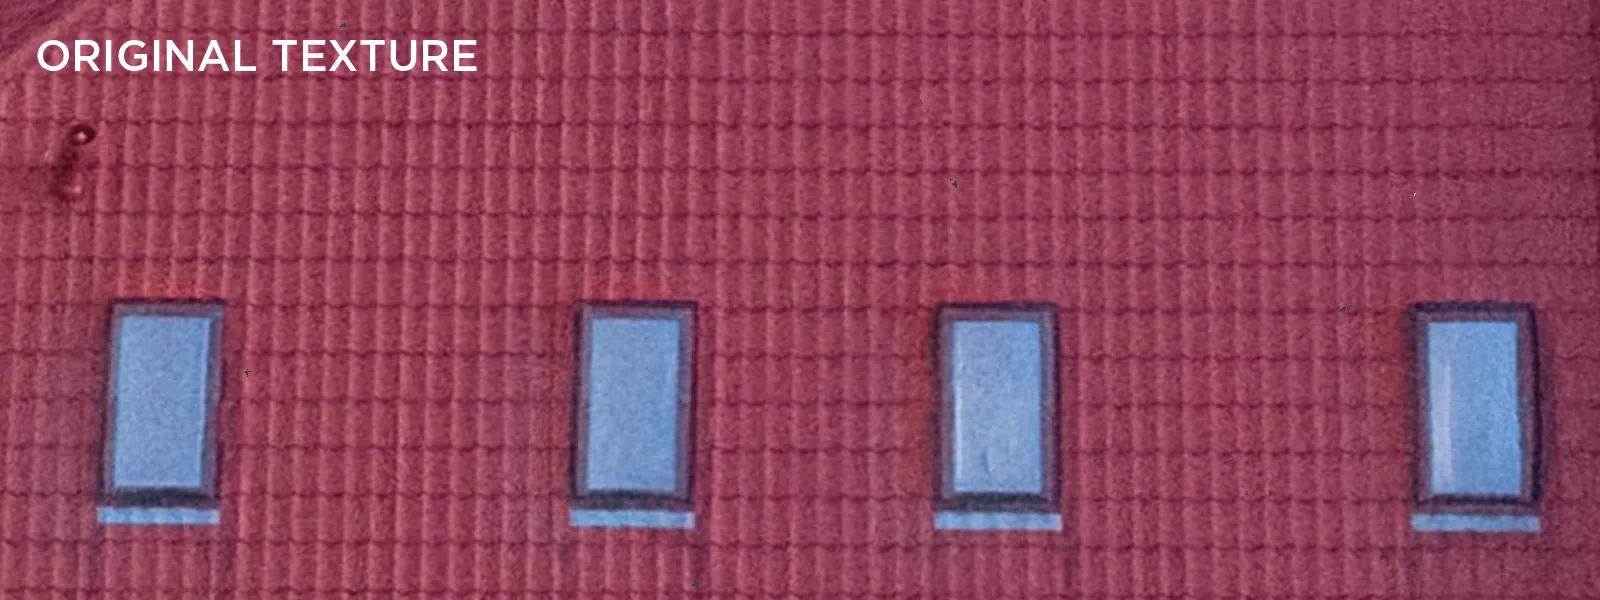
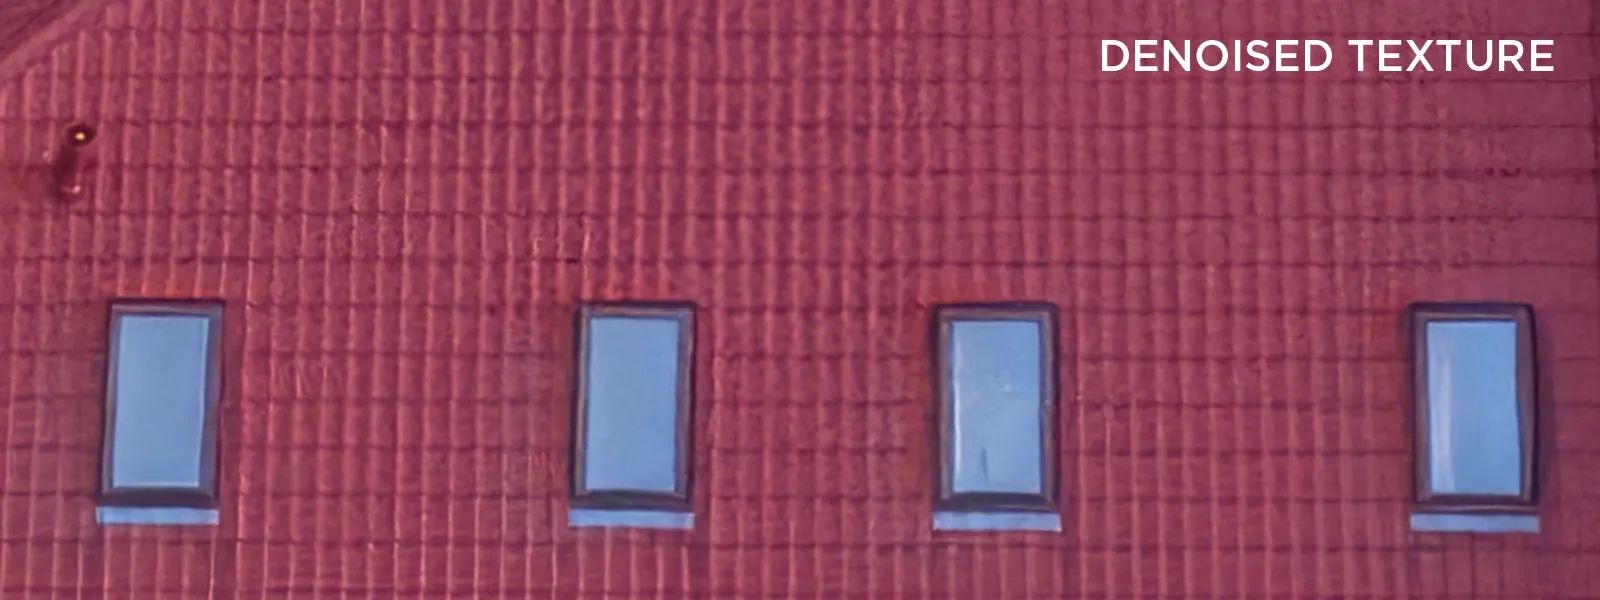
We also tried reducing the noise with AI tools in the texture only. We took the .png file that Pixpro generates as a texture map and ran it through topaz denoiser. Unfortunately, due to the peculiar nature of the texture files, the noise reduction is less effective and introduces some inconsistency. But with some experimentation with different settings, different texture sizes, and various subjects, you might find a combination that works. So it is worth a try because you get the full surface detail and no noise in the texture - the best of both worlds.
Conclusion
The conclusion here is entirely unexpected. While all of the approaches worked fine, the main takeaway is the capability of modern drones and photogrammetry software. Even the cheapest, most basic drone provides enough image quality in an extreme scenario. Our test case was the worst-case scenario with the sun entirely below the horizon, and we even brightened up the photos in post-production, making them ISO 6400 effectively. You should not worry about the noise almost ever. But you need to ensure no motion blur in the photos and proper focus because no software can fix that, at least for now.

Photographer - Drone Pilot - Photogrammetrist. Years of experience in gathering data for photogrammetry projects, client support and consultations, software testing, and working with development and marketing teams. Feel free to contact me via Pixpro Discord or email (l.zmejevskis@pix-pro.com) if you have any questions about our blog.
Related Blog Posts
Our Related Posts
All of our tools and technologies are designed, modified and updated keeping your needs in mind
Viltrox 14mm vs. Pergear 14 mm Lens – Choosing for Interior Photogrammetry
Ultrawide-angle lenses are most commonly used in photogrammetry for interior scanning. I am planning to do an interior-type construction site scan, so I need a lens for my Sony full-frame camera. There are plenty of premium wide-angle options, but I need something that provides the best image qualit
Gaussian Splatting vs. Photogrammetry
Every few years, something new shows up online claiming to “revolutionize” 3D reconstruction. A while back it was NeRFs. Now it is Gaussian splatting — with endless YouTube clips of people walking through photorealistic 3D scenes that seem to render instantly.
Photo Dynamic Range - Real Life Tests and Advice
Dynamic range is an inescapable term when talking about digital photo or video capture. Our human vision has an incredible ability to adapt, allowing us to perceive both very dark and very bright scenes. When a digital imaging sensor or even a chemical negative captures a scene frozen in time, it is
Ready to get started with your project?
You can choose from our three different plans or ask for a custom solution where you can process as many photos as you like!
Free 14-day trial. Cancel any time.
Welcome to Pixpro
Sign in
And access your account.
.svg@webp)