Small Scale Photogrammetry Part 1 - Main Challenges and a Best Case
 Lukas
Zmejevskis
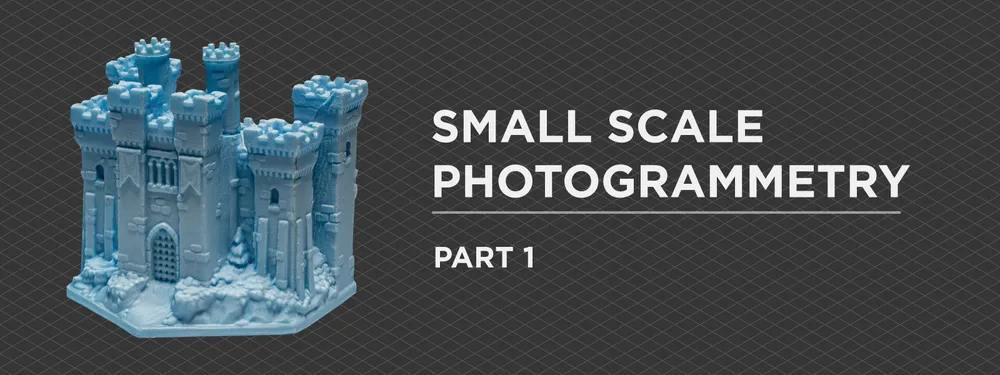
Small-scale photogrammetry has the classic fundamental requirements, while the challenges and difficulties can be different and unique compared to medium-scale or aerial photogrammetry. I have a use case of scanning a few small items to reproduce even smaller copies, and I will share the process of doing so. This blog post is the first of two parts about this use case. First, we evaluate the difficulties we will face and what we need to overcome them.
List of Challenges
Our purpose is to get visually excellent photos with great coverage and overlap. This is the fundamental principle of photo capture for photogrammetric reconstruction. When dealing with small objects, all of the challenges arise from our goals. I compiled a list of the ones we face the most:
-
Depth of field in close-up photography. When focusing in closely, the depth of field, aka the area that is in focus and sharp, becomes very thin. We combat that by closing down the aperture, but that dramatically reduces the amount of light we have to work with. We can also try to do focus stacking, which dramatically increases the amount of work we need to do.
-
The amount of light, lighting intensity, equipment, and reflections are all variables that we need to balance. We can use powerful lighting, which allows us to take photos faster but produces more difficult reflections and shadows, or we can use longer exposure times with the camera to gather more light, which dramatically increases the capture time and requires a lot of stability.
-
Motion blur. We need a stable setup for the camera and the object. If either moves during the capture, the photos are useless.
-
Camera movement. We need a convenient solution to move the camera while maintaining stability for capture. Handheld capture in small-scale photogrammetry is not viable in most cases.
-
Subject movement. If we move the subject, the same convenience, flexibility, and stability requirements apply. It may not even be an option for sensitive objects.
-
Subject reflectiveness. If we do not control the reflectiveness of the subject we are capturing by treating the surface somehow - we will not be able to scan it using photogrammetry.
-
Subject shape. Nonuniform, complicated shapes greatly complicate capture at small scales. Which ties in directly with camera or object movement capabilities.
Equipment
I have access to quite a bit of equipment, and it seems we may need a fair amount to overcome the challenges listed above. Let us discuss the few key items we need with the examples I have on hand right now for this job.
A camera is an obvious one, but there is not a lot of nuance here. Any DSLR or mirrorless camera will do. Essential requirements would be the ability to use manual exposure settings, manual focus, and modern image quality. Image quality has been "good enough" from a technical standpoint for quite some time, so if your camera has 18 megapixels or more, chances are it is good enough for photogrammetry.
A lens. Here, we do have some nuance. If your camera has an interchangeable lens, you have flexibility and quality at a higher cost. And for small scales, we need to use a macro lens. Maybe a 50 - 60 millimeter macro, which is easy to find for most systems. If you do not have a macro lens, you can use either macro add-ons or extension tubes, which allow your lens to focus closer.
Camera mounting solution. Most likely, a tripod. We need a flexible camera mounting solution that will remain stable at various positions. A good tripod and a good ball head will achieve this. If you are a photographer, you already have one; if not, consider getting a good one.
Camera movement solution. Now, things get more complicated and more niche. The basic solution is to move the tripod with the camera, but this is not viable without a hack. Yes, the tripod head allows tilt and rotation, but we need movement in space. Picking up and putting down the tripod between each shot is not viable on a small scale. We can put a piece of paper or a carpet below the tripod and try dragging it with the entire kit. A more professional solution would be to put a camera on a slider; video and macro sliders may do the job.
Object placement/movement solution. If we plan to move the object itself, we need something controllable. Ideally, it should be something we can turn and move from side to side. Here, the paper hack becomes much more viable if the object we are scanning is solid. Just have a level, solid surface, like the edge of a table, make it clean and dry, and put a piece of thick paper on it. Put your object on the paper and drag the paper around as needed. This has a lot of drawbacks, but it is the most accessible solution. You will need a turntable, slider, or something similar for something more stable. An affordable turntable can be made out of an IKEA pizza base, white vinyl, and measuring tape.
Lighting. Lighting is the most complicated aspect of the entire setup. If you want to move the object during capture - you will need a diffused lighting source. The most diffusion one can achieve at home is bouncing light off the ceiling or using colossal lightboxes. However, keep in mind that diffusion also means less light intensity.
Polarization. If you plan to do cross-polarization - you will need a light source that can easily have its light polarized - it can use a filter. And you will need a circular polarizing filter that fits your lens. Cross polarization works best with ring lights that go around the camera's lens. These usually do not provide as much light as external lights and may get in the way of turning your filter. We used cross-polarization in a previous article here:
Cross Polarization Photogrammetry
Best Case Scenario
For this article, I did a best-case scenario example. A best-case scenario means an object that is super easy to scan. Its shape is simple, it is not reflective, it has some texture and surface features, it is solid, and it is not that small. Our perfect example is a miniature castle model from a board game partially primed with an airbrush. If you know what this is, write to us for a free Pixpro license.
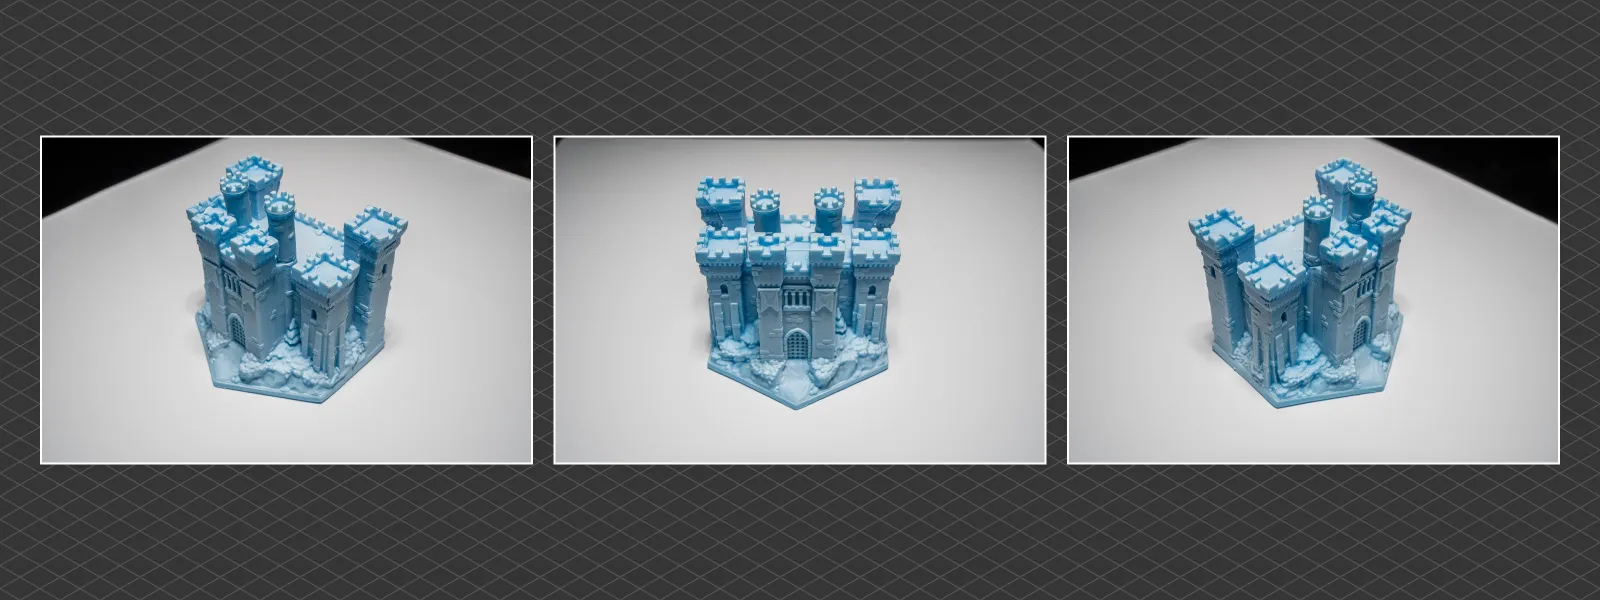 Such an object means we can do the most straightforward 3D scanning approach. A turntable scan without any special lighting or cross-polarization. Our setup is a piece of white paper on a tripod head that can turn, with the camera pointed at the object at about a 45-degree angle. A video light was hung straight above the object to provide the only light source, and that is it.
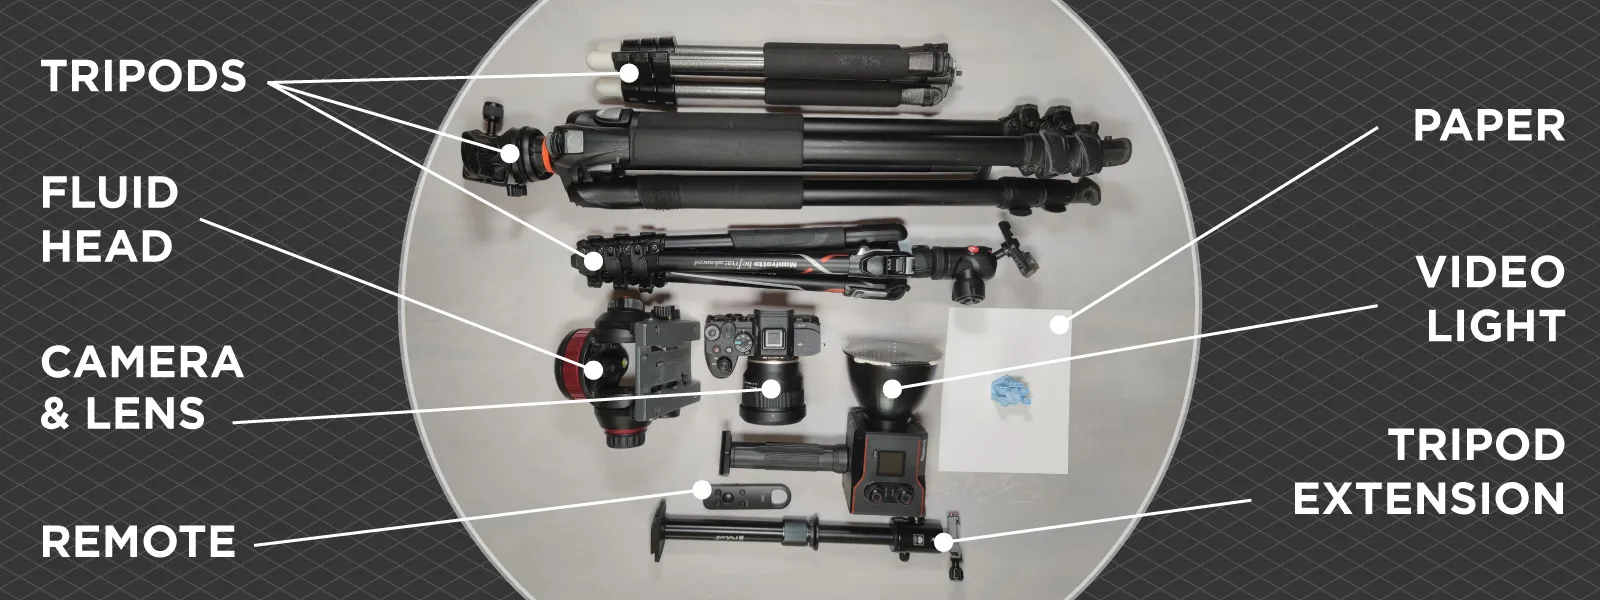 For this case, we used a 35-millimeter Tamron lens with half-macro capability (a cheap gem for anyone using Sony full-frame mirrorless cameras). We brought the castle close to the minimum focusing distance and took photos at a closed aperture of f22. A closed aperture allows us to have just enough focus depth of field for this object so we can shoot a single shot every time we rotate the turntable.
A video head with a piece of paper on it works as our smooth and dampened turntable, and it happens to be marked with 29 equal spaces on the bottom part. So, we turned our heads to each marker and each half of the space, giving us 60 photos for each full rotation. A bit of an overkill, but as we are doing just a single "orbit" - this is perfect.
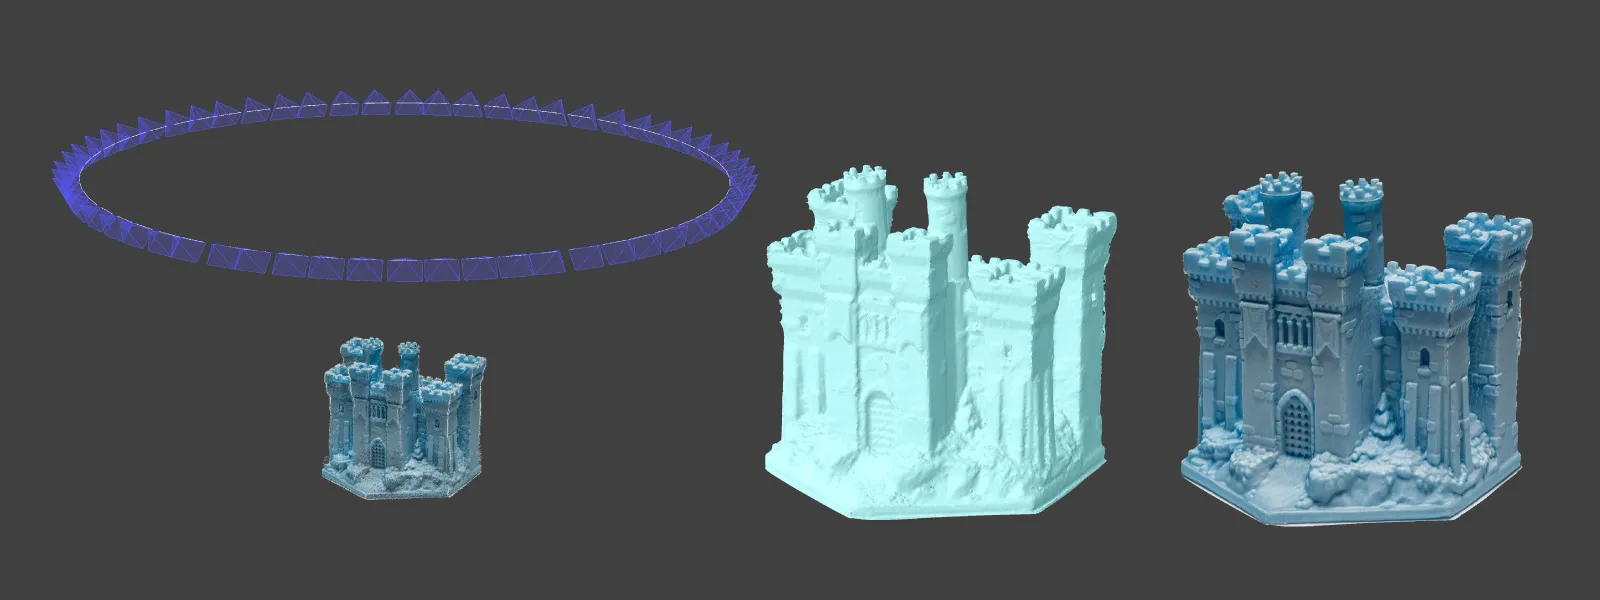 The result is perfectly fine, too. We got 60 high-quality, well-exposed Raw photos, processed them in Lightroom, and then processed the jpegs in Pixpro. We also got a decent 3D model of the castle. We can scale, edit, reprint, upload, and share this model and do whatever we want, while the setup, capture, and processing took under an hour. This is a perfect case for photogrammetry.
Bad Case Scenario
For the following article, we will use the polar opposite of an object. We will attempt to scan a retro model train, which is reflective, unstable, and made of two independently moving pieces with plain black surfaces and a nonuniform shape. This is close to as bad as it gets for photogrammetry. We have an entire to-do list of issues we will need to address:
-
Lighting - camera set up so the reflections are eliminated or at least not reconstruction breaking.
-
Somehow, texturize the surface without ruining the model train.
-
The solution is either camera or object movement that meshes with the lighting solution.
-
We need to stabilize the model train. It is on wheels on miniature tracks. Some wheels on the locomotive are locked, while the coal cart is connected with a flexible joint with a spring. Every little nudge makes the entire thing bounce around.
-
We need to figure out the scanning pattern that will cover the entire elongated object, not interfere with lighting, and provide good enough detail while tying all of the photos together in a single project.
Conclusion
I have already tried scanning the model train with some simple approaches but have not yet gotten anything close to satisfactory. I will keep trying to see what works best and provide insights in the second part. If your use cases are best case scenarios like described in this article - there is nothing to wait and you can try scanning using photogrammetry now. You can also try processing your photos with Pixpro photogrammetry software with a free trial.

Photographer - Drone Pilot - Photogrammetrist. Years of experience in gathering data for photogrammetry projects, client support and consultations, software testing, and working with development and marketing teams. Feel free to contact me via Pixpro Discord or email (l.zmejevskis@pix-pro.com) if you have any questions about our blog.
Related Blog Posts
Our Related Posts
All of our tools and technologies are designed, modified and updated keeping your needs in mind

Photogrammetry 202 - Pixpro Blog Index
In our final blog post of the year, we are indexing Pixpro photogrammetry blog posts from the last two years. After publishing regularly for a while, things tend to scatter: posts about workflows, Pixpro features, hardware tests, random experiments, use cases, comparisons.
Travel Photogrammetry - More Fun than 2D Photos
Sometimes a 2D photo does not do justice to a moment or a place, and you wish you had something more… dimensional. Something that captures shape, texture, and the little details that flat images tend to flatten even more.

Budget in Photogrammetry - Affordable to Medium to Premium
Photogrammetry, like many other professions, hobbies, or disciplines, can have different budget tiers. In this article, I will provide my opinion on what I consider to be photogrammetry gear, ranging from affordable to premium to high-end tiers.
Ready to get started with your project?
You can choose from our three different plans or ask for a custom solution where you can process as many photos as you like!
Free 14-day trial. Cancel any time.
.svg@webp)