Overlap Between Different Perspectives
 Lukas
Zmejevskis
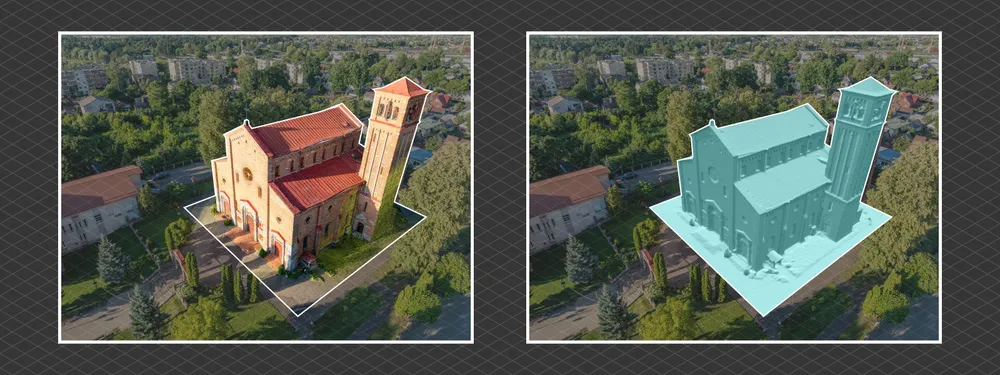
Photogrammetry can be simple and rigid or complex and adaptable. Combining different scan patterns adds complexity to the work but improves detail and coverage. We often use examples of combined flights, of which the orbital + nadir grid is a classic. They provide great 3D structure while being easy to execute. However, even simple combination examples sometimes exceed the threshold of being too different. Let us investigate where this threshold is when photos from different sets may not combine into one cohesive scan, even if the subject is clearly the same.
Basics of Combining Photosets
In aerial and drone photogrammetry, covering a subject with a single type of flight is virtually impossible. Orbital roof scan will not have enough detail for roof overhangs and some walls. A nadir grid will not have enough detail for anything even close to perpendicular to the camera plane. Even multi-oriented oblique grid flights like those on enterprise drones might produce lackluster detail in more dense areas.
For these reasons, sometimes we need to combine different flights that contain photos taken with vastly different perspectives of the subject. Here, we may encounter an issue when a set of close-up photos does not mesh with the entire project. If the algorithm does not manage to include such images in the calculations, the data may be rendered useless to us.
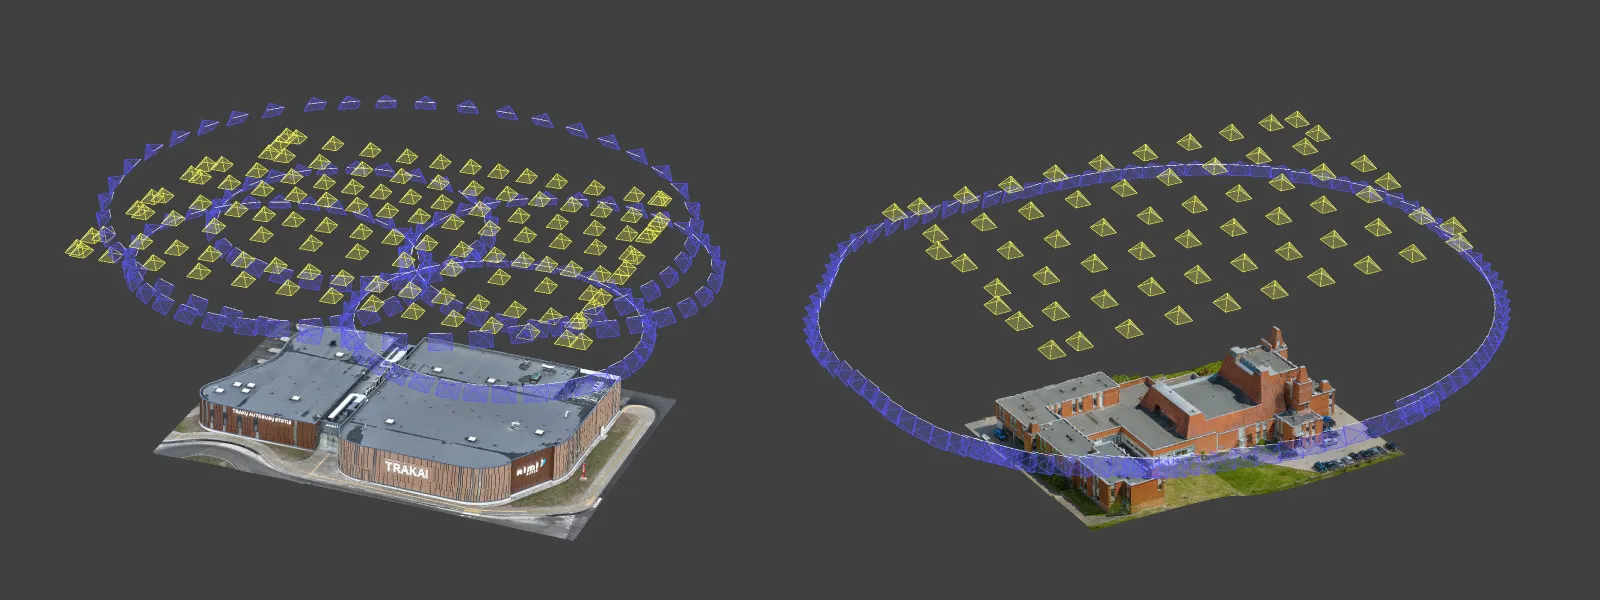 Thus, we need to manage the difference between photo sets, which we would like to process in the same project. We made some practical examples to illustrate how a 3D reconstruction algorithm may behave when we use photos with drastically different views of the same subject.
Do Software Settings Matter?
Before we look at some examples, processing settings may influence how the final results turn out. For most of the testing in this article, we used Pixpro photogrammetry software and default reconstruction settings. Some software may have more leeway than others, and some may be extra picky about combined image sets. Some software may also have more or fewer settings that may help the situation. In any case, the fundamentals we discuss will apply to all photogrammetry scan cases to some degree.
Real-World Examples
We made a simple scan to test the boundaries of 3D reconstruction tolerance. The base scan is a three-orbit scan of a church, with an orbit around the facade, one around the rear, and an additional orbit around a tower. In total, 196 photo sets were made with the DJI Mavic 3 Pro using our hyperlapse scanning technique.
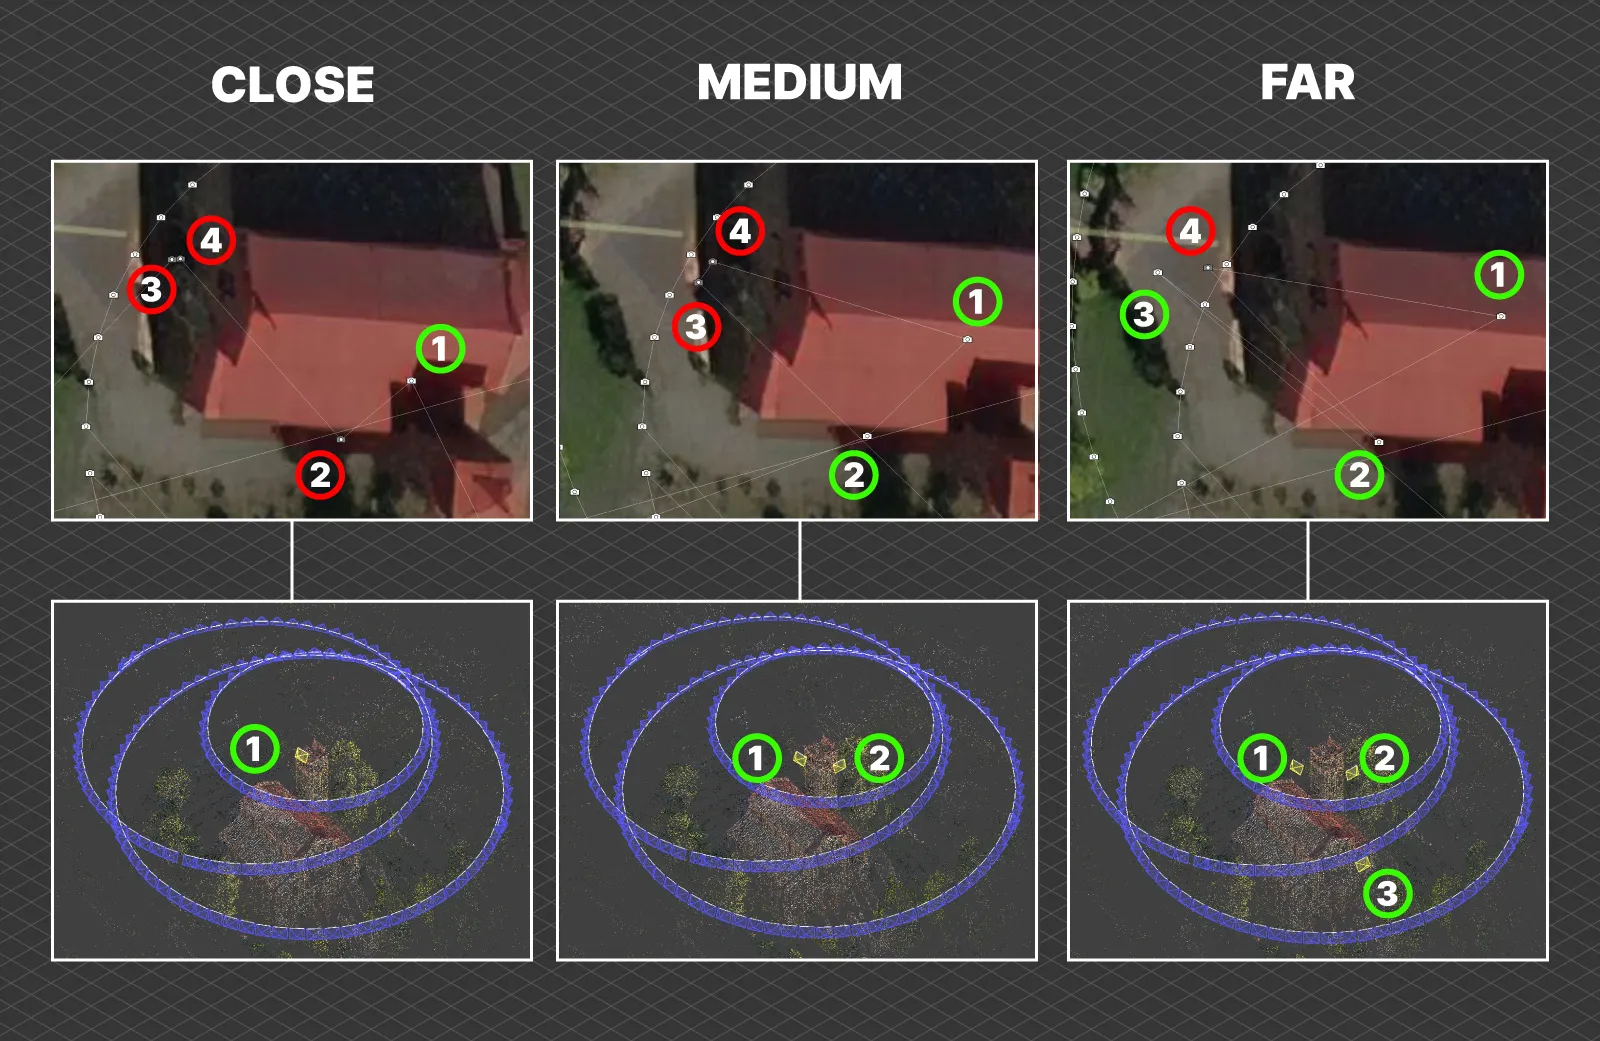
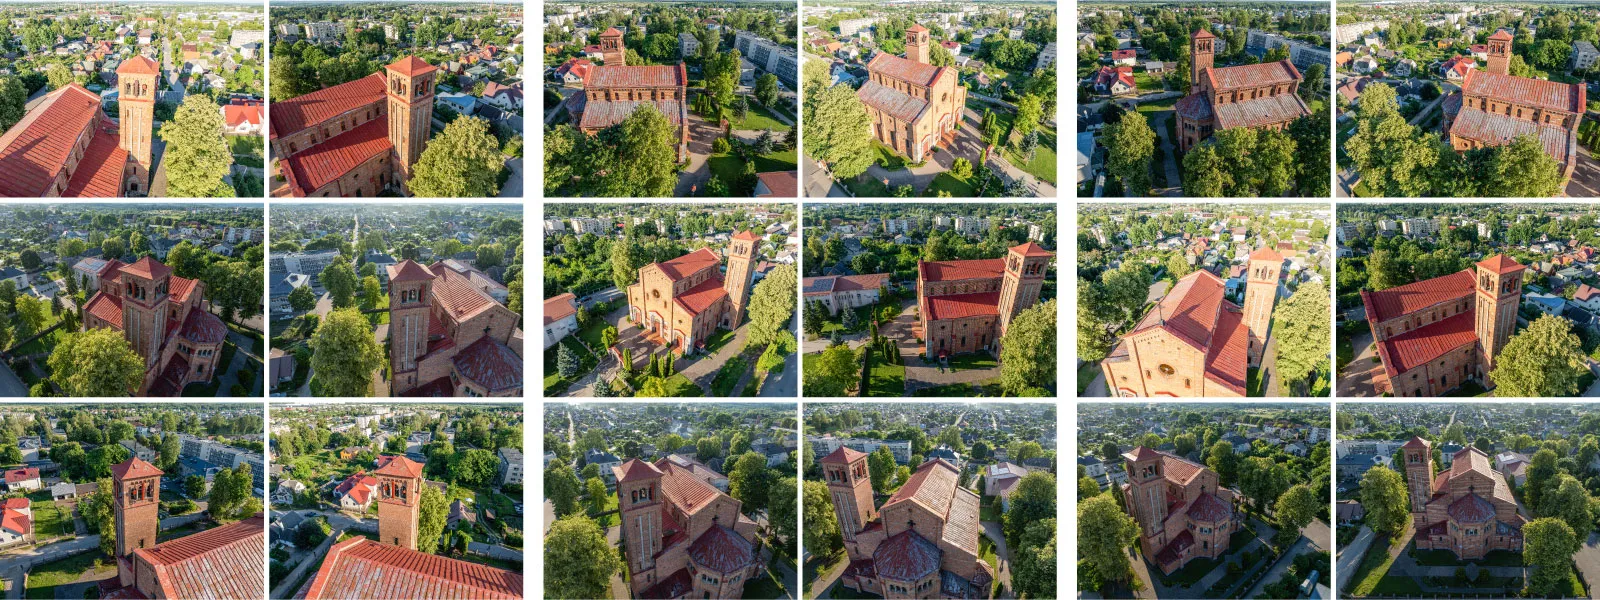 This is a combination of similar orbits and is a bread-and-butter workflow for obtaining quick scans. For the purposes of this article, we also made a few close-up photos of four different parts of the church and ran a 3D reconstruction with these photos alongside the three orbits. This represents a worst-case scenario where a vastly different perspective is represented by only a single image.
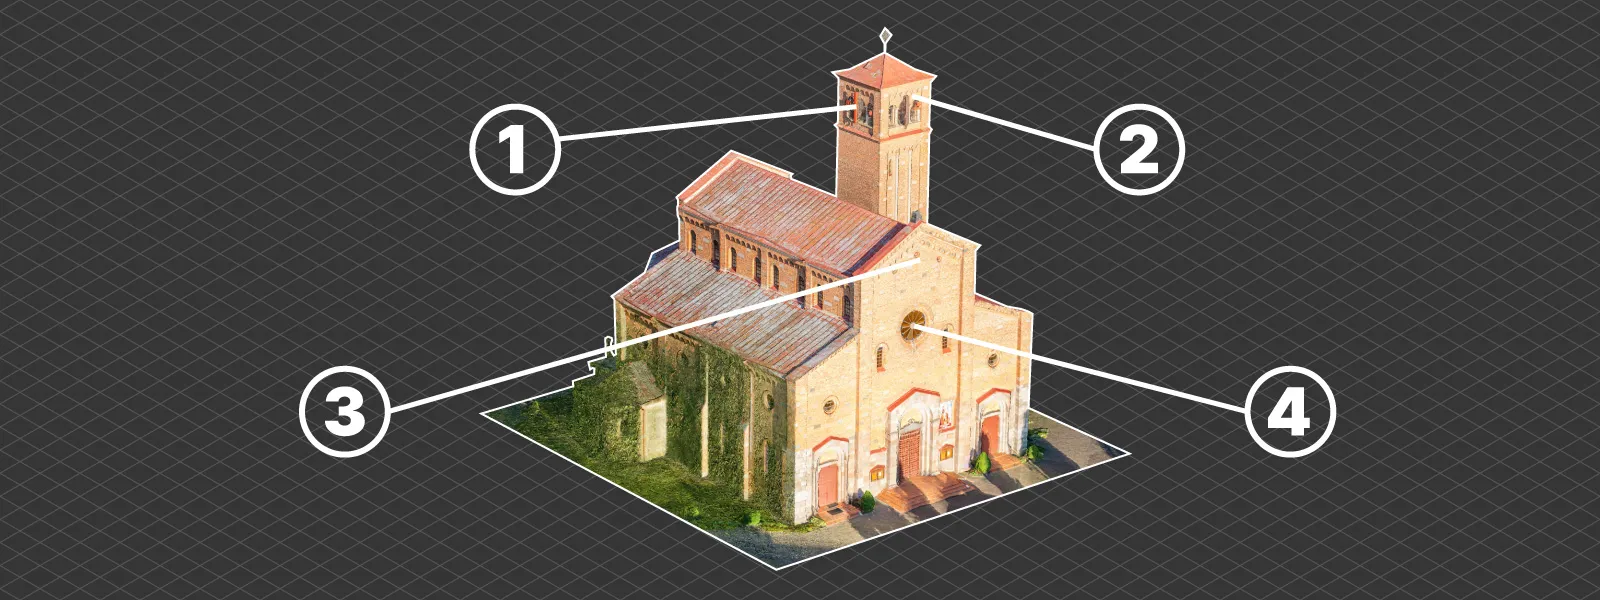 The close-up photos are divided into three groups according to their proximity to the church—close, medium, and far. After adding each group to the project and processing them in default settings, we got logical results.
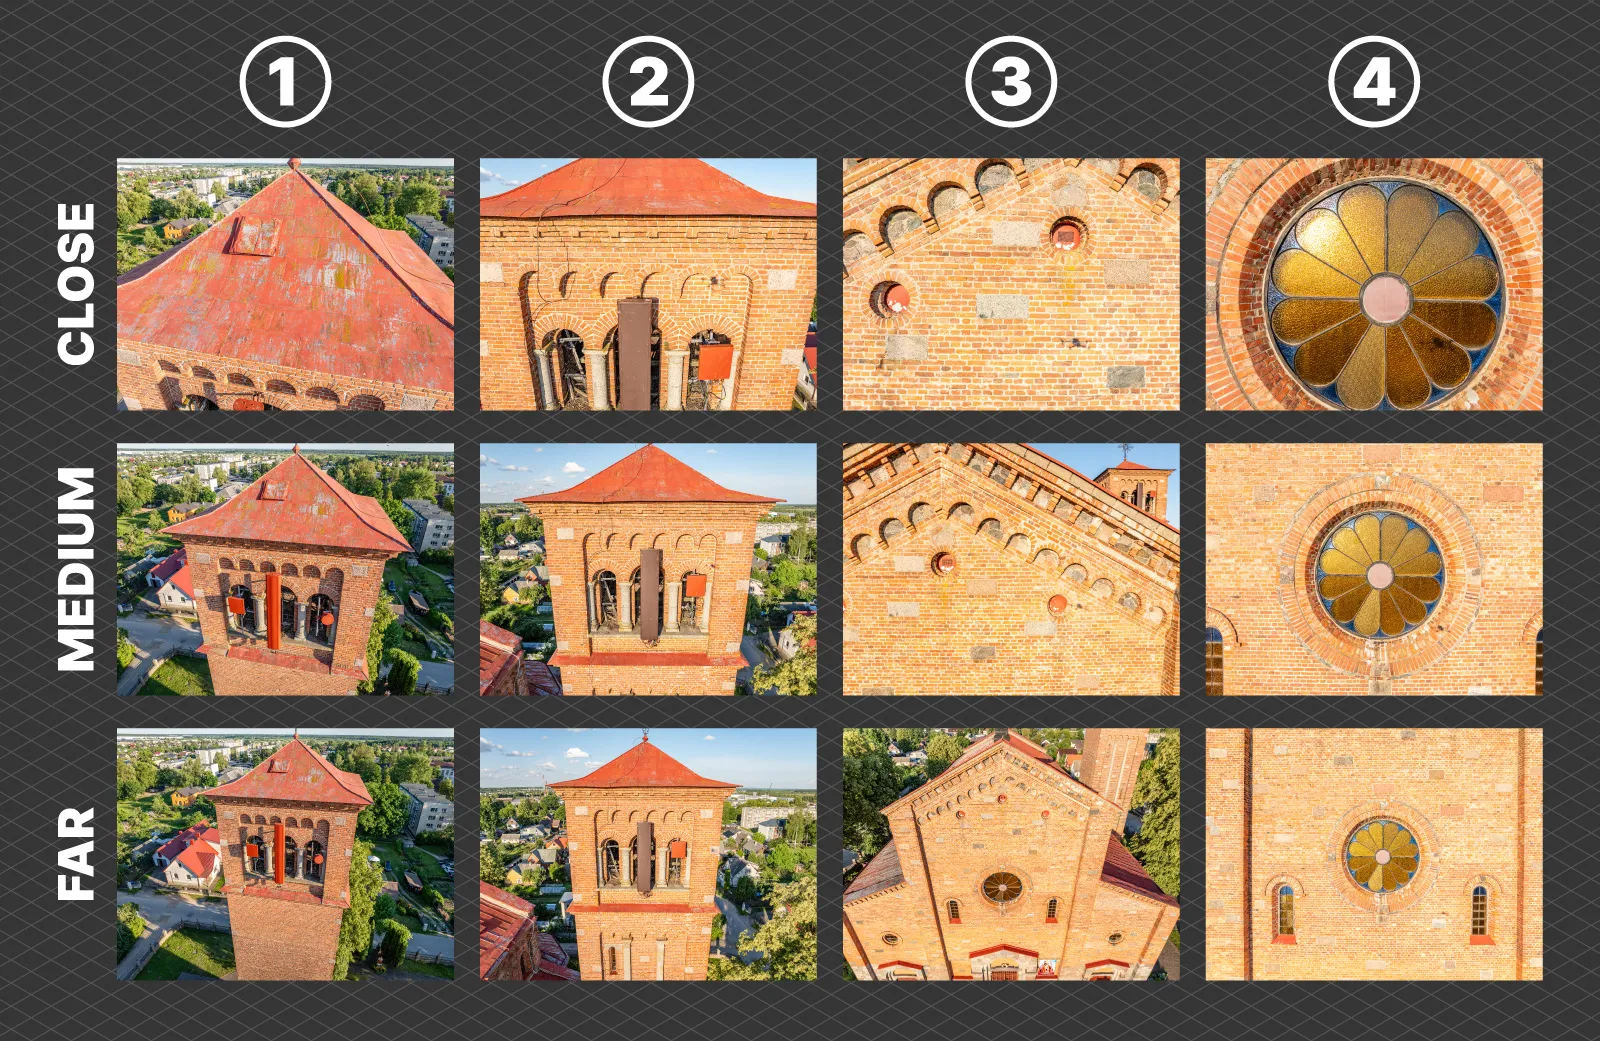 The more extreme examples of close-up photos are not included in the reconstruction, while the picture of an area that is focused less in the standard image set failed to be included in all three cases we experimented with. You can evaluate the examples above and below.
Different Cameras and Groups
Similar rules will apply to adding entire grids or groups of photos made with different cameras and lenses. Mavic 3 Pro also has a 3X lens, which is quite usable even for photogrammetry due to the available tracking feature. This feature works in the same hyperlapse mode as with the 1X.
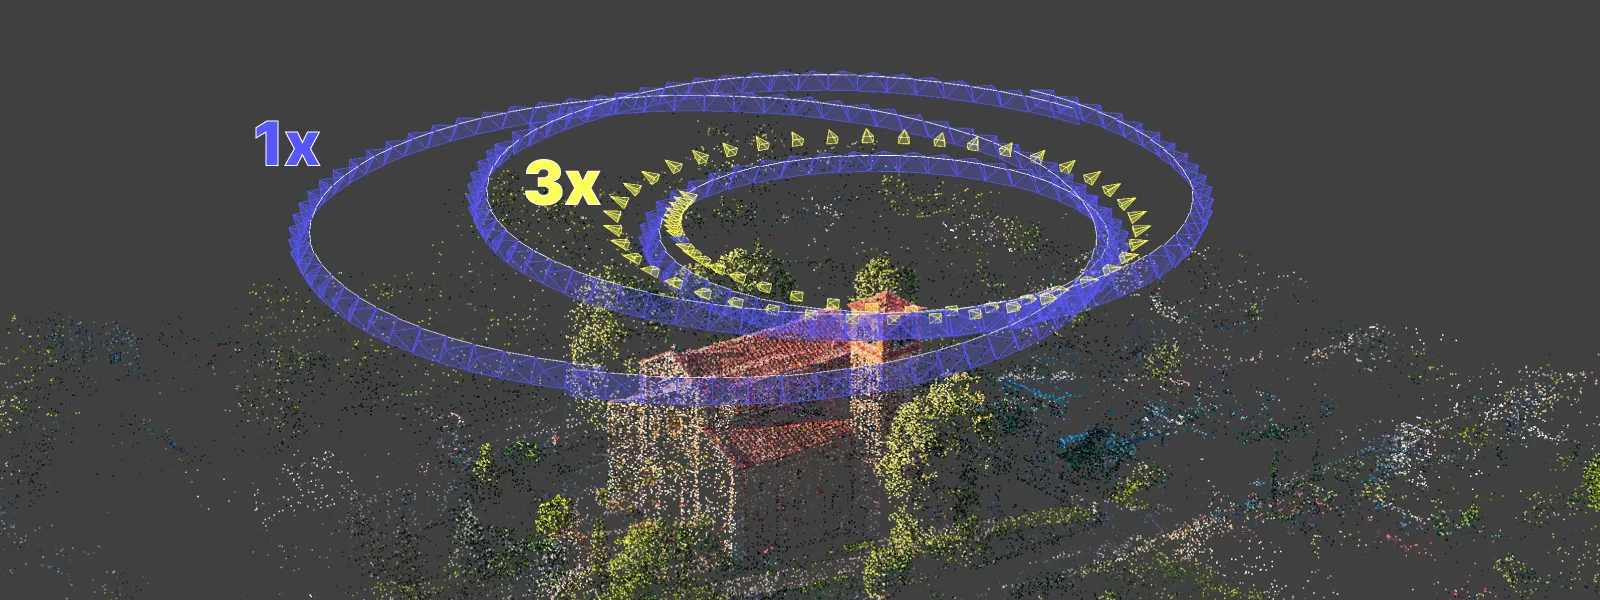
We made an example of combining photos from the 1X and 3X cameras to increase the detail of the church tower. A full orbit of 3X photos focusing only on the tower was added to the dataset. However, for it to work on Pixpro photogrammetry software, we had to select a different mapper option (hybrid instead of incremental+hybrid) in the advanced 3D reconstruction settings.
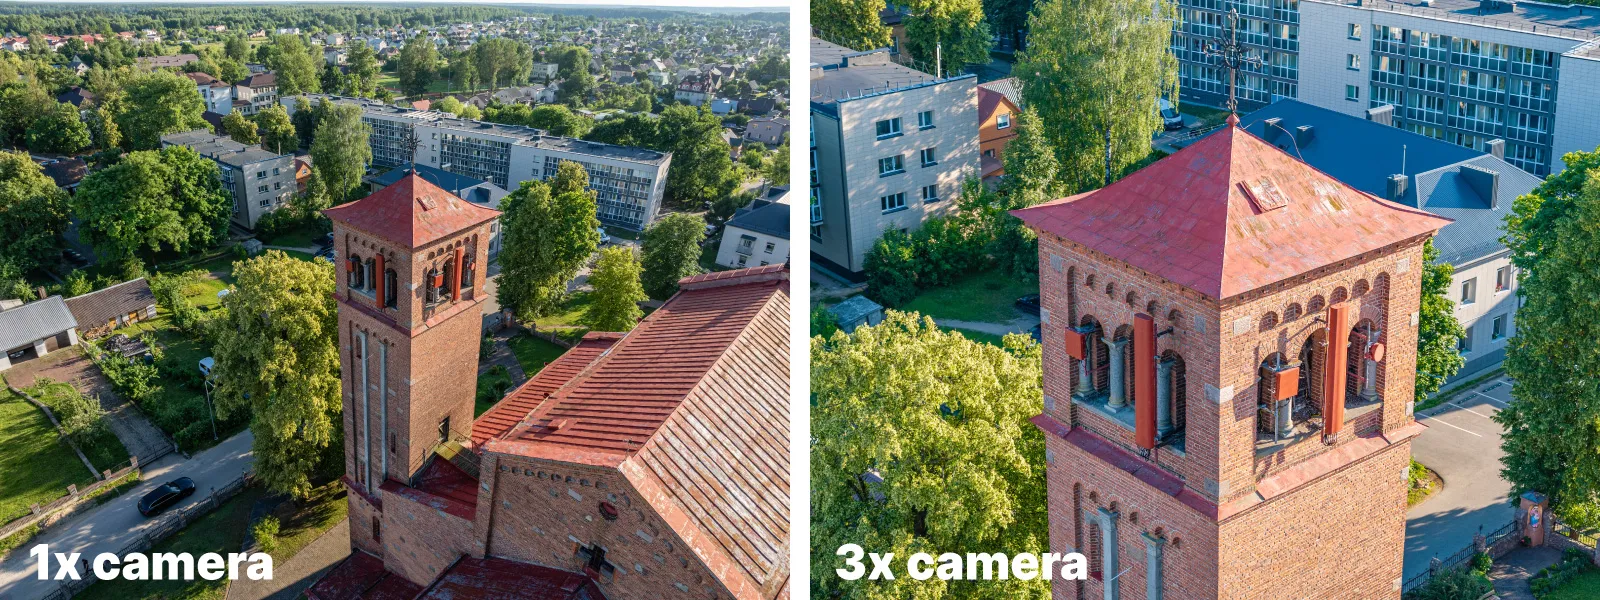 The orbit was successfully included because the photos are similar, covering the tower with different levels of detail but fundamentally overlapping with the base set orbit. If the base set did not have a dedicated orbit for the tower with the 1X camera - the 3X orbit would not work.
 Conclusion
Combining photos is the go-to technique for most nonbasic scans. However, we can not just mix random images of the same subject. Different flights or photo groups must have a clear visual connection between them. Drastically different compositions of the same subject will not connect to a cohesive dataset. In this article, we only scratched the surface of this technique. In the future, we will explore more nuanced aspects of combining photos with more extensive and detailed examples.

Photographer - Drone Pilot - Photogrammetrist. Years of experience in gathering data for photogrammetry projects, client support and consultations, software testing, and working with development and marketing teams. Feel free to contact me via Pixpro Discord or email (l.zmejevskis@pix-pro.com) if you have any questions about our blog.
Related Blog Posts
Our Related Posts
All of our tools and technologies are designed, modified and updated keeping your needs in mind
Roof Scan for Inspection and Solar Panel Addition – Use Case
Roof photogrammetry is one of our client base's most common use cases. Obtaining accurate measurements is essential for designing a solar panel layout, determining how many panels fit on a roof, and conducting a prior inspection.

No. 1 Mistake You Are Making in Photogrammetry Right Now
As photogrammetry software developers, we need to troubleshoot multiple projects from our clients every week. The number one mistake, especially when making measuring projects, is using redundant photos. These photos can appear for a few reasons, which I will describe, and they can be quickly dealt
Resolution vs. Altitude: Do 50 Megapixels Actually Matter?
We all know that megapixels are not the only defining factor of image quality, and the megapixel race is long over. However, we need to know their uses when we have two resolution options.
Ready to get started with your project?
You can choose from our three different plans or ask for a custom solution where you can process as many photos as you like!
Free 14-day trial. Cancel any time.
.svg@webp)
