.svg@webp)
Commercial Roof Scan and Inspection
 Lukas
Zmejevskis
Lukas
Zmejevskis

This blog post shares a real-world use case of a massive roof inspection job. The goal was to get a general scan of a commercial building roof for initial inspection and overview. We used a DJI Mini 4 Pro drone, Pixpro waypoints service, hyperlapse orbital scans, and Pixpro photogrammetry software to process all the photos. Let us dive more in-depth, so you may get an idea of the scope of work and skills required.
Drone Limitations
Due to the urban environment and drone flight limitations, we used an A0 class drone, which means it weighs less than 250 grams. Otherwise, a painful authorization process would be required, and the entire work process would take much longer with the governmental bodies involved. Sometimes, the authorization process can add months to the workflow. In this case, we had less than a day.
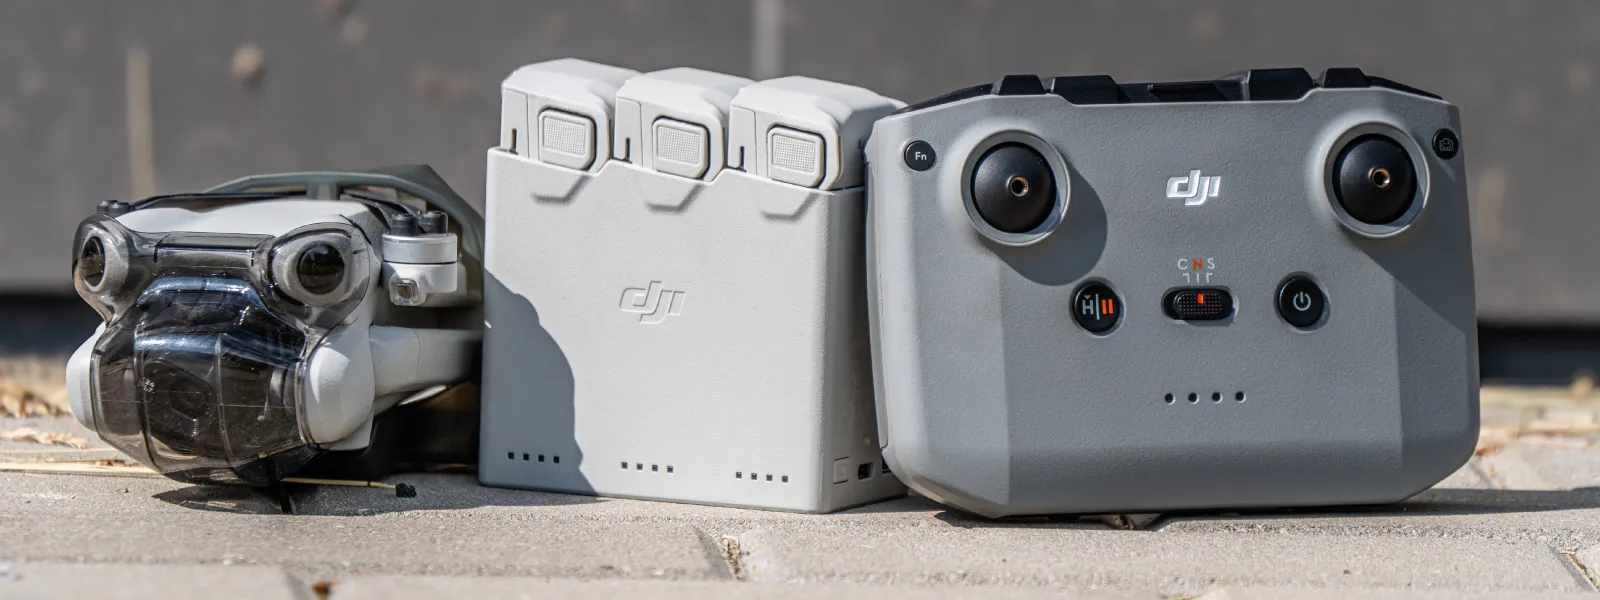
We brought the best compact drone on the market—the DJI Mini 4 Pro with its fly more combo and the fully charged screenless DJI RC N2 remote controller. We also had two Android mobile phones that used Pixpro waypoints on location without special preparation.
Pixpro Waypoints on the Field
Pixpro waypoint is a workaround giving us automated, consistent grid flights with any of the newer DJI drones that support waypoints. But as it is a workaround, it has a few issues. One of them is a limitation by the Android system, which does not allow editing files in system directories. Read more about our service in a previous blog post.
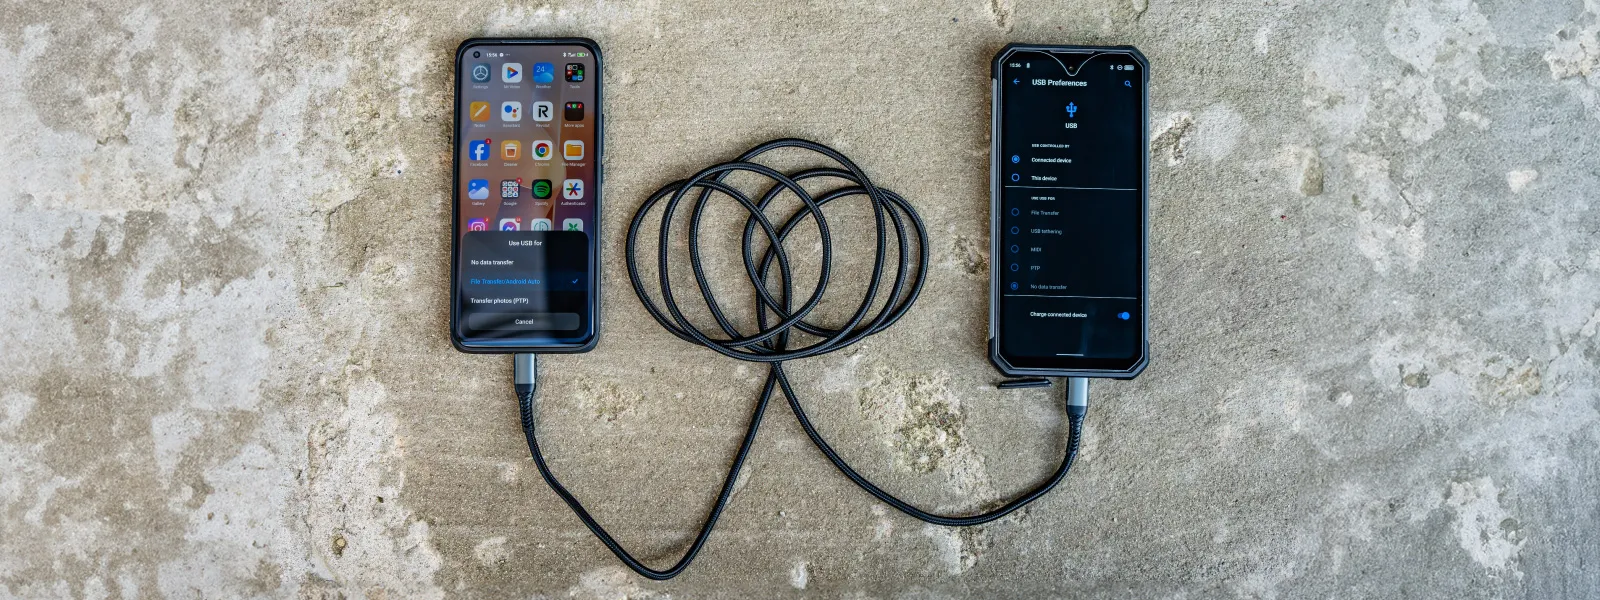
We connected two Android phones via USB C cable to get around that and plan a flight on the spot. This way, one phone can access the other's storage and place files there. Our exact workflow was:
-
Go to Pixpro waypoints and plan your flight on phone B.
-
Download the KMZ file that the service generates.
-
Copy the file to the appropriate directory on the phone via a USB C-to-C cable.
-
Disconnect the phones and rename the file with the phone A.
-
Go to DJI fly and execute the flight.
This workflow has some caveats. Here are a few things to watch out for:
The USB TYPE C to TYPE C cable has to support data transfer. Some cables can be just for charging, but this is rare nowadays. You do not need to worry about the cable supporting "OTG." Still, you can use an OTG adapter and a simple USB A to USB C cable.
When connecting two devices, you need to control the connection type. You will need to select which phone accesses the other in the USB connection menus, which appear in the notification area on Android devices.
Our phone B was forced to charge the other phone, which meant it ran out of battery quickly. Make sure both devices are charged. Of course, you can also use an Android tablet or any other device.

Roof Inspection Use Case
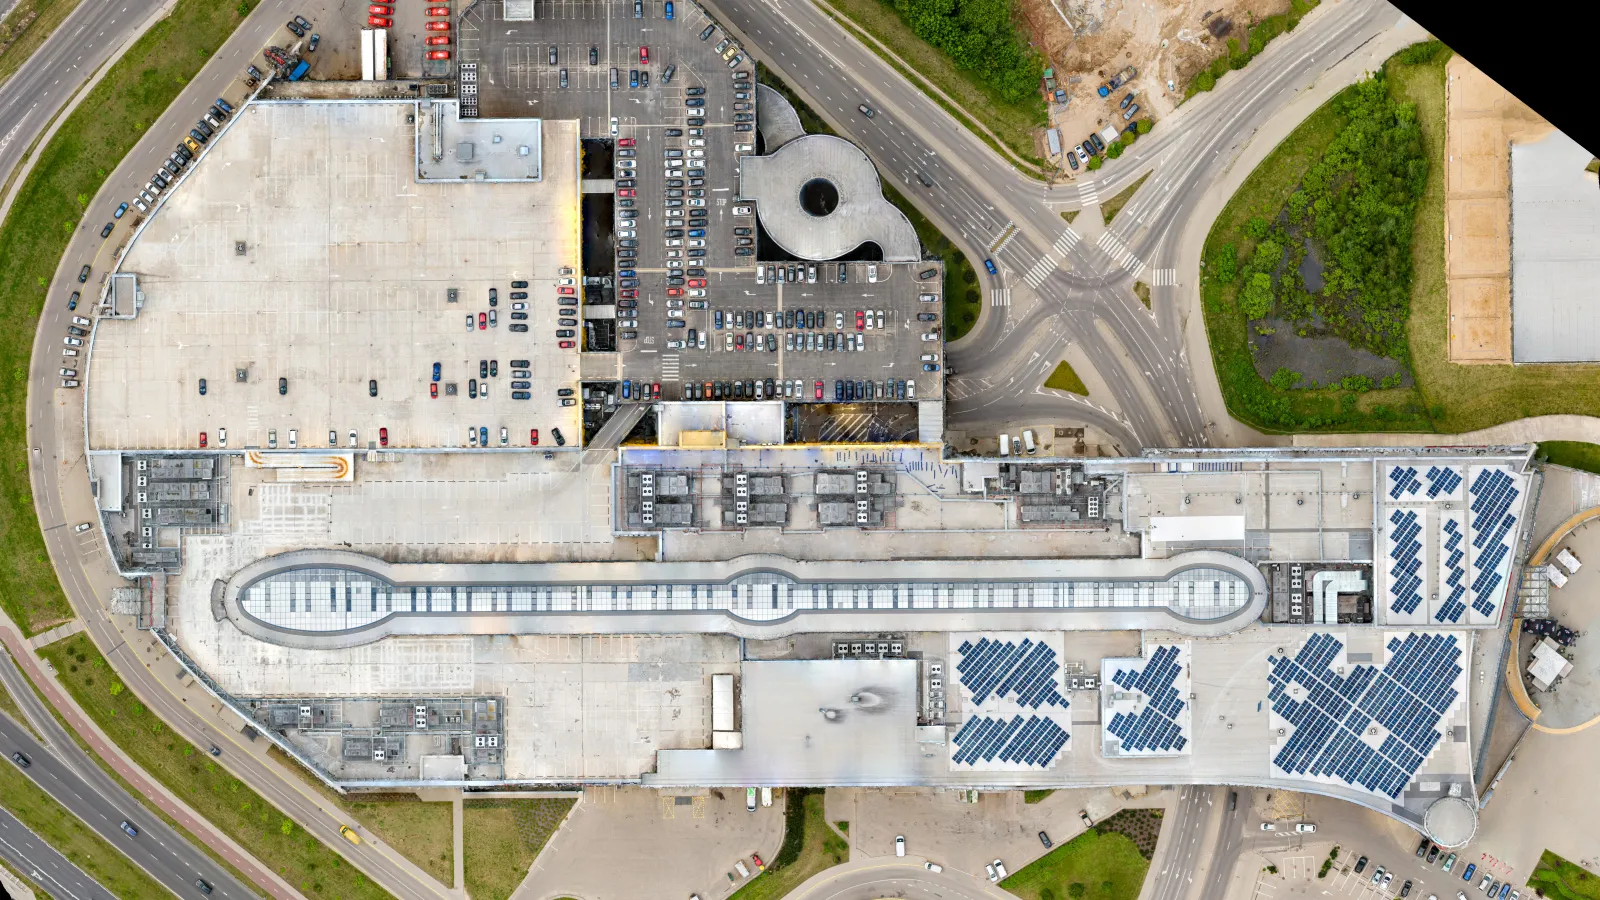
Our goal was to get a good-quality 3D surface and an orthophoto image of a large mall that already contains solar panels. The point is to do a general quick inspection of the facilities on the roof to see if any particular spot requires attention. We were not required to do an in-depth inspection as the roof is easily accessible.
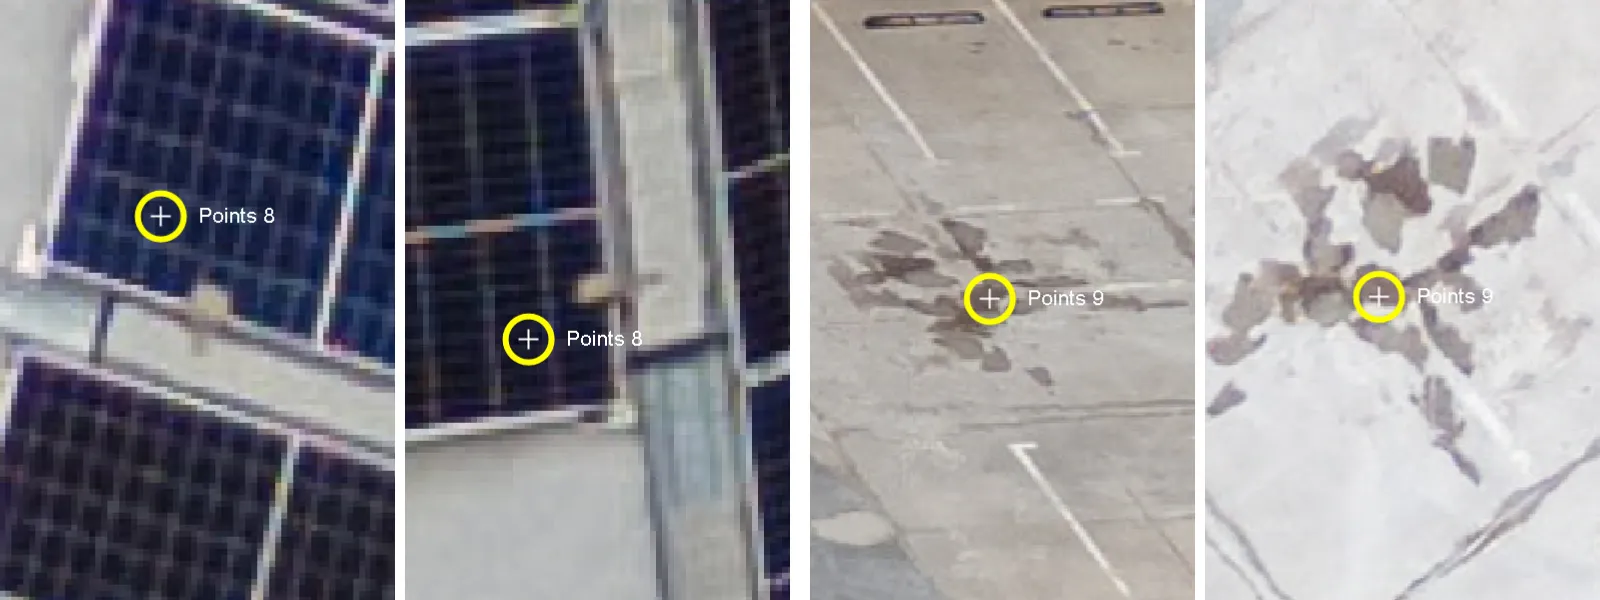
We had to ensure enough detail to spot general defects or significant flaws. These can be broken solar panels, water accumulation, leaks, or anything else. The overall view of the parking area, surface quality, and markings also needed general inspection.
Photogrammetric Flight
We chose a nadir grid with the Pixpro waypoints and some overlapping oblique orbital around the roof. We regard this as the most efficient way of obtaining general 3D scans. In total, 11 orbitals were made around critical areas on the roof, supplementing the nadir grid. We used hyperlapse circle capture mode for these orbits, which have become ubiquitous in all recent DJI drones. Read more about hyperlapse for photogrammetry here.
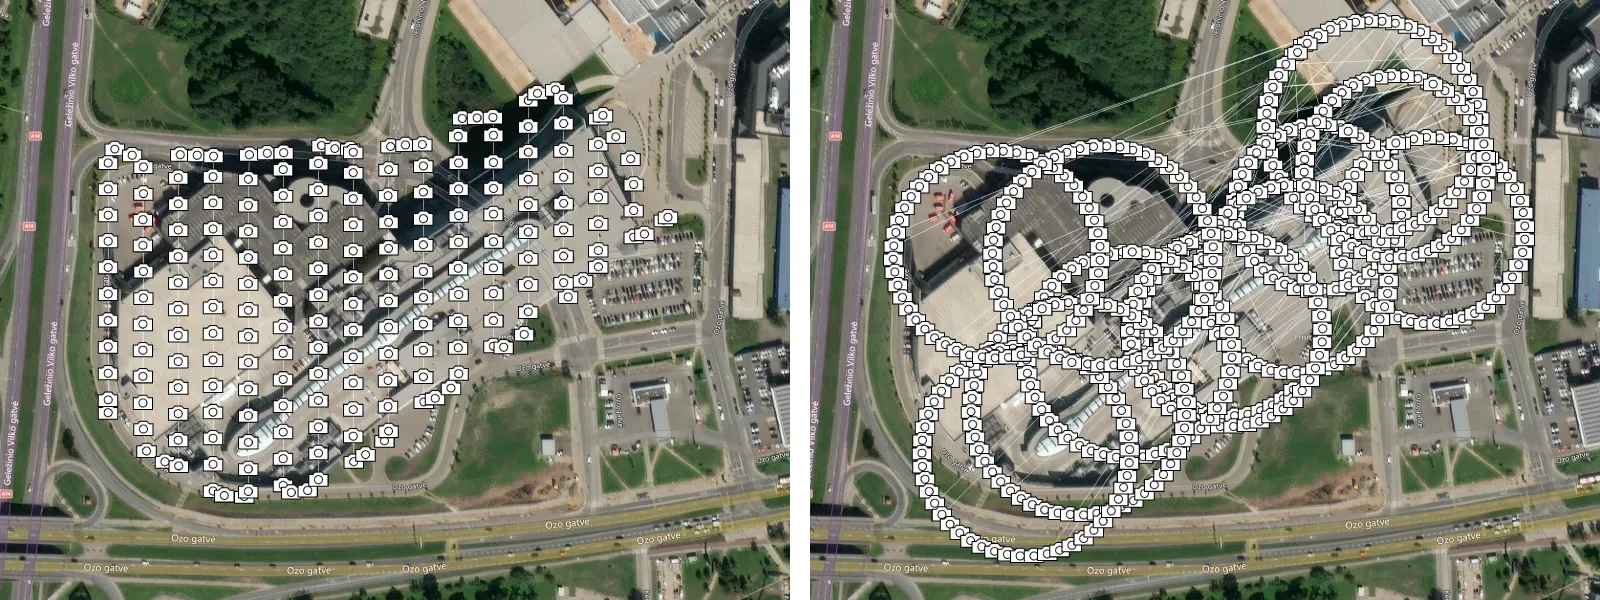
Our takeoff location was near the base of the mall. We did the nadir grid at 100 meters altitude. Orbitals were done at 66 meters altitude, with the camera at about 30 - 40 degree angles, pointing at the key areas. The orbital flight had an 85 percent overlap setting to compensate for the building's height of around 35 meters (we usually stick to 80 percent), as the overlap calculation is made from the height above the takeoff location. The building's roof was up to 35 meters high.
The drone used all three of our fly-more combo batteries, giving it about an hour's worth of total air time. For a more optimal approach, we could have saved a couple of percent of the battery by taking-off from the roof itself, but it was not possible at the time. If a more detailed scan is required, we will return to this object in the future.
Results
We shot in raw format and did minimal processing in Adobe Lightroom according to the guidelines in this blog post. For the project's total of 774 images, we got 205 nadir images and 569 orbital photos.
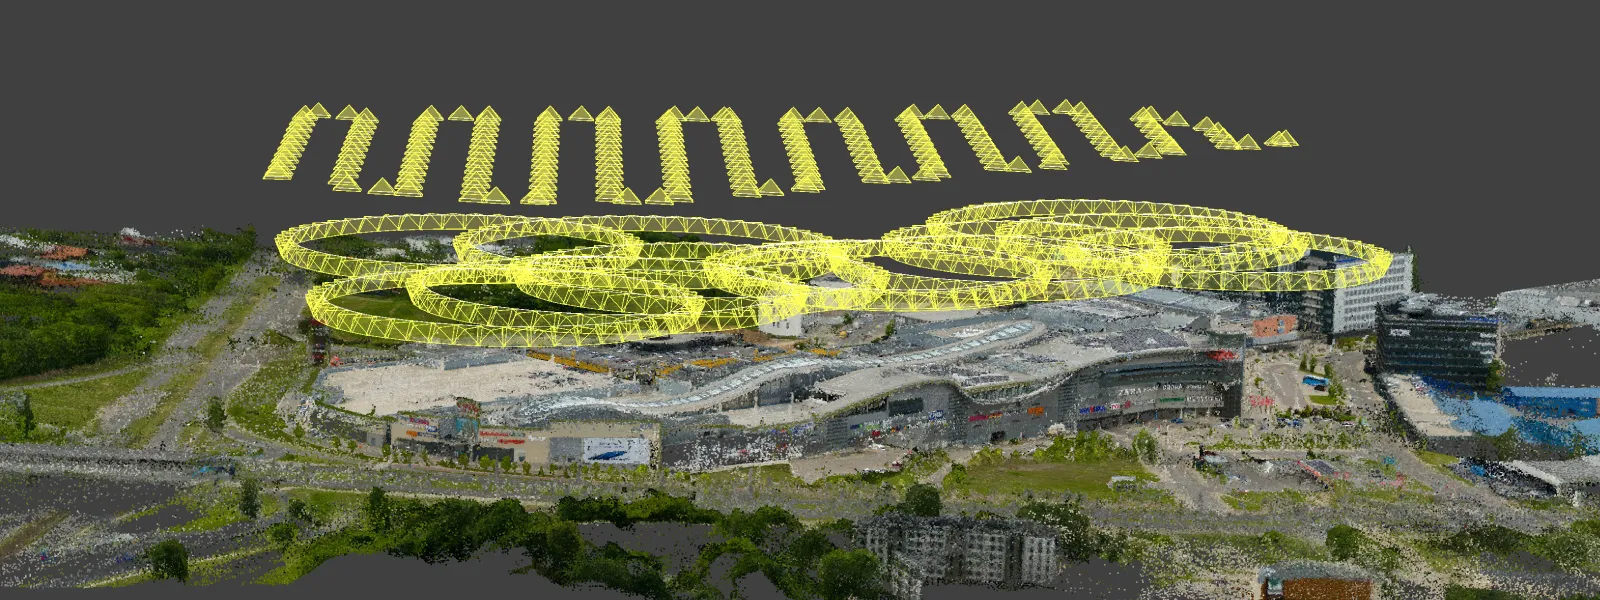
We processed the photos using Pixpro photogrammetry software and obtained a few layers. For the orthophoto layer, we only chose nadir images. Thus, we take advantage of the entire project's better 3D structure while avoiding potential artifacts from oblique photos, and we do not need to do two separate projects.
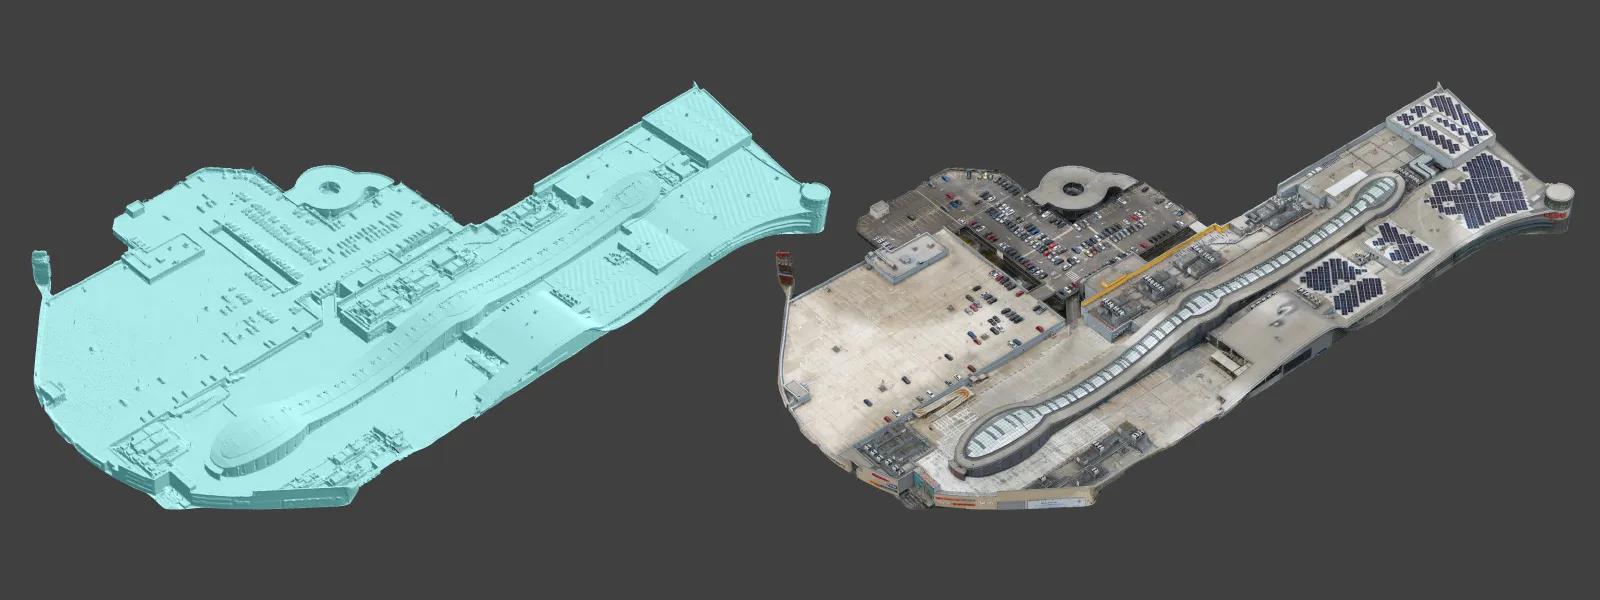
We also processed it as a 3D mesh with the roof texture for visual inspection. We processed the dense point cloud locally and cropped it before creating the 3D model. We chose an automatic number of texture atlases for the texture so the software could determine the maximum quality it could achieve automatically.
Data Analysis with Pixpro
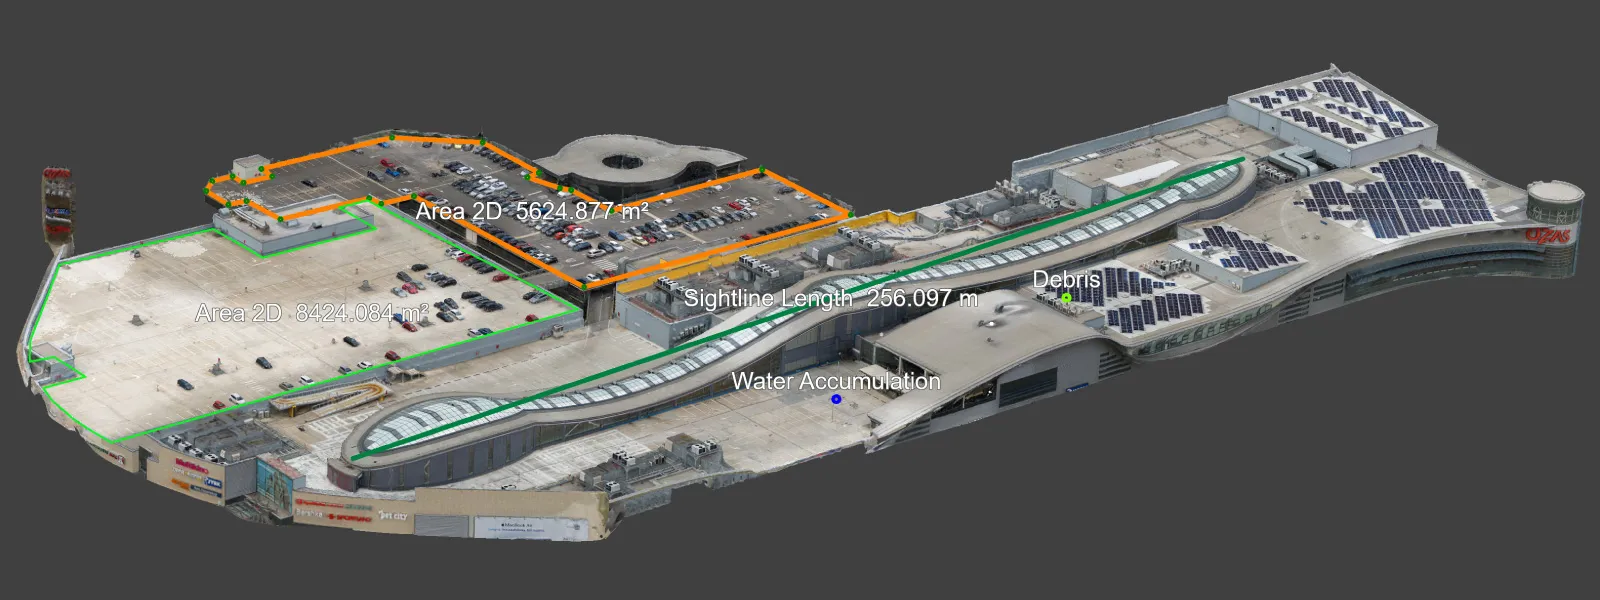
In Pixpro, we can mark any location we want and annotate it. We can share the project with any other Pixpro user with any license, and they will see the layers and annotations we created. A Pixpro solo license can work as a viewer for your client.

We can also measure any lengths for heights on the roof using lines. Otherwise, data analysis in this use case is up to the client, who will know what they are looking for in the 3D scene.
Conclusion
This simple bread-and-butter photogrammetry use case represents a day's work for a photogrammetrist. The job was done quickly, on short notice, with reliable methods and quick local data processing. Pixpro provided all of the software tools needed for the job. At the same time, hardware was a widely available consumer-grade drone that did not fall under stricter regulations and a competent Windows PC. If you have a DJI Mini 4 Pro or any other similar drone, you can start doing photogrammetry right now.
Photographer - Drone Pilot - Photogrammetrist. Years of experience in gathering data for photogrammetry projects, client support and consultations, software testing, and working with development and marketing teams. Feel free to contact me via Pixpro Discord or email (l.zmejevskis@pix-pro.com) if you have any questions about our blog.
Related Blog Posts
Our Related Posts
All of our tools and technologies are designed, modified and updated keeping your needs in mind
Where do we use Photogrammetry? A list of 3D scanning use cases.
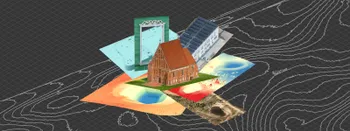
Photogrammetry has revolutionized numerous industries by transforming real world scenes into 3D models, using only simple photographs and processing algorithms.
Roof Scan for Inspection and Solar Panel Addition – Use Case
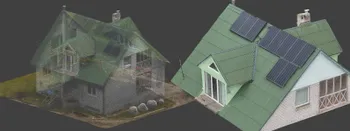
Roof photogrammetry is one of our client base's most common use cases. Obtaining accurate measurements is essential for designing a solar panel layout, determining how many panels fit on a roof, and conducting a prior inspection.
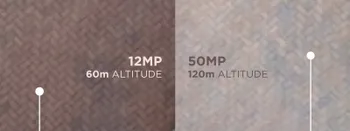
Resolution vs. Altitude: Do 50 Megapixels Actually Matter?
We all know that megapixels are not the only defining factor of image quality, and the megapixel race is long over. However, we need to know their uses when we have two resolution options.
Ready to get started with your project?
You can choose from our three different plans or ask for a custom solution where you can process as many photos as you like!
Free 14-day trial. Cancel any time.