.svg@webp)
Manual Referencing In Pixpro - Scale Without GPS
 Lukas
Zmejevskis
Lukas
Zmejevskis
Referencing encompasses the properties of a 3D scene that give it scale and positioning on the map. It is a core concept in photogrammetry and 3D scanning. Pixpro software is best for measurements and aerial photogrammetry use cases, so we often use GPS, RTK, and GCP as referencing sources. But if you are using photogrammetry with a camera without GPS, you will need to use what we call manual referencing. In this article, we will go through the manual referencing options that Pixpro has and provide information on how to use them.
What is manual referencing?
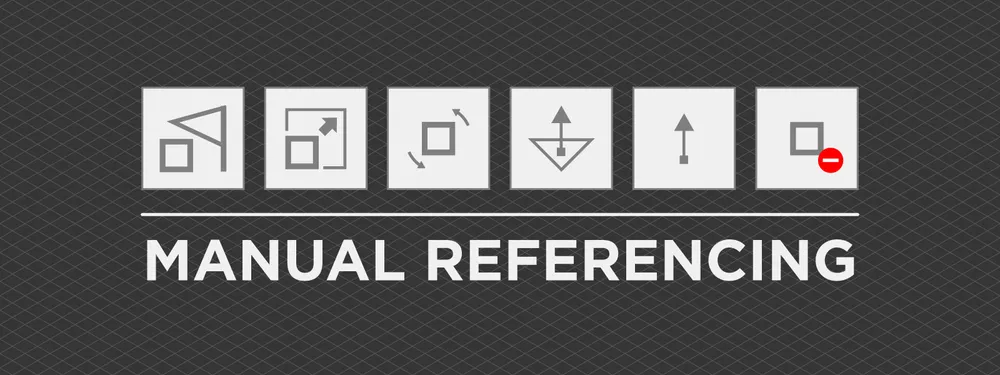
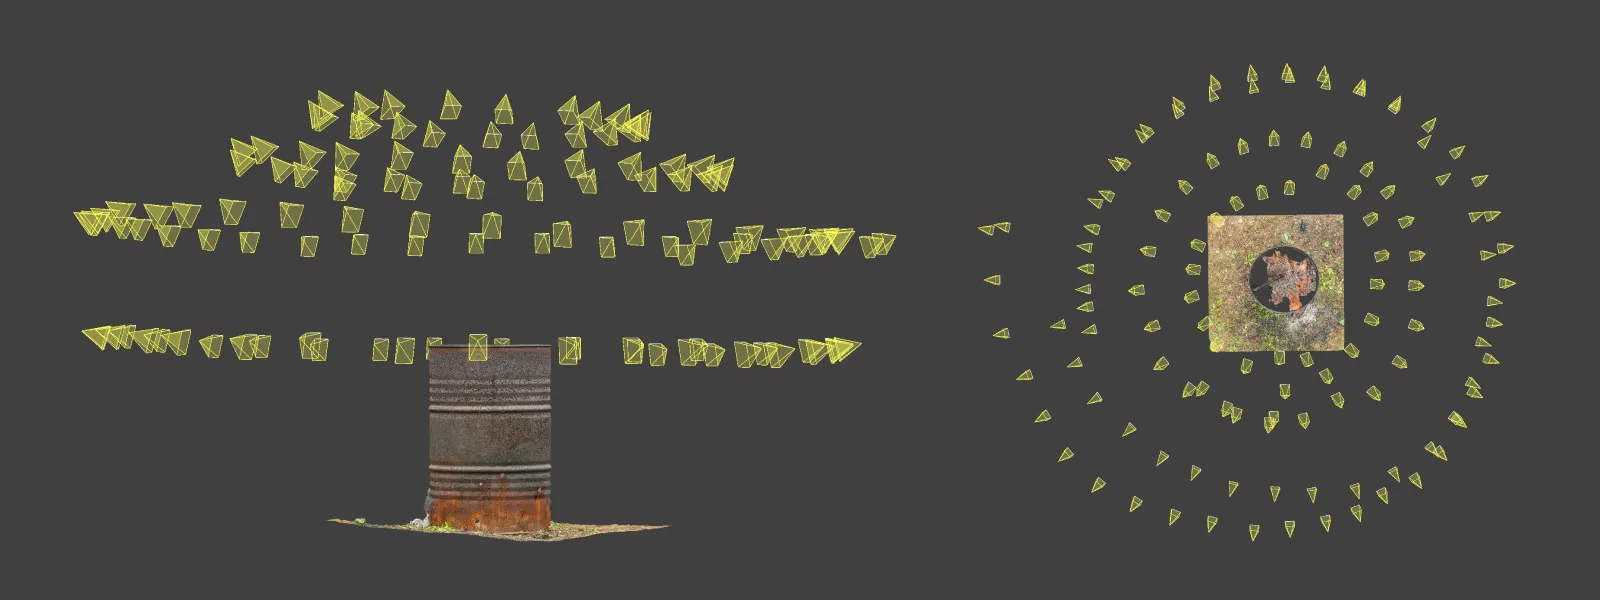
We use data types other than GCPs or GPS metadata in manual referencing. This means our photos do not contain location data like when doing a drone scan. The data on how large the object is or how it is oriented must come from other sources. Below, we will go through all tabs of manual referencing types available in Pixpro, and each will require a different data source, which includes just visual cues. For example, we are using a straightforward scan of a metal barrel with stuff burning in it. The example is made with a full-frame Sony mirrorless camera and a 50-millimeter lens.
The capturing technique here is simple, walk around the circles around the barrel and take a photo of each step. Do three or four of these "orbits" with different camera angles. You will get an overkill amount of data for just a simple barrel. Still, you may need to do more if you have an intricate object with many overhangs and crevices. Any area you want to reconstruct in 3D - you need to cover it with lots of overlapping photos; if you do not, there will be holes in those places in the final result. Now, let us see what we can do with this data.
 Data Processing
Before launching any processing steps, always filter photos in the photo manager to see if they are not blurry and have excellent general quality. There are no irrelevant photos - the same fundamentals as always. Photo Manager is great because you can comb through the images quickly and delete them here. Once you press OK to input the photos to Pixpro, a warning may appear suggesting an arbitrary coordinate system. This is normal, and arbitrary systems are used for this exact case when photos do not have GPS information.
In Pixpro, when doing such a scan, we may need to adjust some settings before the reconstruction. If your set of images is relatively small—under 100 photos—you may need to run a "Slow" reconstruction setting. If reconstruction fails in Slow mode, you may need to go to Advanced settings in the Reconstruction window and choose hybrid mapper for this project.
Initially, we ran the 3D reconstruction and dense point cloud only. We will do our manual referencing steps on the dense point cloud, which needs to be cropped with a clipping box. You can clip the cloud before or after the referencing, as you please. To access manual referencing, go to the referencing tab at the top and click on Manual referencing.

 The first option in the manual referencing panel is also the most complicated and advanced one—translation. Translation is essentially a conversion—converting one point in a referencing system to an equivalent of another. This feature is conceptually more difficult to use and will come up quite rarely in real use cases, so we will be writing a dedicated, use-case-based article on it, alongside creating your own local grids in the future.
 Scaling allows you to give your 3D model a scale based on a known length in the scene. So you need to include some scale bar in your scan or measure a distance between two points on the thing you are making a scan of. Remember that this distance must be straight, so measuring a curved surface is not an option.
In our case, we measured the barrel's diameter between two particular white spots. A straight line between these points is drawn, and then we can input its actual length from our measurement. The best way to do this is by using point projections:
-
Place (draw) a point object on point A and adjust its projections by double-clicking on it. Projections are the exact places in photos where that point is projected. Adjust projections so that the point is precisely where you measured the distance in real life.
-
Place a point on point B and adjust its projections similarly.
-
Make sure that snapping is enabled in the top menu.
-
Enter manual referencing, scaling, and draw the line, snapping it to those two points.
-
Enter the actual length.
 Rotation is self-explanatory. You can rotate the 3D model on its 3 axes by either using a gimbal in the 3D view or entering the values manually. The key here is to set the orientation using the gizmo cube in the 3D view's top right corner and match its orientation. However, this tool is valid only in particular situations; for simple object orientation, you probably want to choose either one from below.
 This option allows us to orient something perfectly perpendicular to a known plane. The plane has to be selected in 3D space, and usually, it's just something the subject is placed upon, like the ground or table. This is the most intuitive way to quickly orient something upright. Keep in mind that the final orientation will depend on the plane, and if it is not supposed to be perpendicular to your subject, things may look odd.
 It works on the same principle as alignment by plane, only we are using an axis or any object or feature that is known to be vertical in the scene, such as a wall or a pole. You can draw an axis on its surface, and your scene will be oriented accordingly. Below is a screen capture video of trying both plane and axis alignment workflows.
 The last button in the panel clears all of the changes you made with any of the manual referencing tools. You still need to press OK to apply the changes, including a full unset. If you cancel an unset, your referencing will remain the same. Another method of clearing the referencing entirely is going to the referencing tab at the top and clicking on clear referencing.
Conclusion
These are simple tools that allow you to work with more convenience. If you are creating a 3D asset, the actual scale may be insignificant, so the orientation tools will allow you to have a more conveniently placed model. Scaling will allow for more accurate representation and even measurements to be performed. Download Pixpro photogrammetry software and try these tools yourself. If you do not have a suitable photo set, write to us, and we will provide examples.
Photographer - Drone Pilot - Photogrammetrist. Years of experience in gathering data for photogrammetry projects, client support and consultations, software testing, and working with development and marketing teams. Feel free to contact me via Pixpro Discord or email (l.zmejevskis@pix-pro.com) if you have any questions about our blog.
Related Blog Posts
Our Related Posts
All of our tools and technologies are designed, modified and updated keeping your needs in mind
Why Choose Pixpro Photogrammetry Software? Practical Comparison
There is no shortage of photogrammetry software today. From well established industry tools to newer cloud based solutions, the choice is not exactly obvious, especially for someone just getting started. Most options promise high accuracy, automation, and ease of use, and to some extent they all del
3D Point Clouds in Pixpro: How to Convert and Export Spatial Data
Photogrammetry software produces several types of spatial outputs, but the dense 3D point cloud is the foundation of them all. In Pixpro, the dense point cloud acts as the base dataset from which every other derivative is generated.

How to Create and Import a KML File in Pixpro Waypoints
We are continuing our improvements to the Pixpro Waypoints service and bringing a few small updates. Pixpro Waypoints is a service that allows automatic photogrammetry flights with consumer grade DJI drones using a bit of workaround magic.
Ready to get started with your project?
You can choose from our three different plans or ask for a custom solution where you can process as many photos as you like!
Free 14-day trial. Cancel any time.