Human Photogrammetry with a Single Camera
 Lukas
Zmejevskis
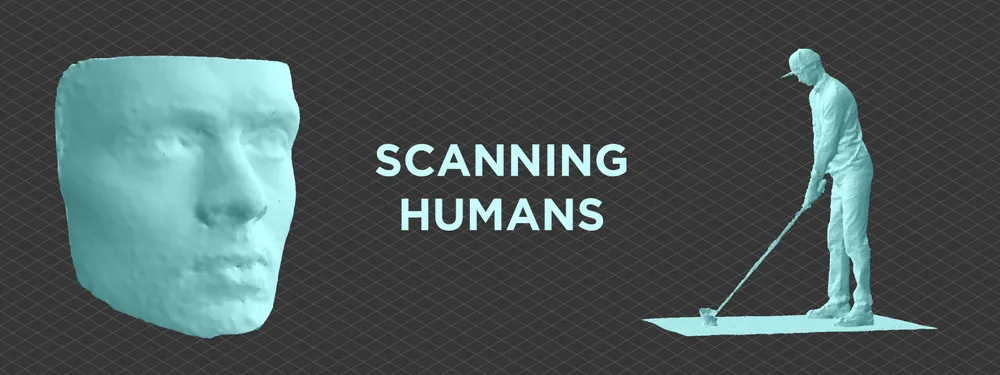
Scanning a human being is quite a famous photogrammetry use case nowadays, from getting scans for fun to replicate yourself in 3D space to high-end CGI and medical applications. Often, you see people captured in multi-camera rigs, where photos are taken from all camera positions simultaneously. Such a solution is costly and requires quite a lot of knowledge to get up and running. Let us discuss why that is by experimenting with a single-camera human scanning.
The Fundamental Issue
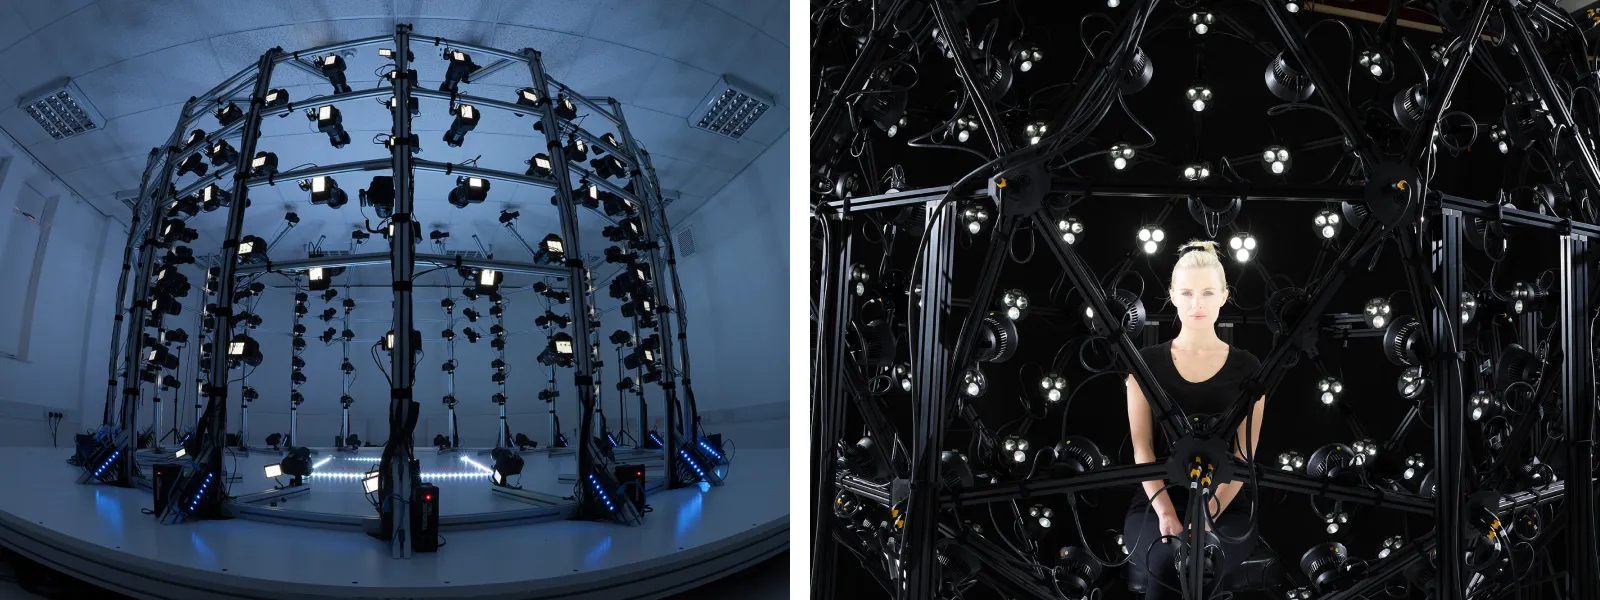
Camera rigs with multiple cameras, fixed lighting, identical lenses, and a platform in the middle help eliminate one single issue that makes using a single camera so hard - movement between shots. Below - a couple of photos of professional rigs made by Esper from their website - https://www.esperhq.com/.
Photogrammetry relies on having multiple perspectives on the same scene with lots of overlap. The keyword here is the same. Ideally, it means perfectly identical. In real-life scenarios, a perfectly frozen scene is hardly possible. In aerial photogrammetry, we encounter wind that moves anything not rock solid. Wind also means changing lighting conditions due to cloud cover and even the earth's rotation around the sun - time passage. So technically, the scene is changing between photos. Still, it is insufficient to make drone scans impossible or even inaccurate.
For close-range photogrammetry - any movement on the scene is exaggerated. So, if you ask a person to be still, this will be subject to a wide range of variations of how that person can remain. And because people move a lot, if you think about it, getting decent results while taking photos of someone just trying their best to hold their position is nearly impossible, depending on your needs. Even a slight movement becomes a huge issue.
Face Example
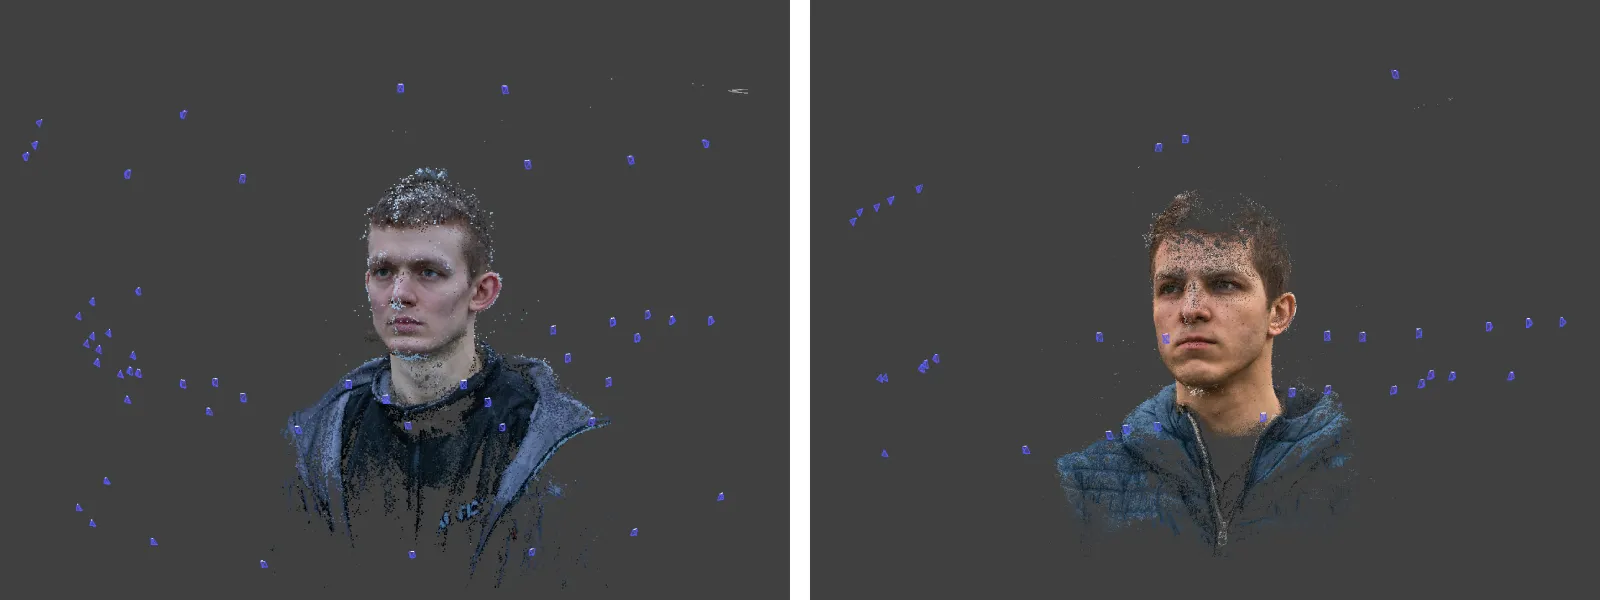
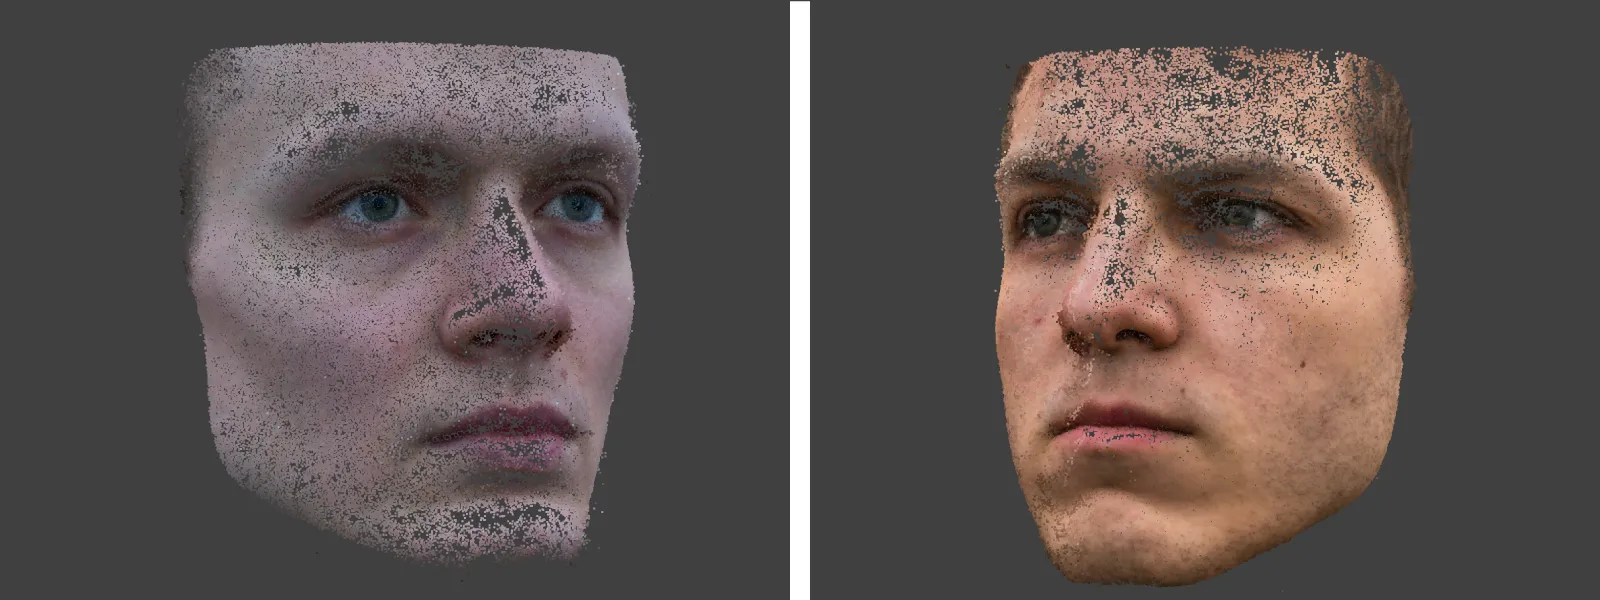
To test the theory, we made two types of tests. The first example was an outdoor face scan. We used a simple technique of taking photos in a semi-sphere pattern, covering the entire face with photos while maintaining good overlap. We took 34 and 53 photos of two friends who graciously allowed us to use their likeness for this article. We asked them to remain as still as possible and concentrate on looking at a single point in space, which helped a lot. It took 2 - 3 minutes to take the photos for each face.
Photos were made with a simple DSLR camera and a 30-millimeter lens set at f8, refocusing for each shot and keeping the shutter speed well above the photography reciprocal rule. We waited for perfect outside lighting to capture the images, which meant a heavily overcast sky and diffused and uniform lighting. We processed the images in Pixpro using the default medium settings.
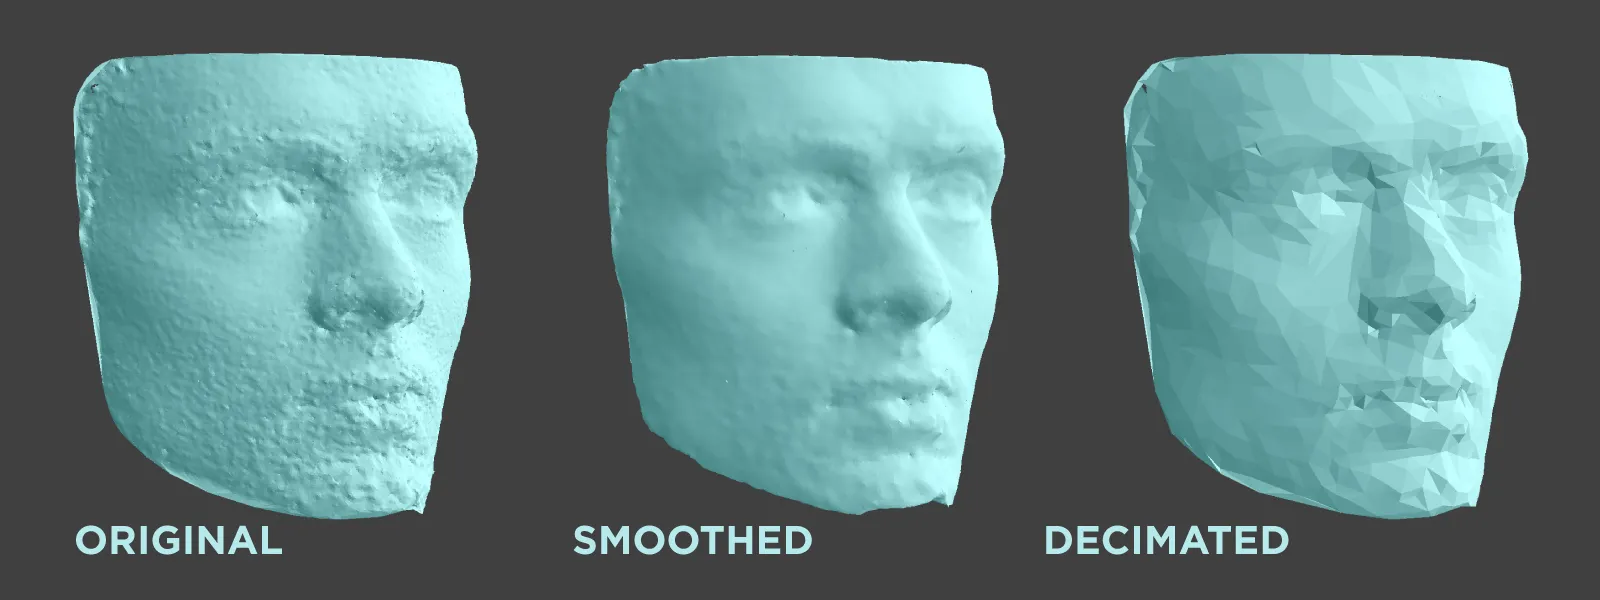
We also processed a mesh surface after doing the usual point cloud cropping using the clipping box and some dense point cloud cleaning. For this example, we had a real-world use case of making a 3D-printed, bespoke face mask for theater costumes. We experimented with Pixpro smoothing and decimation features before arriving at a surface good enough to use as a reference for a 3D to create the masks.
These results were enough to make the masks after a good amount of 3D modeling and post-processing done by a professional 3D artist. The artist offset the scan surface and used it to make the insides that touch the face. A bespoke mask is infinitely more comfortable than trying to adapt anything generic, and we considered photogrammetry a great success in this use case.
Full Body Scan
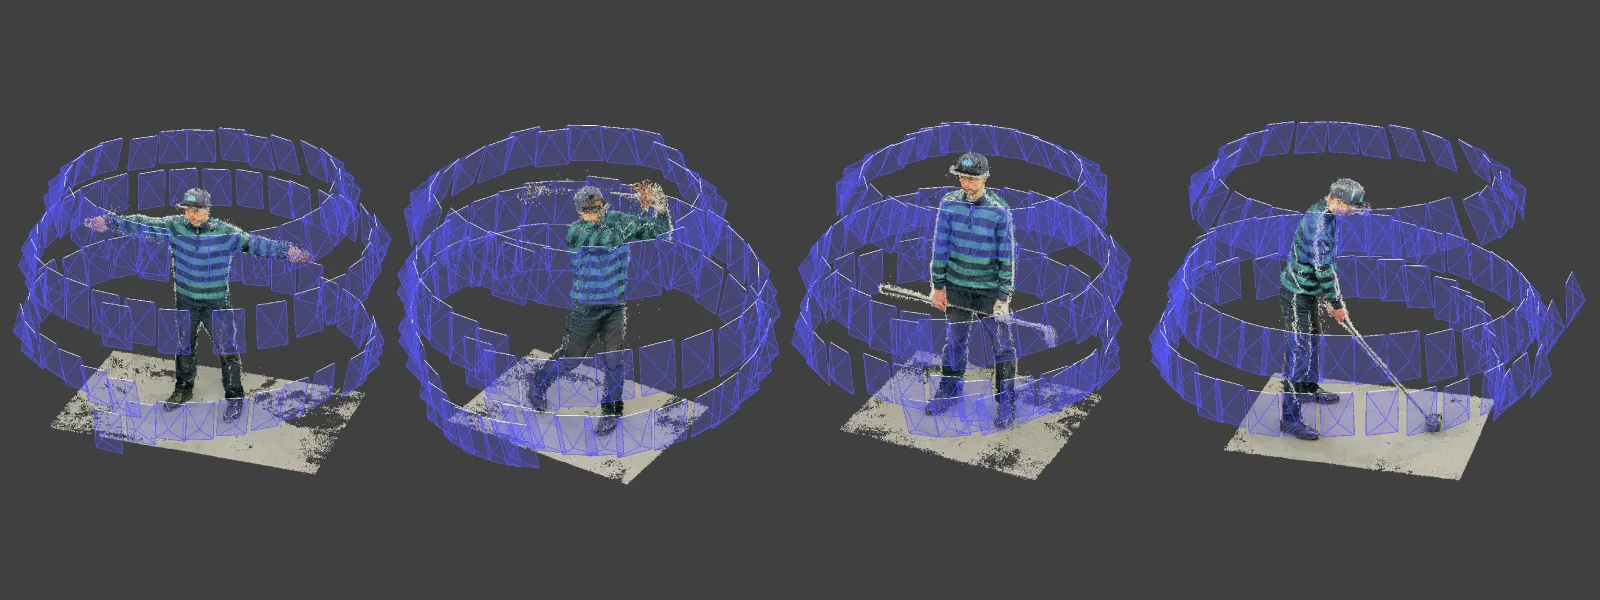
We tried to make full-body scans in various poses for the following example. We rented a studio with powerful lighting and bounced additional light off the ceiling for maximum diffusion. There was no particular use case, but we chose a general golf player theme and asked a player to strike some poses while trying to remain as still as possible. For capture, we went around as if doing orbitals with a drone and took many overlapping photos.
For this example, we chose a mirrorless camera with an ultra-wide angle 14mm lens, stopped down to f8, and set the focus manually on the golfer. We put the iso at 1600 to keep the shutter speeds to at least 1/60 of a second.
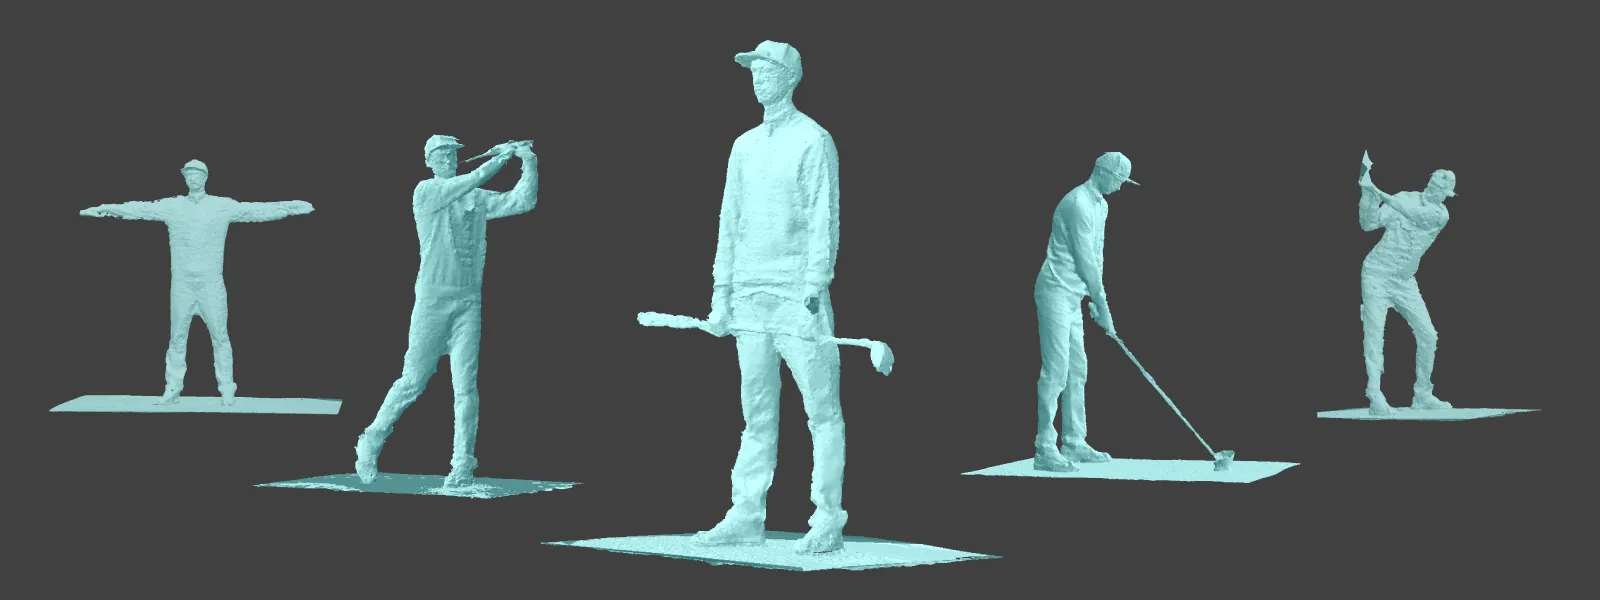
We processed point clouds and surfaces in Pixpro, and the results turned out quite poorly. The minuscule movement between the shots is much harder to control for the entire body, especially when striking a pose.
There is tons of evidence of movement between the shots, and the software struggled to reconstruct the body correctly - what we did expect. That is why simultaneous capture rigs exist and are irreplaceable for full-body scans. We consider these scans as a failure and unusable for anything.
Conclusion
Scanning a person with a single camera will be a challenge. A single body part like a face or a foot is quite doable and can help in various use cases. But a full body scan will present some issues, even in a supposedly not difficult resting position. Also, this will heavily depend on the ability of the subject to stay still. Maybe a meditating Buddhist monk would be an easy scan, but we mortals move around too much. However, do not let this conclusion deter you from experimenting with various photogrammetry challenges - you might do much better than we did.

Photographer - Drone Pilot - Photogrammetrist. Years of experience in gathering data for photogrammetry projects, client support and consultations, software testing, and working with development and marketing teams. Feel free to contact me via Pixpro Discord or email (l.zmejevskis@pix-pro.com) if you have any questions about our blog.
Related Blog Posts
Our Related Posts
All of our tools and technologies are designed, modified and updated keeping your needs in mind

Photogrammetry 202 - Pixpro Blog Index
In our final blog post of the year, we are indexing Pixpro photogrammetry blog posts from the last two years. After publishing regularly for a while, things tend to scatter: posts about workflows, Pixpro features, hardware tests, random experiments, use cases, comparisons.
Travel Photogrammetry - More Fun than 2D Photos
Sometimes a 2D photo does not do justice to a moment or a place, and you wish you had something more… dimensional. Something that captures shape, texture, and the little details that flat images tend to flatten even more.
Handheld Photogrammetry Construction Interior Scan Use Case
Interior 3D scanning can be useful in a myriad of ways. In this article, I present a scan of a residential building construction site, with its foundation walls and roof almost complete. Further construction will require some visualizations and design according to “the fact.”
Ready to get started with your project?
You can choose from our three different plans or ask for a custom solution where you can process as many photos as you like!
Free 14-day trial. Cancel any time.
.svg@webp)
