Custom Christmas with Photogrammetry and 3D printing
 Lukas
Zmejevskis
As we wrap up another year of our existence, as always, it ends with holidays worldwide. Whichever occasion you are celebrating. The festive mood will likely require some decorations around the house. Many of us have that box we take out once a year, which gets lighter with each cat+christmas tree accident or heavier with impulse buying at some mall while a particular song from 1994 blasts through the speakers. We need to take this to another level and make our own decorations with modern technology with the least effort and maximum effect.
3D printing
You may know someone who has a 3D printer or does print jobs as a service. In 2025 - we can finally say that 3D printing has become mainstream and accessible to anyone, so even if you do not - it is easy to get into it yourself (if you are interested). A quick primer on 3D printing:
-
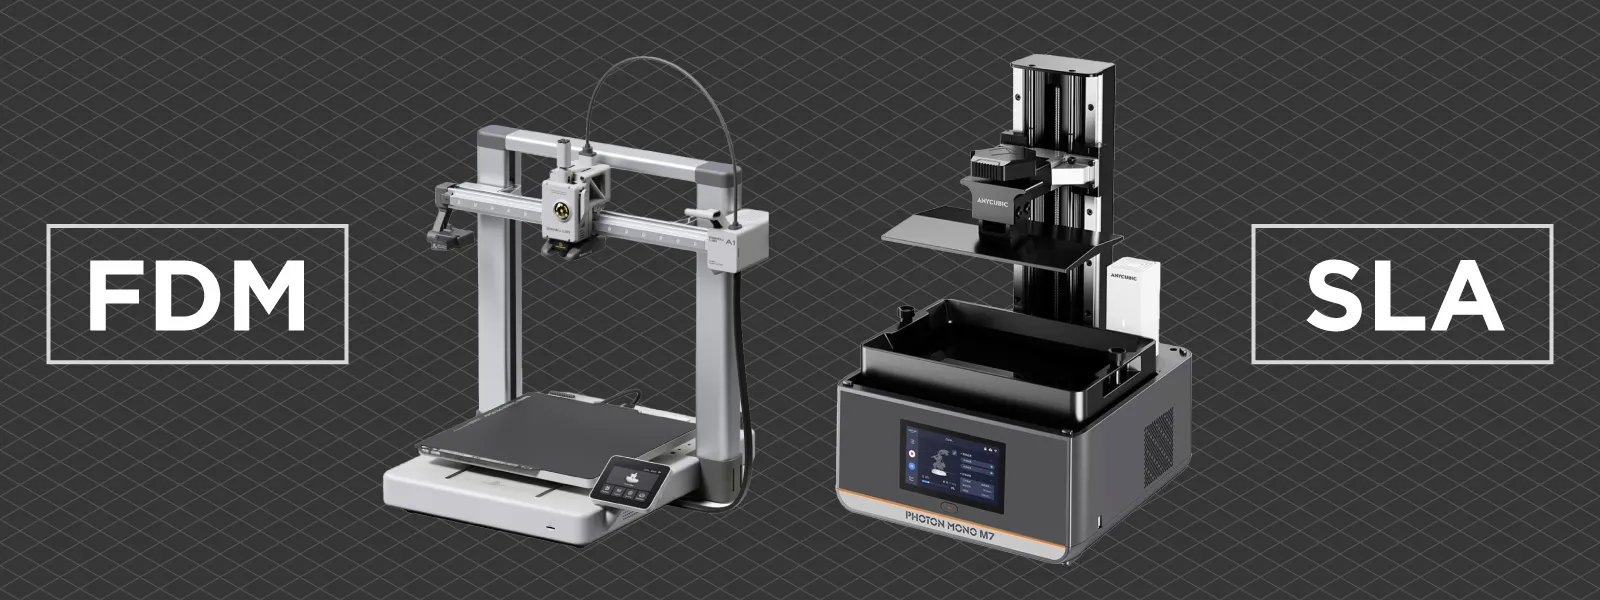
The two most popular 3D printing technologies are FDM and SLA. FDM, or fused deposition modeling, uses a spool of plastic, melts it, and deposits it layer by layer. SLA, or stereolithography, involves pouring a vat full of resin into a screen to cure each layer and lifting a 3D model out of the liquid.
-
FDM printers are generally more popular and accessible, while SLA printers provide better detail for aesthetic prints.
-
FDM printers are usually used for prototyping, functional parts, and fixing stuff. SLA printers are more for miniatures, tiny parts, and tight tolerances.
-
FDM printers can be pretty large, while SLA printers usually have smaller build volumes.
-
SLA printers use resin, which is toxic in its uncured form and quite sensitive to temperature.
-
The most popular materials for FDM printers are PLA and PETG, which are non-toxic and easy to print.
 If you want to try 3D printing for whatever reason, you can—without much investment or prior technical knowledge. This is made possible by natural technology maturation. 3D printers no longer have bags of issues you need to resolve once you buy them; most of the latest models just work.
3D Printer Advice
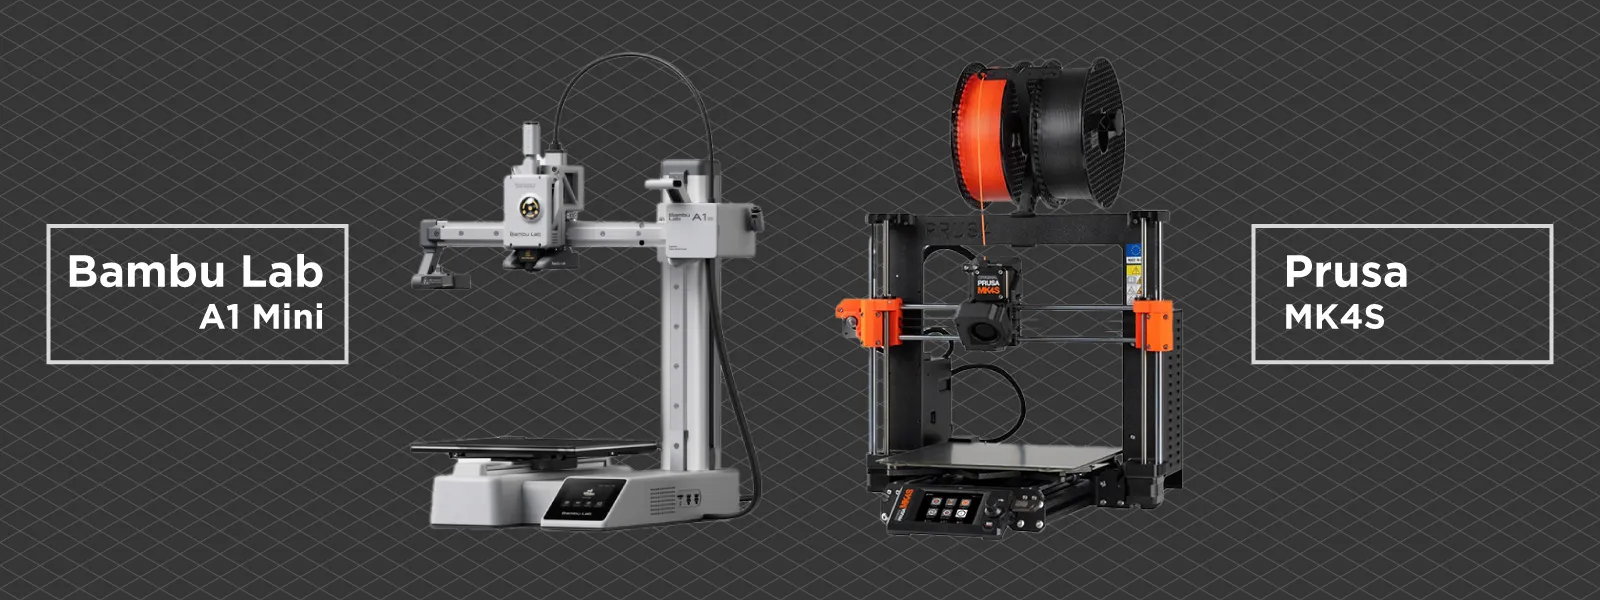
When it comes to FDM printer makers, there are two brands that I prioritize for most people—Prusa and Bambulab. Prusa printers are legendary for their reliability, consistency, and support, while Bambulab comes with lots of new features and also works straight out of the box. The small and affordable Bambulab A1 Mini is a highlight of the entire printing industry, and I have a clear conscience recommending this one to absolutely anyone. Even if you get one and do not get into 3D printing, they resell used without issues.
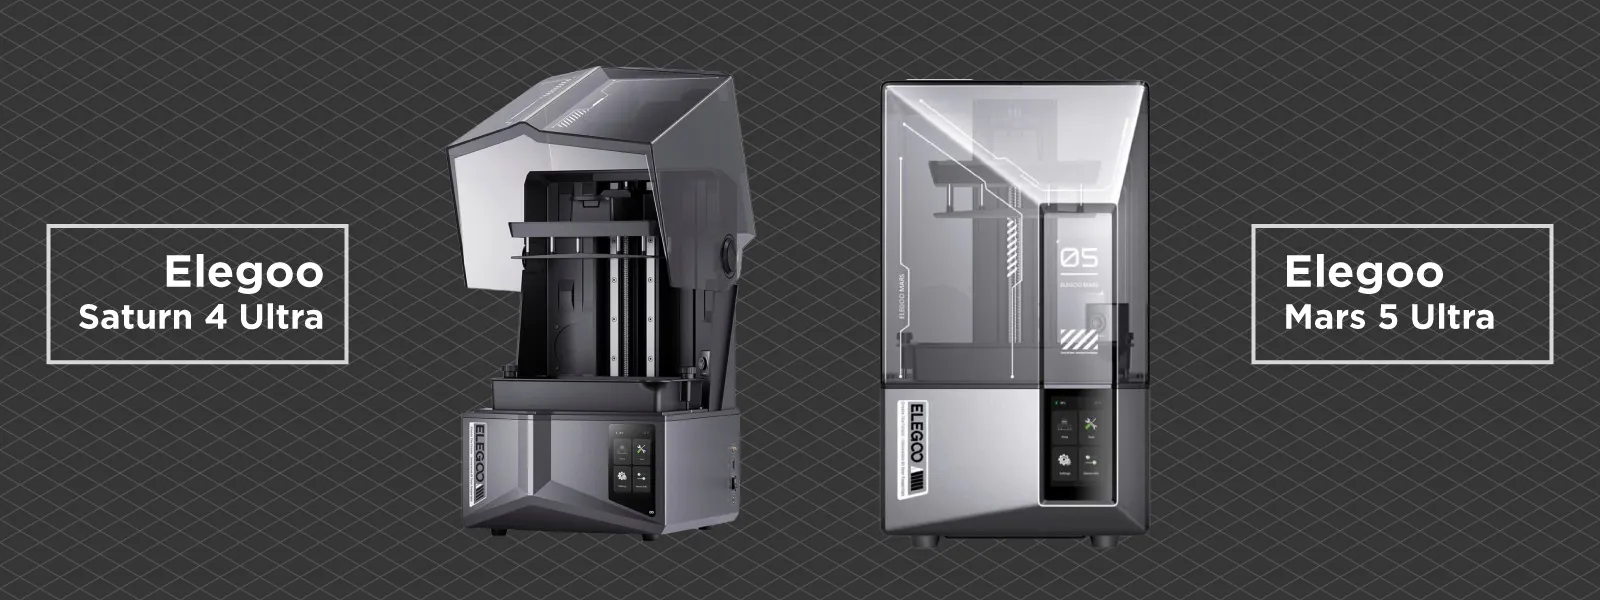
 The SLA printer market is a bit more complicated, but Elegoo's latest offerings, like the Saturn 4 Ultra and Mars 5 Ultra, stand out as excellent, feature-rich options. Elegoo-branded resin seems to be of consistent quality as well, although Elegoo support may not be the most flexible at times.
 To validate my advice, you can check out the trustworthy and honest 3D printing nerds below. The 3D printing rabbit hole is quite deep, as it should be, but the applications of creating anything physical are endless by definition.
Aurora Tech Channel
Faux Hammer
Made with Layers
Teaching Tech
3D Modelling vs. Scanning
To be truthful, 3D printing as a hobby is 90 percent about 3D modeling. Yes, the libraries of free and paid models people share online are massive. Printables.com is my favorite, but creating a 3D model yourself and then realizing it physically gives me another level of satisfaction. So, we are using Pixpro photogrammetry software and a camera to make our own.
If you can take pictures of it, you can probably 3D scan it. Exceptions in photogrammetry are moving things, reflective things, and featureless things. For example, you could not scan an aquarium because each photo would see a different scene. Photogrammetry works by matching many overlapping pictures of the same scene and recreating them in 3D.
Keeping that in mind, we can still make many things without even opening 3D modeling software. And because we are using photogrammetry, relatively complicated and unique 3D models are possible.
What Are We Making?
This is where your imagination will have to kick in. Making something custom as a Christmas decoration that is 3D printed will have to serve some kind of purpose. You can surprise your relatives with something familiar or troll a friend with an inside joke. You can also create uncanny replicas of yourself or pets that can stay still, childhood toys, or even entire locations.
The basic workflow is as follows: you find the thing you want to scan and take a bunch of quality overlapping photos of it. I have collected a number of articles that go over how to scan things in more detail. I recommend choosing one that resonates with you the most and taking a deeper look into that.
Not Spooky - Photogrammetry is Easy
3D Asset Creation With Photogrammetry
Small Scale Photogrammetry Part 1
Small Scale Photogrammetry Part 2
Multi Camera Photogrammetry in Pixpro
What is a Slicer?
There is an intermediate step between having a 3D model and printing it. It is slicing it using a… slicer. I will use an FDM 3D printer to print an example, in this case, the previously mentioned Bambu LAB A1, which is compatible with Orca Slicer. Orca slicer converts a 3D model into a set of commands, which the printer executes, and you get the print. Understanding how a slicer works is a key part of 3D printing, and slicers are improving much faster than any hardware.
 Pixpro software and Slicing
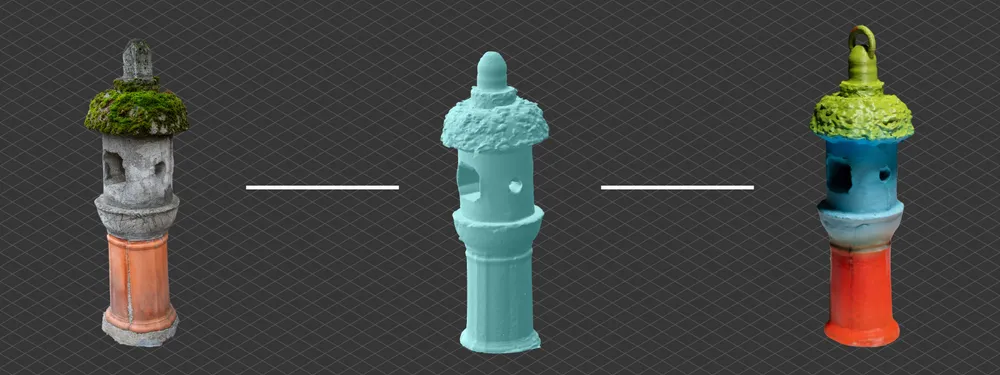
I have a decent set of photos of a thing I scanned randomly (im not sure what that even is), and I want to turn this into a physical Christmas tree toy. My workflow is as follows:
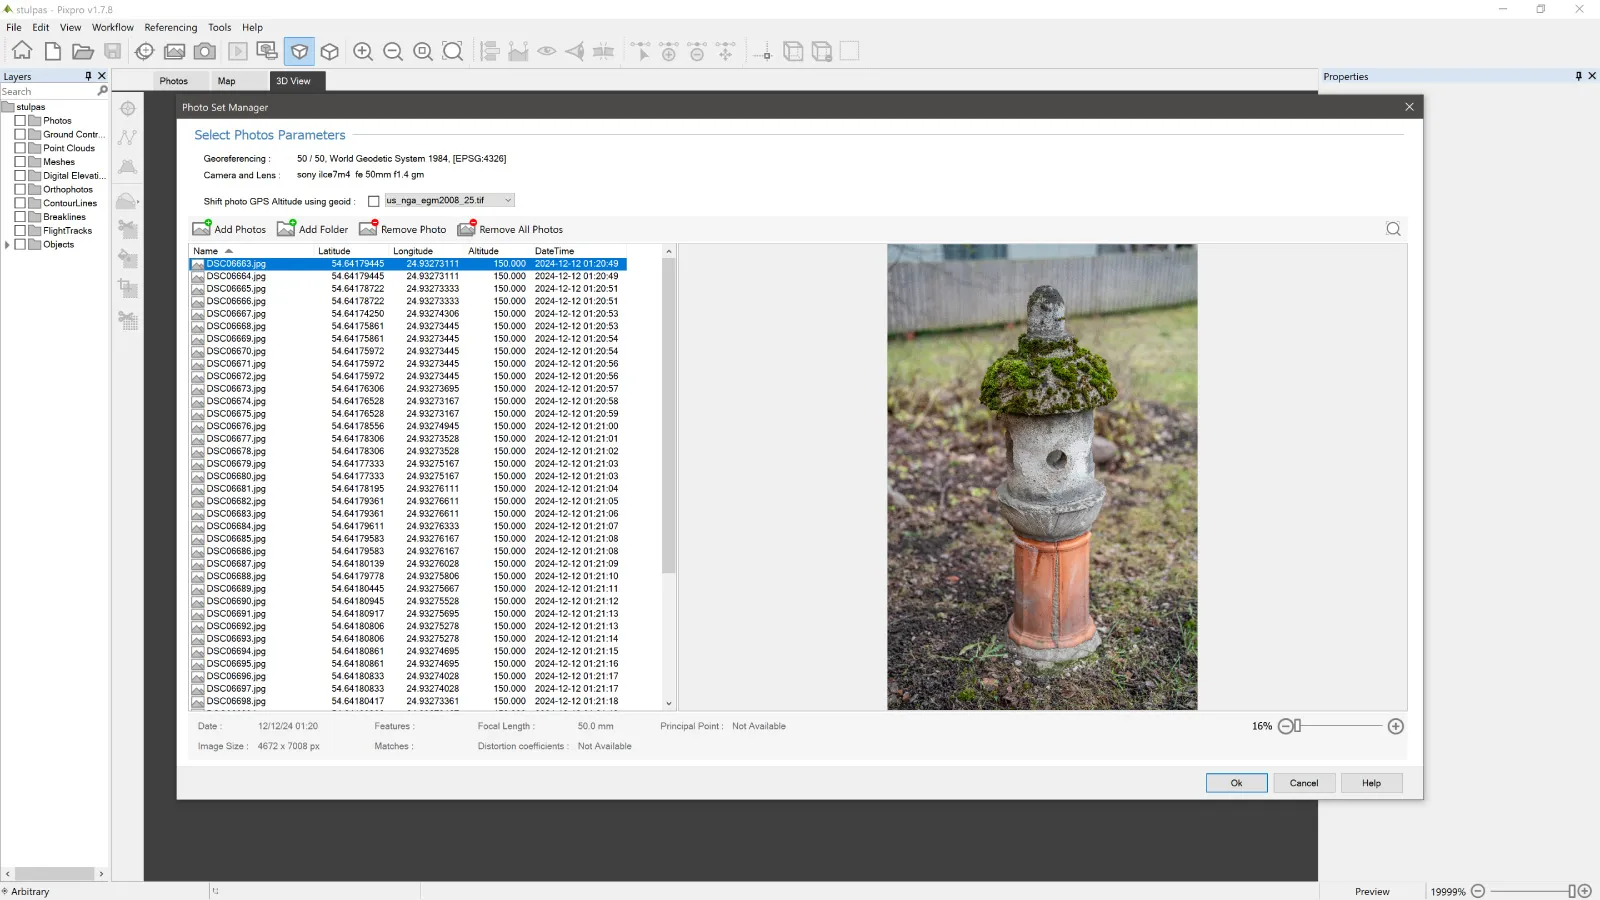
1. Upload these photos into Pixpro photogrammetry software.
 2. Run 3D reconstruction and Dense point cloud generation.
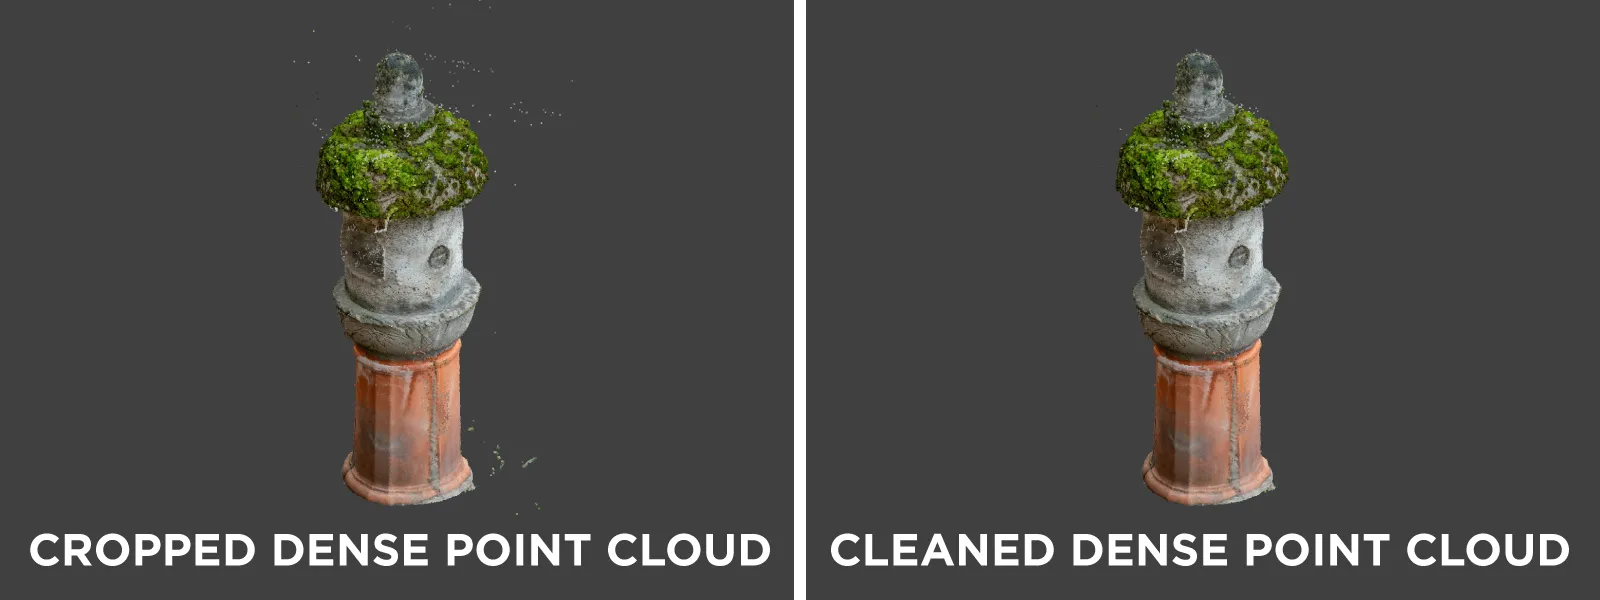
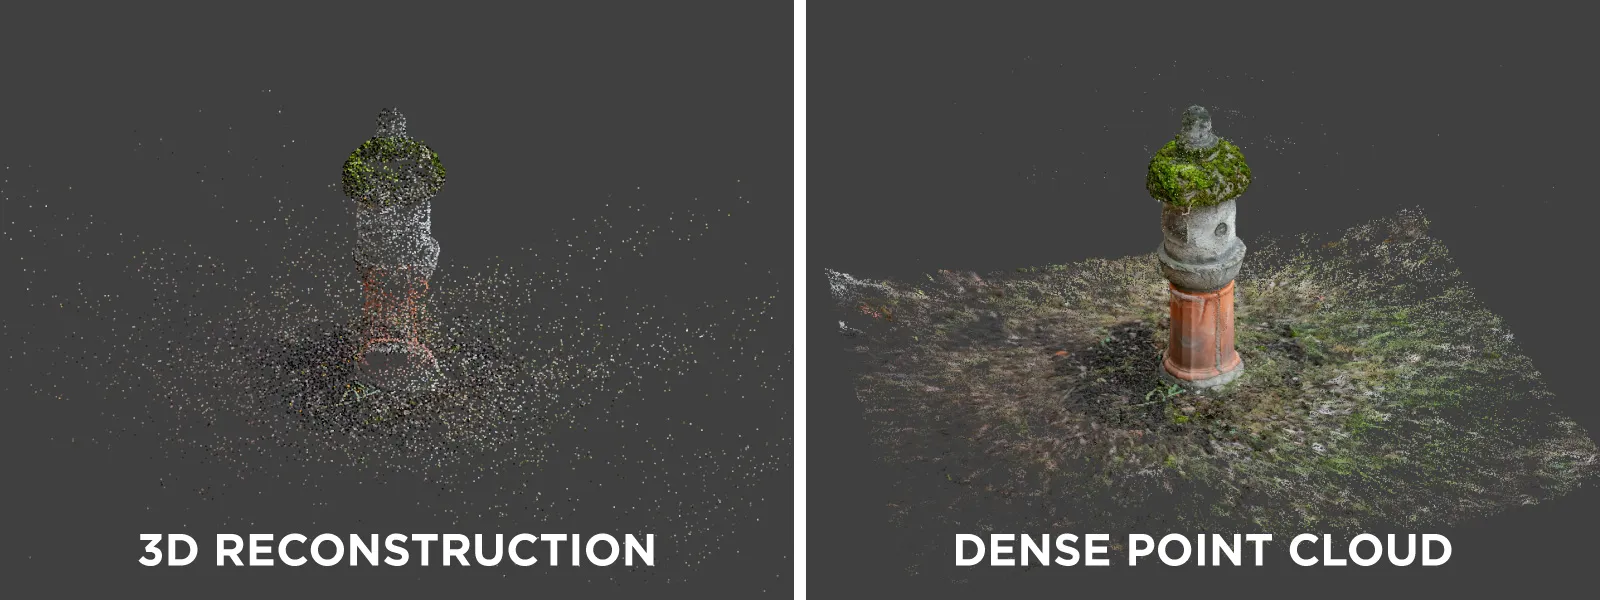 3. Crop the dense point cloud using the Pixpros clipping box. So, only the relevant part of the scene remains.
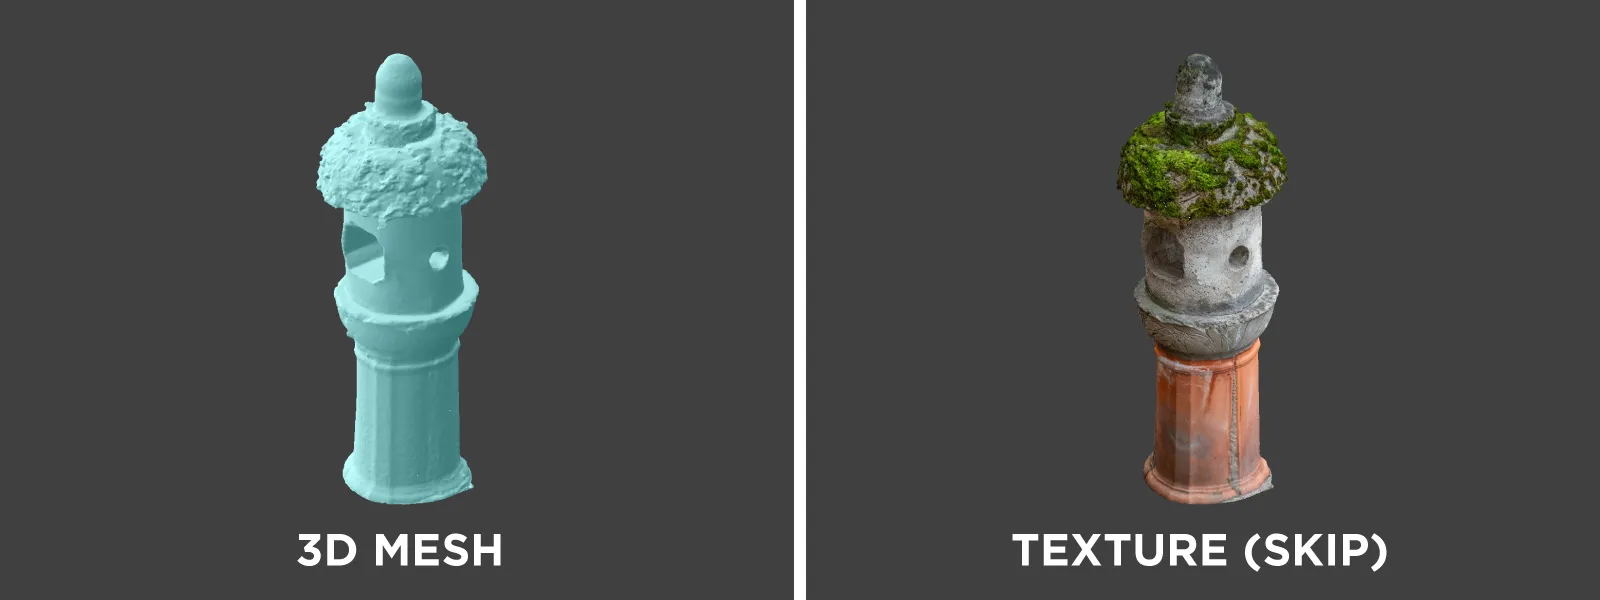 5. Export this mesh as an STL file and import it into a slicer.
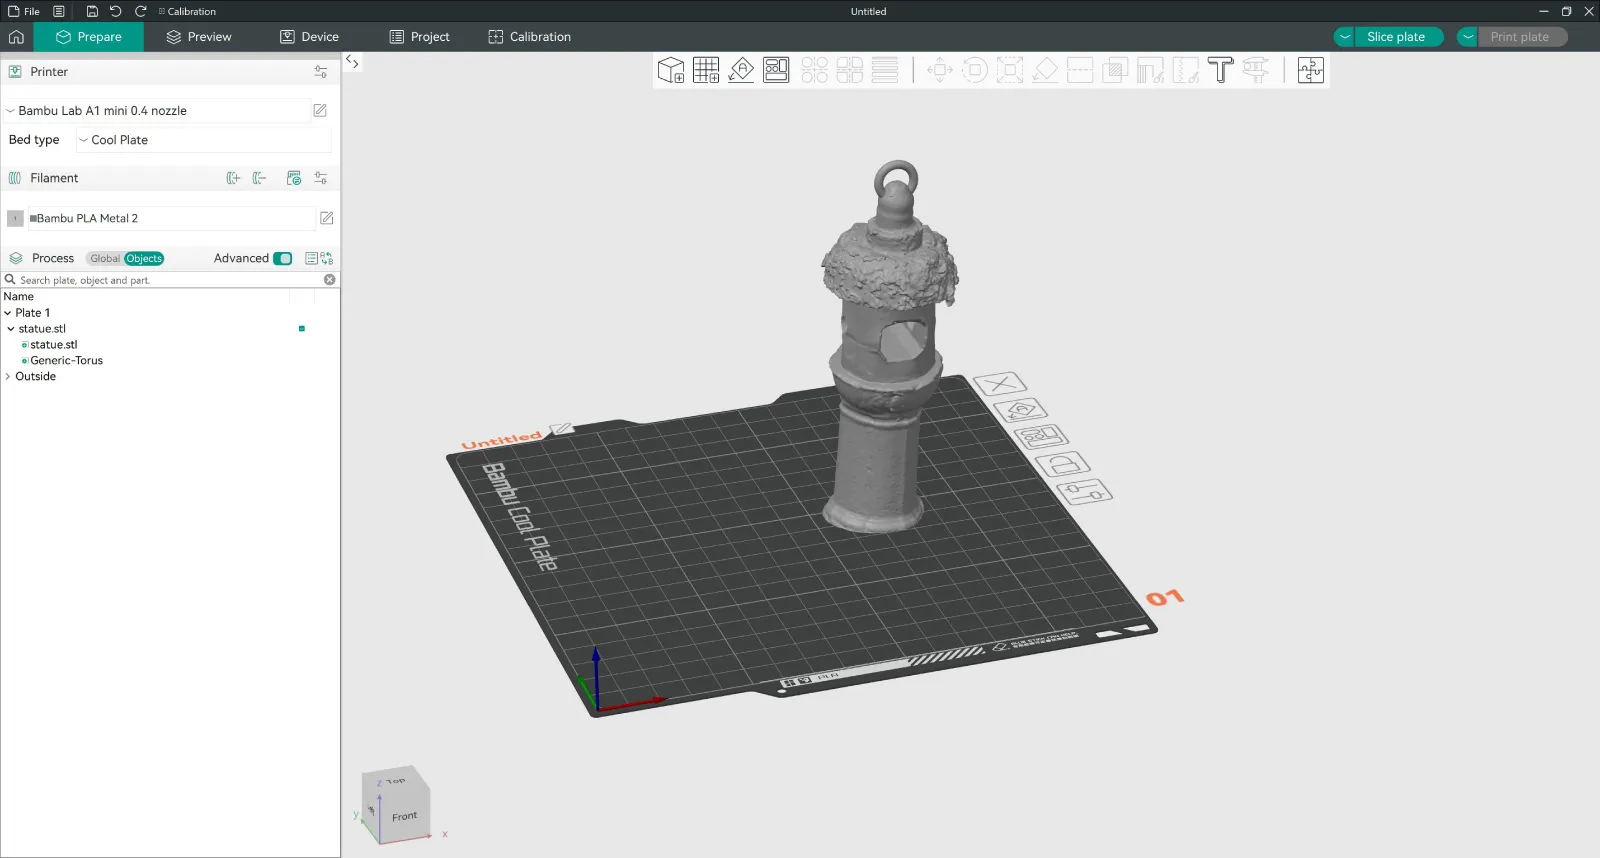 6. Add a hole or a loop in the slicer so the thing I made could be hung on a Christmas tree.
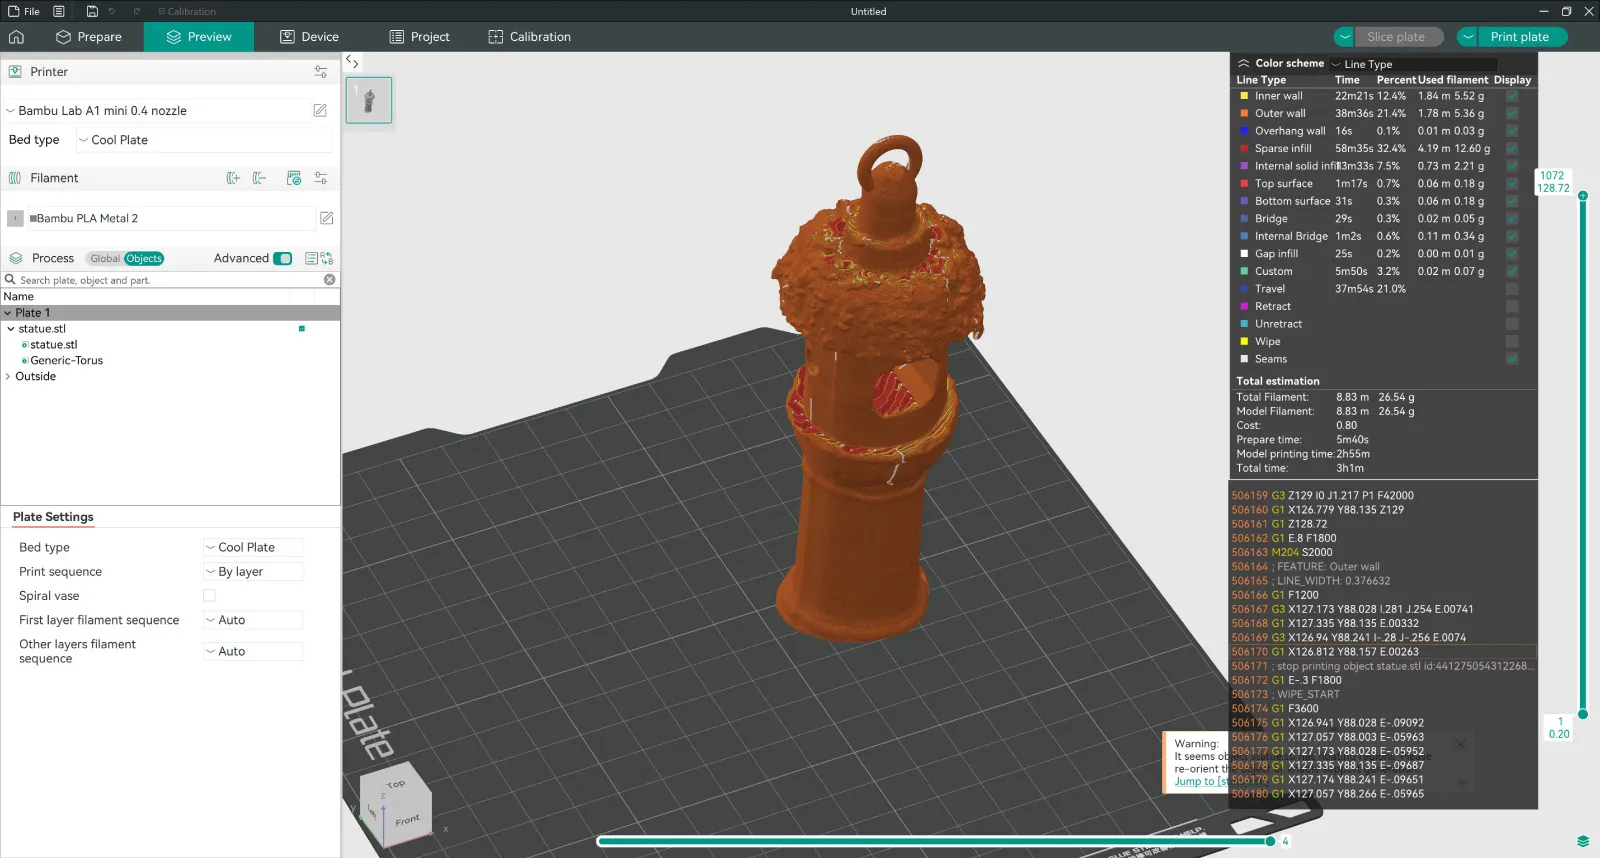 7. Slice and print the object.
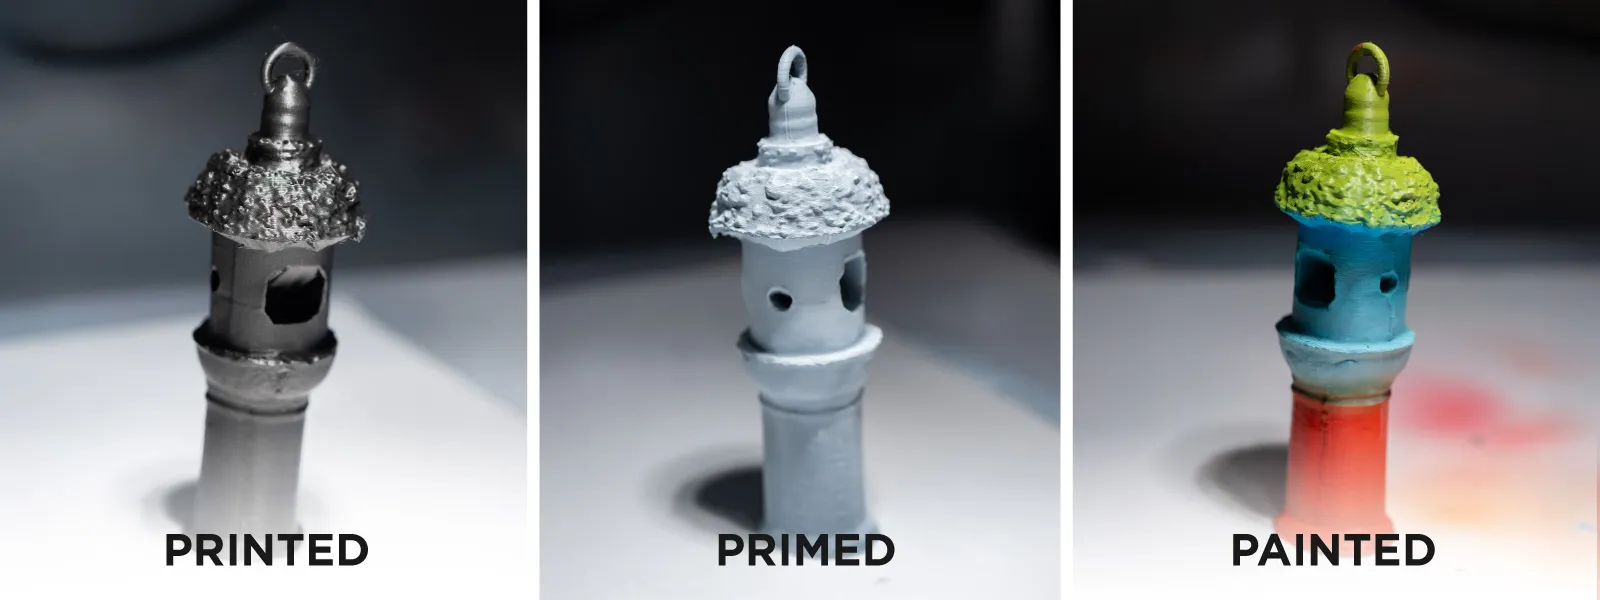
It seems simple enough—and it is. Yes, the overall set of skills and experience required to achieve this is not that small, but now you have an overview of how things work. If you click some of the links and get a bit deeper, you will know everything you need to make a fun gag gift or decoration. From here, a bit of sanding and painting might be necessary to fully finish the thing, but it is optional.
 Conclusion
I wish you happy holidays and a great new year. I am taking a small break as last year, so weekly articles will return early next year unless an uncontrollable urge to write something strikes right before Christmas. Otherwise, let us hope for technological leaps and improvements in photogrammetry in 2025. AI and quantum computing do have the potential to revolutionize 3D scanning; maybe that is something to look forward to.

Photographer - Drone Pilot - Photogrammetrist. Years of experience in gathering data for photogrammetry projects, client support and consultations, software testing, and working with development and marketing teams. Feel free to contact me via Pixpro Discord or email (l.zmejevskis@pix-pro.com) if you have any questions about our blog.
Related Blog Posts
Our Related Posts
All of our tools and technologies are designed, modified and updated keeping your needs in mind
No. 1 Mistake You Are Making in Photogrammetry Right Now
As photogrammetry software developers, we need to troubleshoot multiple projects from our clients every week. The number one mistake, especially when making measuring projects, is using redundant photos. These photos can appear for a few reasons, which I will describe, and they can be quickly dealt
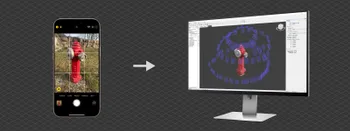
Classic Photogrammetry with an iPhone
Photogrammetric 3D scanning can turn a bunch of regular photos into a 3D model or a scene. So, we only need a camera and some knowledge of how to take photos. In the previous article, we tested the latest iPhone camera with a few different apps.
Manual Photography with iPhone 16 Pro Max - Android/Windows User Perspective
Adage as old as touchscreens on portable devices tells us that the best camera is the one you have. We have the luxury of having cameras everywhere we go because we are dependent and addicted to smartphones.
Ready to get started with your project?
You can choose from our three different plans or ask for a custom solution where you can process as many photos as you like!
Free 14-day trial. Cancel any time.
.svg@webp)
